It’s time that the saying about sliced bread was replaced with 3D printers. They are right up there with the internet in ‘how did we manage without it’ in my opinion. For the radio amateur they uses are never ending!
The yagi below is completely assembled with 3D printed parts. Not only that it’s mounted to a 30mm pole with 38mm U bolts using 3D printed reducers and the guy ring has an integral 3D printed plastic bearing.
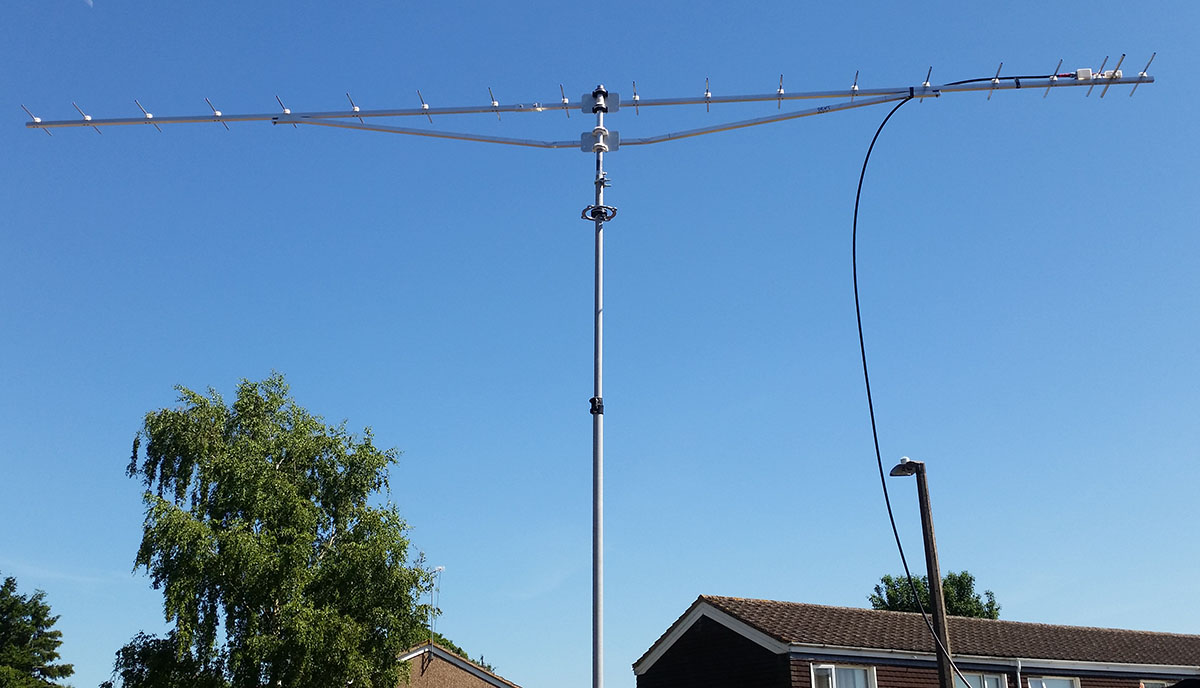
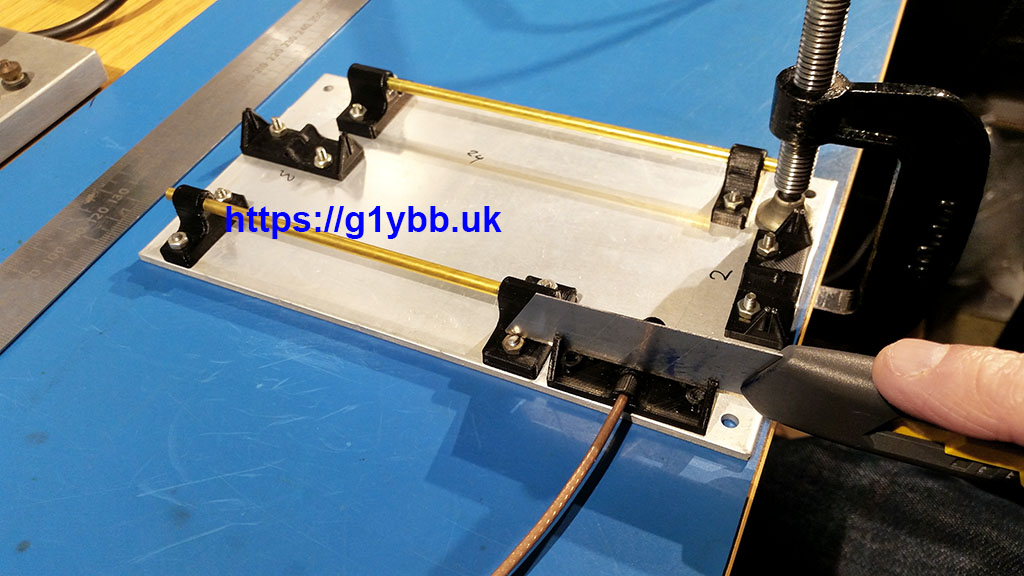
Not only that the DK7ZB match coaxes were precision cut on a 3D printed cutting jig.
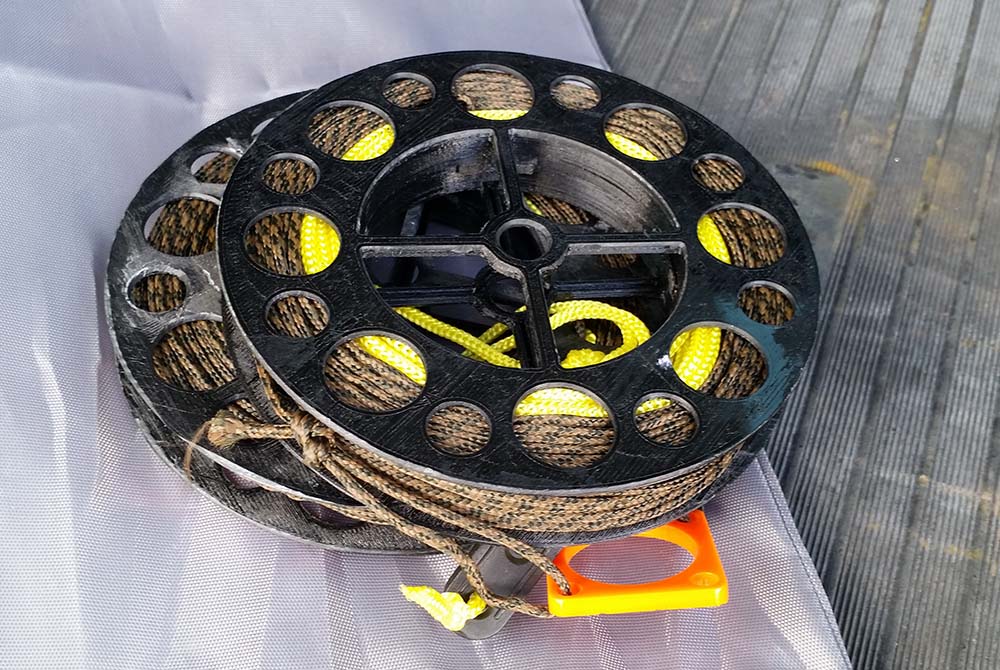
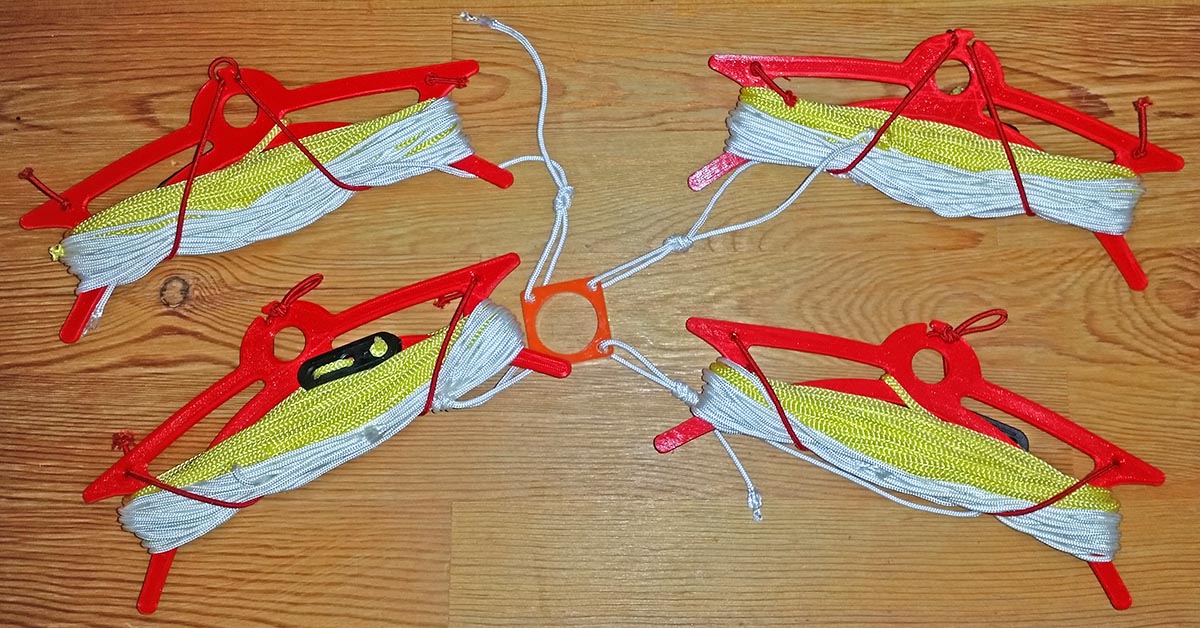
My HF inverted V dipoles and guys are wound up onto 3D printed spools and winders:
I just built a 20m moxon made with loads of 3D printed parts:

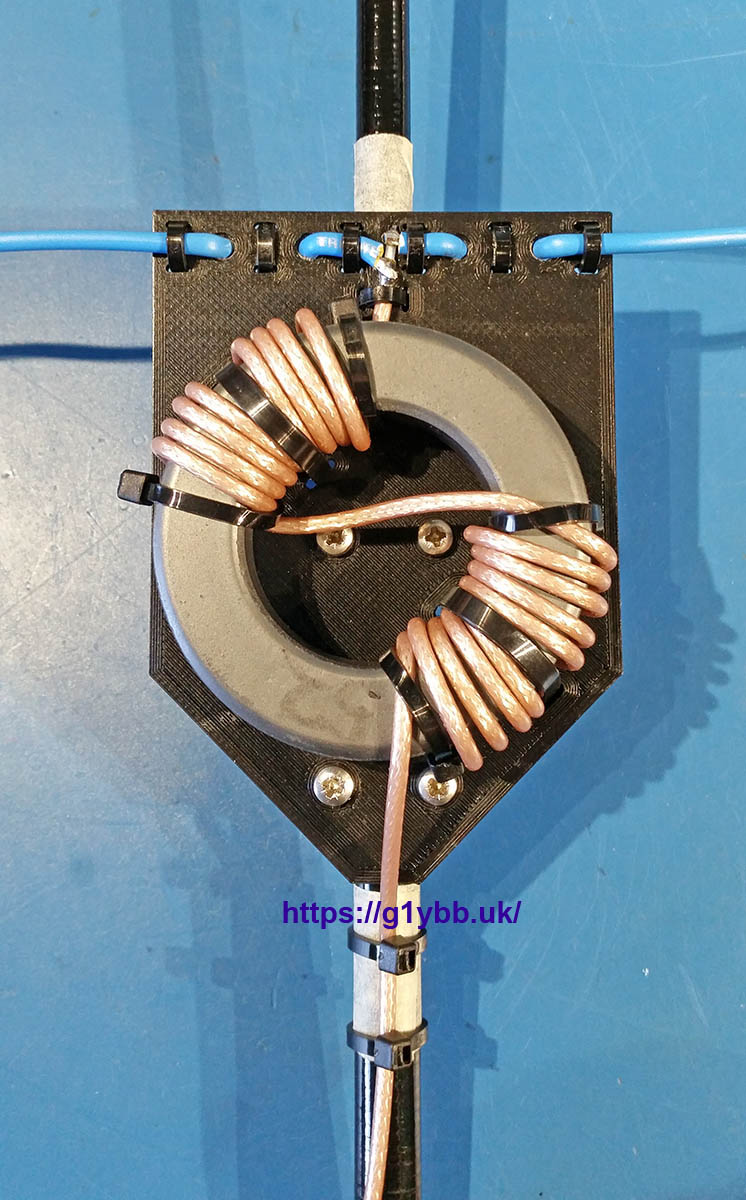
Including a custom made for the job dipole centre with strain relief and tie wrap slots for the wires and the choke:
The things you can make are really only limited by your imagination.
Here is a time lapse video of a yagi dipole box being printed:
Ok sales pitch over, you know you NEED one, what now?
Well first choose your printer. I went for the Creality Ender 5 which is at the higher end of the budget printers. Loads to choose from though.

To print anything first you need a design. This can often be downloaded from a site such as Thingiverse or you can design your own. To design your own you need 3D CAD software. Don’t panic, it’s not as bad as it sounds. There are many free options you can try like FreeCAD or TinkerCAD etc. I use Solidworks as I am lucky enough to use that for my job. Here is the box from the video in Solidworks:
 Once you have your design file you export it as an STL file (downloads from Thingiverse already are STL files).
The STL file then needs to be sliced for the printer to print. That is turning the finished shape into many thin layers, or slices, to make up the final part. Again, software for this can be free. A lot of people use Cura which is a free download.
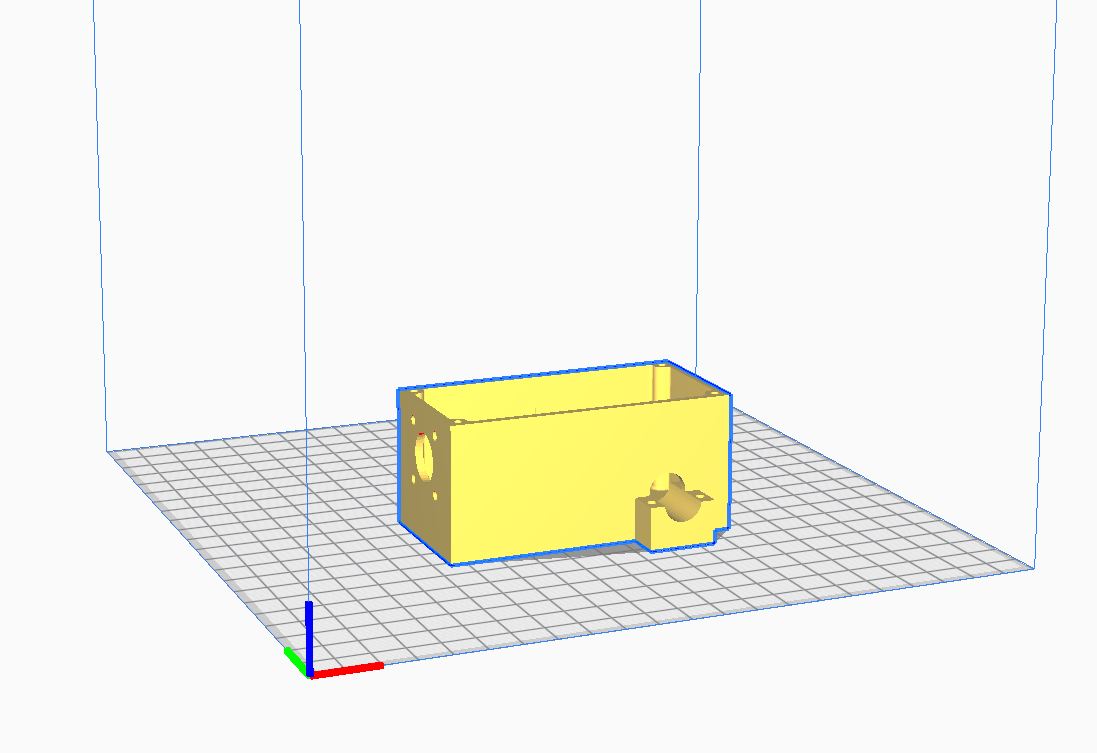
Here is the box above in Cura ready for slicing. It all sounds complicated but once you have told Cura what printer you are using and what type of filament you have you can often print with the default settings very well.
Here is the 18th layer of printing that would make up this box:

Once you slice your design you save the output to a card or send it via USB and pass it to the printer and the magic begins.
There is loads of help and advice on the internet for 3D printing but it is a really useful tool for the amateur radio home builder.