I’ve looked at the GM3SEK mains filter several times but nevertaken it any further. My worst noise at home varies with beam heading on HF so I suspect it is being received by the antenna itself and assume filtering the mains would have no effect. But recently I was testing an antenna on 80m and noticed quite a bit of noise from the Honda EU10i generator I have which wasn’t there (as I remember) some years ago on 80 using the EU20i. So I decided I would build a GM3SEK filter to try to stop the generator noise and as a side effect, could see what happens at home!
The starting point is on Ian’s site here:
https://gm3sek.com/2019/10/11/clean-up-your-shack-2019/
Ian details all the parts with links to vendor’s sites and manufacturers part numbers. I was able to source all the parts needed from CPC and Farnell, and not pay delivery charge (I bought 2 sets of parts because I run the amplifier from a second 240V outlet so would need a 2nd unit if I used them here.)
From Farnell I ordered the below. The 13A lead for the mains input.
Prices include VAT.
| Order Number | Manufacturer Number | Price | |
| 1304848 | FN2030-16-06 | EACH | £24.02 |
| FN2030-16-06 FILTER, 16A CHASSIS MOUNT | |||
| 4156104 | 431177081 | EACH | £16.19 |
| 0431177081 SPLIT CORE FERRITE, 375 OHM, 25.15MM | |||
| 1124373 | X-150708A | EACH | £8.70 |
| X-150708A LEAD, 13A, BLACK, 2M | |||
From CPC (also including VAT).
| Order Number | Manufacturer Number | Price | |
| EN84544 | GR17012 | EACH | £10.62 |
| CE-TEK GR17012 IP65 ABS Enclosure – 170x170x75mm | |||
| CBBR7352 | PP01645 | EACH | £0.26 |
| PRO POWER PP01645 Nylon Cable Gland PG-11 Black, Single, IP68 | |||
| PL15548 | WP21-01 | EACH | £12.90 |
| BG ELECTRICAL WP21-01 13A 1 Way Outdoor Mains Socket | |||
| CB22778 | PELB0767 | EACH | £15.01 |
| PRO ELEC PELB0767 3183TQ 3 Core Heat-Resistant Mains Cable, 2.50mm, 25A, White, 5m | |||
| CN19163 | CTSOS431/12 | EACH | £1.36 |
| CAMDENBOSS CTSOS431/12 Terminal Strips, 12 Way, 2.5mm, 24A | |||
You’ll notice the 2 Fair-Rite oval cores 2643167851 are not there, that is because I have several in stock already. As I write this these are available from Mouser for £3·77 each here:
https://www.mouser.co.uk/ProductDetail/Fair-Rite/2643167851
CPC delivered next day, Farnell the day after. Which is interesting as Farnell is the parent company of CPC!
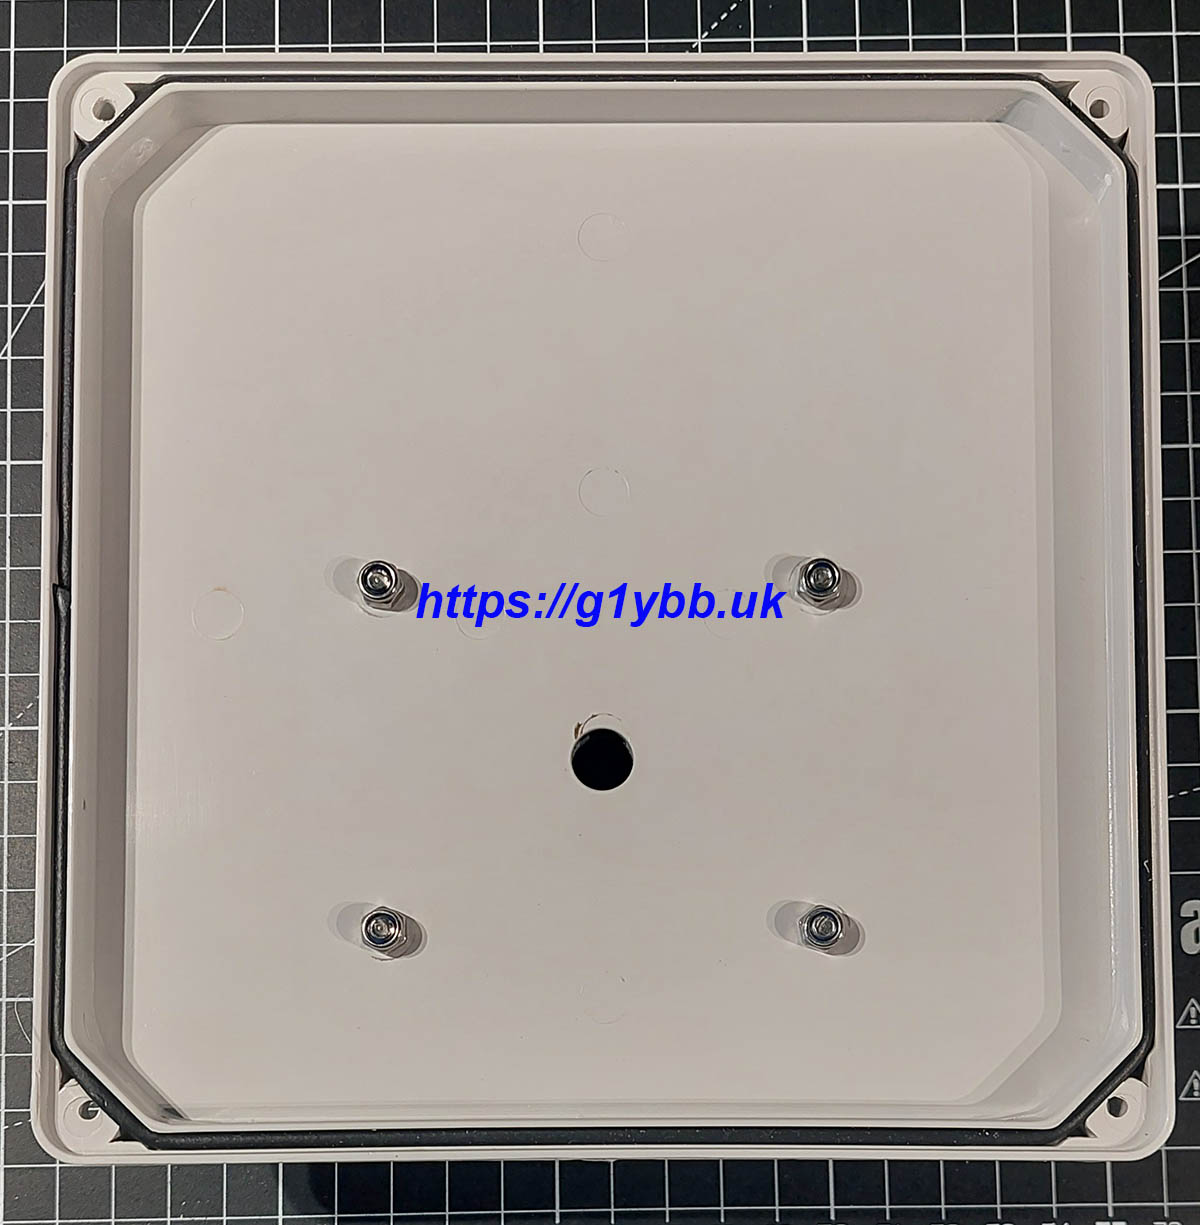
I started off fitting the main box. I used tha samebasic layout as Iam GM3SEK used, why change a winning formula. The chassis mount filter fitted with M3 screws and nylocs. I always use nylocs in general, but especially when plastic is involved as you can be sure of a safe fixing without excessive force.
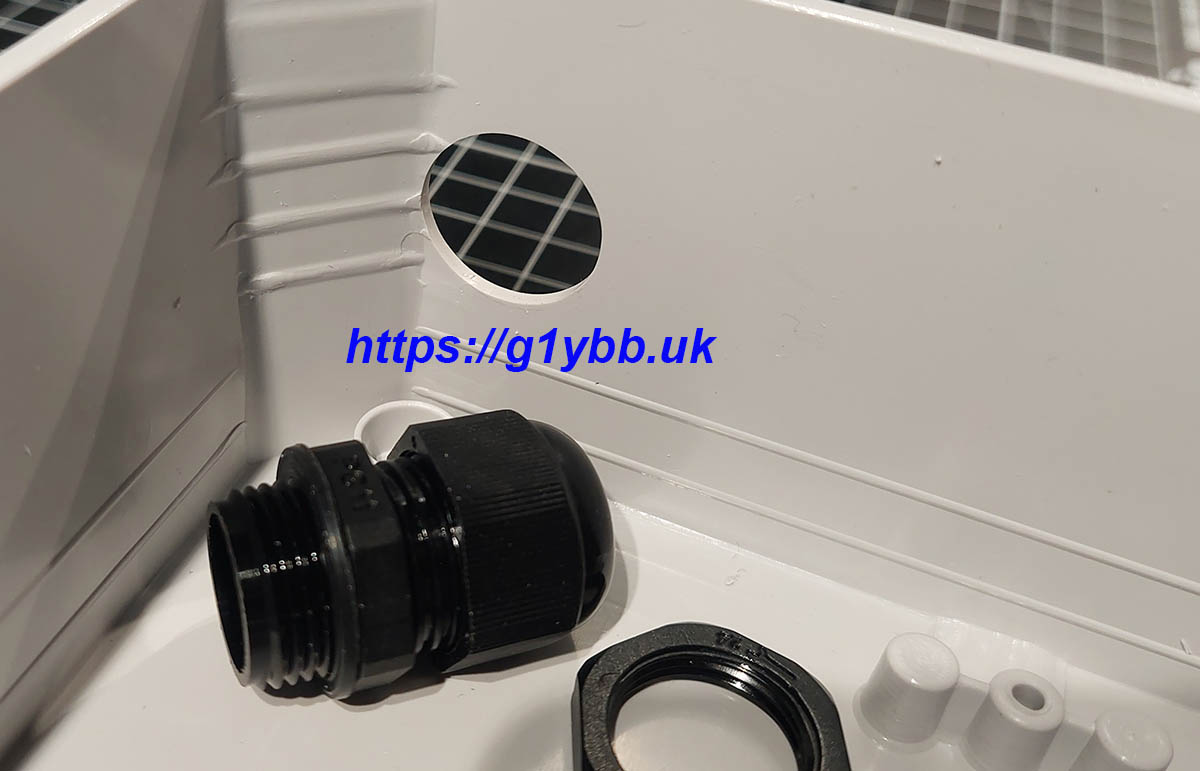
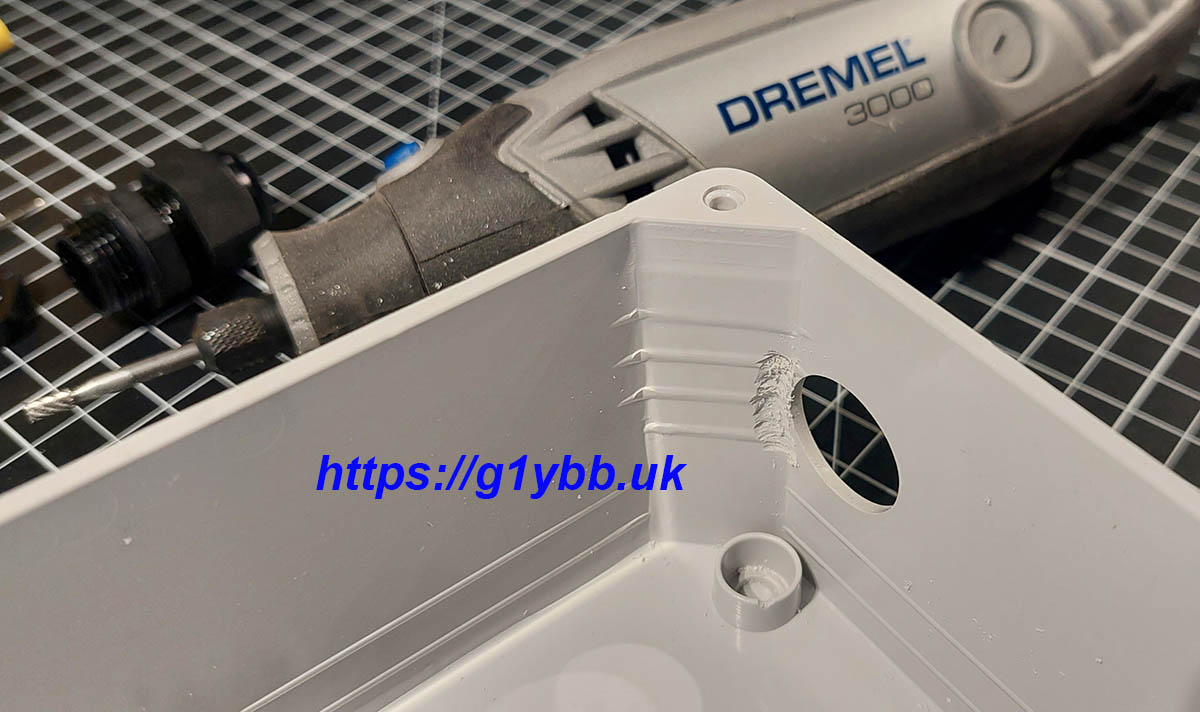
Next I drilled the hole for the gland, which needed a 19mm hole. Drilling large holes with a twist drill, even going up in steps from a small pilot hole, never works well on plastic boxes. The drill wants to tear out as soon as it breaks through. Far better and faster is a step drill which even deburrs the hole for you with the radius leading to the next size up:

However, do ensure you mark the hole in the right place, UNLIKE me! Doh!
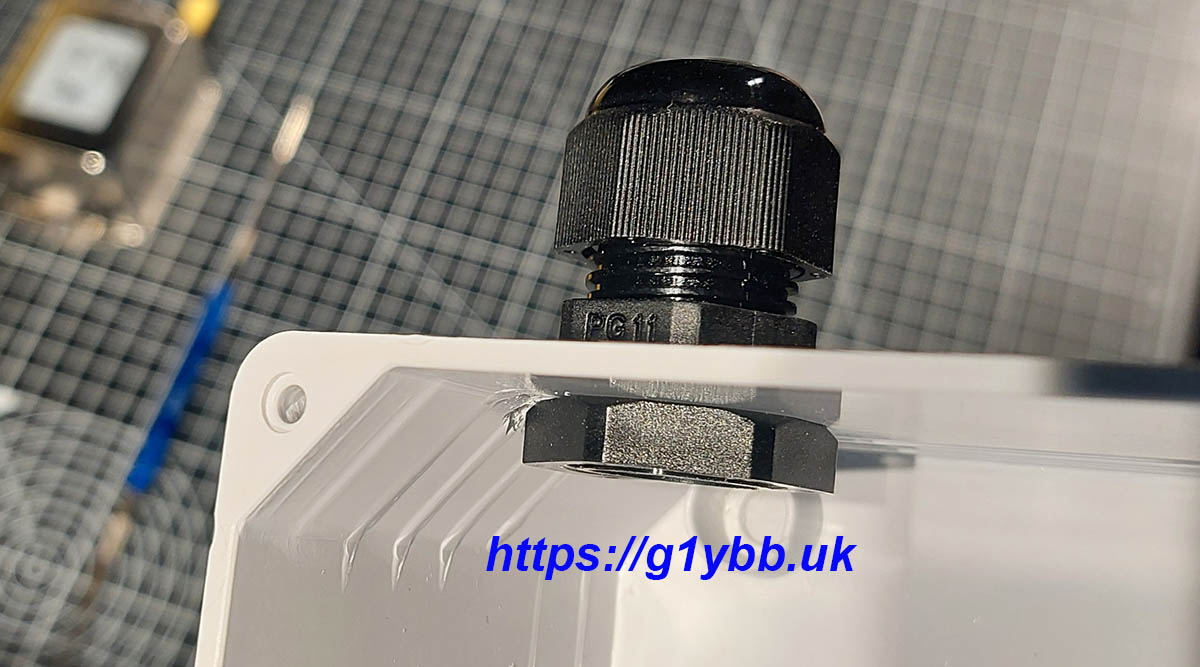
The hole is too close to the corner for the nut securing it to sit flat. I need this to be watertight for portable use. I toyed with the idea of scrapping this and using the second box but in the end I bodged it in by removing plastic with the dremel:
Managed to get the gland fitted better after the mod:
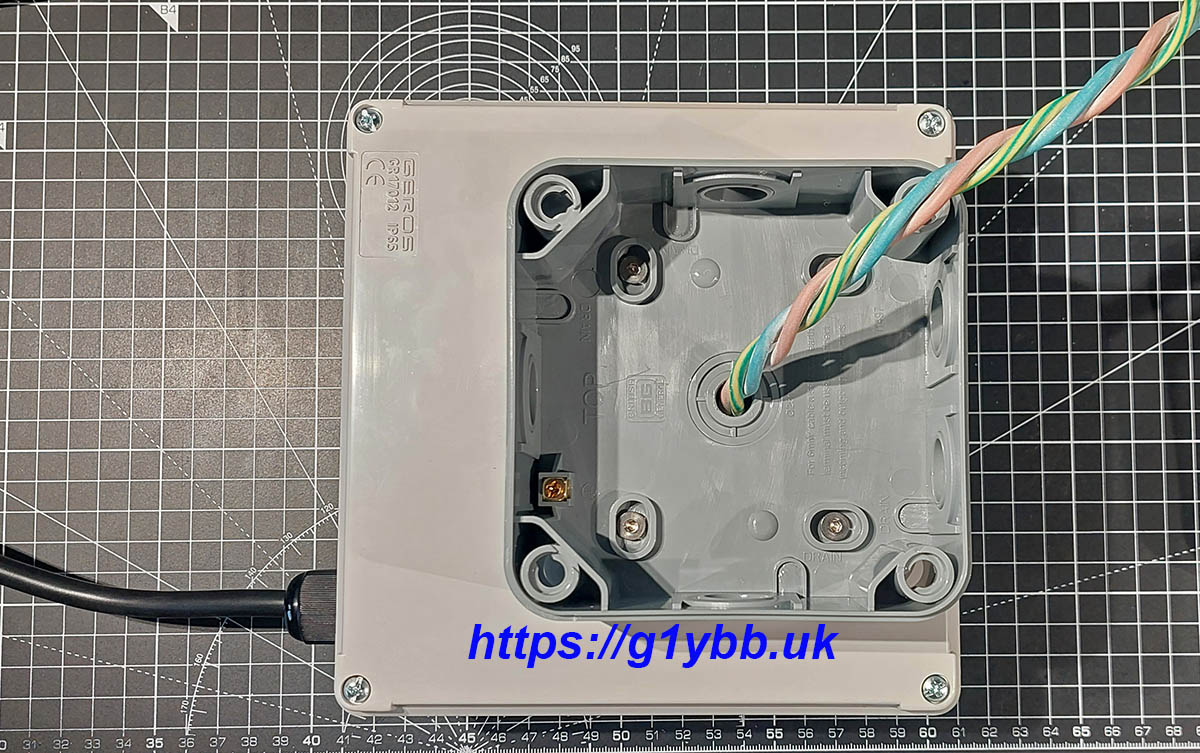
Next I stripped the outer from the 2.5mm 3 core. I made shallow slits with a knife both side and peeled back the outer sheath. I used adhesive lined heatshrink to keep the ends together before fully stripping the whole length. I started with 2.5m of cable. Ian says 1.6m but I knew I was needed longer tails than his build.
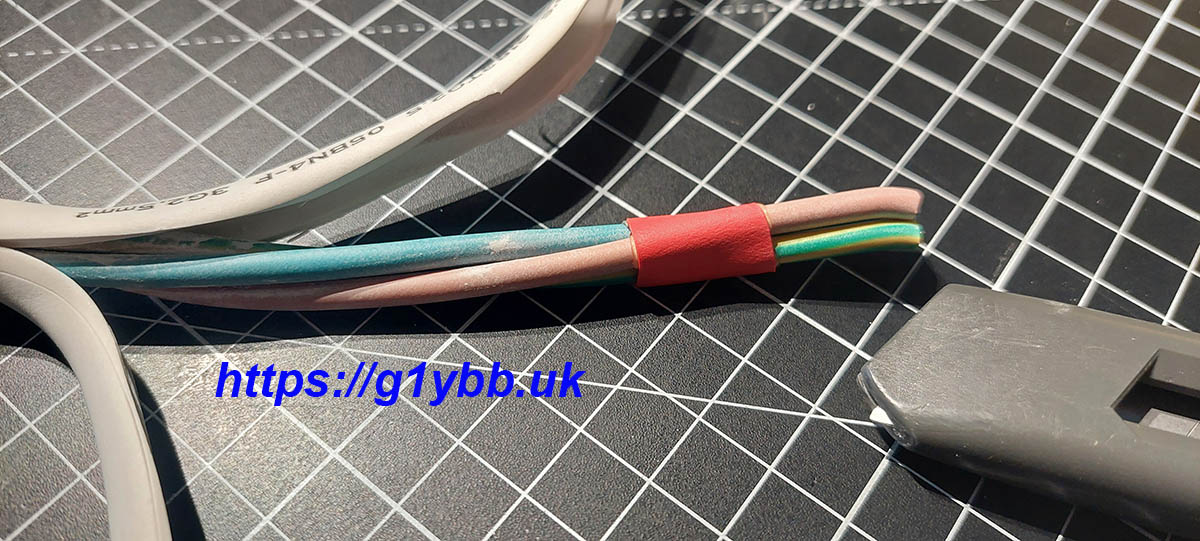
Once fully stripped I did exactly the same as the instructions, twisted it with the battery drill.
I wound the large split core first then prepared the two oval cores.
I didn’t want to superglue them so I used a strip of double sided tape:
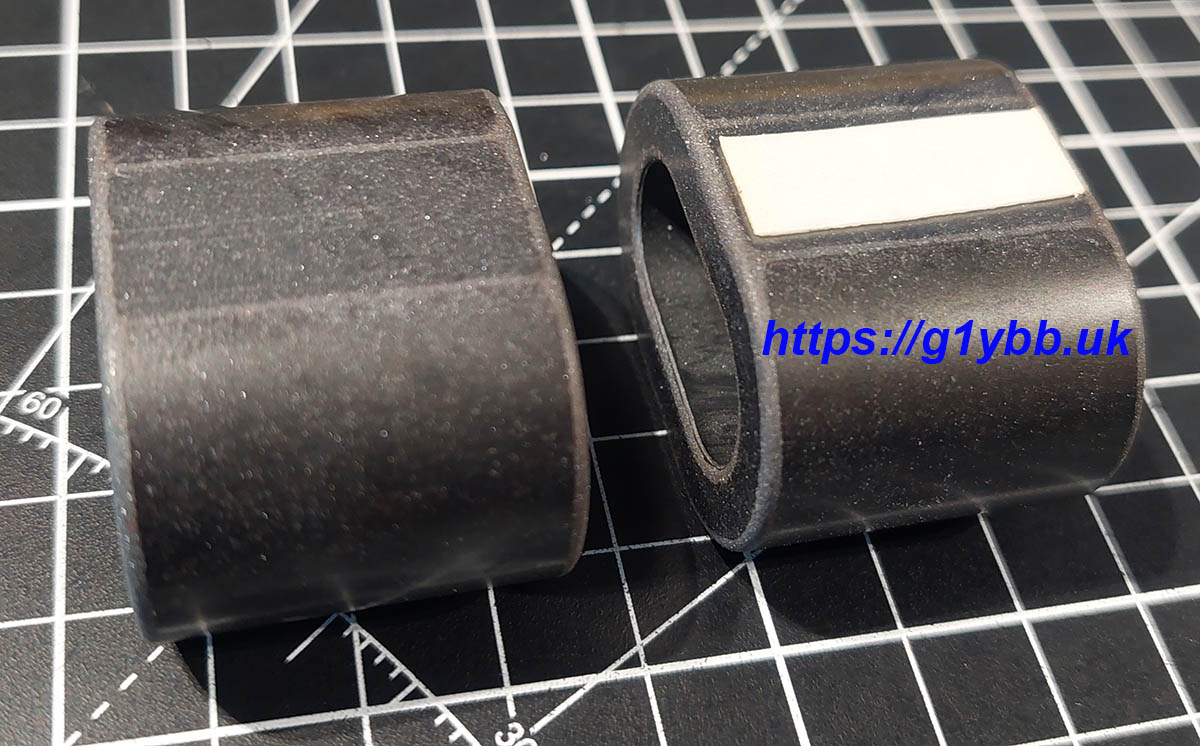
I then used the desktop and a square to align them up nicely to stick them together. This method would work well with superglue too:

Winding the 3 turns through these was a lot easier than the larger core.
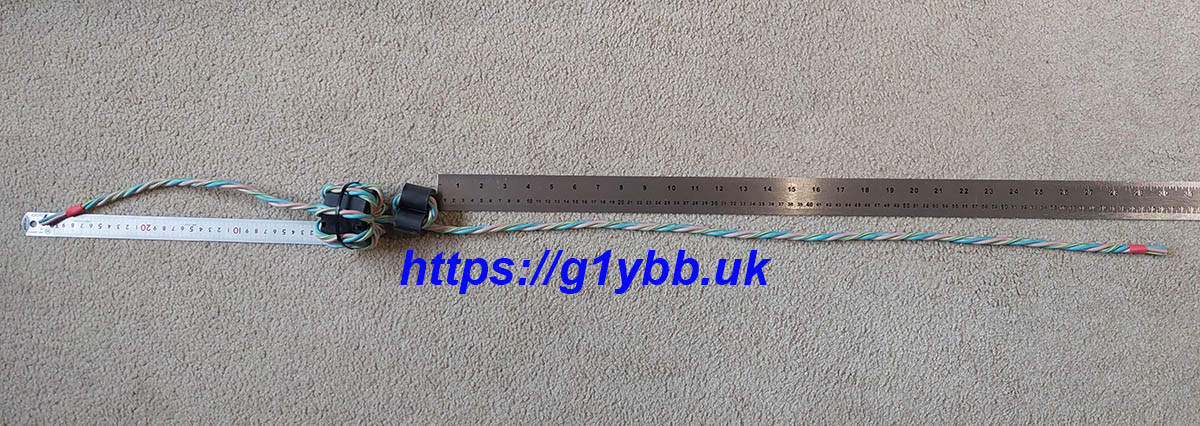
Here are the two chokes wound and rulers showing the spare length. 30cm on the input side and 75cm on the output side. So 2m would probably have been plenty. But it’s easier to cut some off than add some on.
Soon I had wired the input cable and the choked cable to the chassis mount filter. I stuck down the 2 oval cores choke with mode double sided tape. The large choke touched the lid so not required:
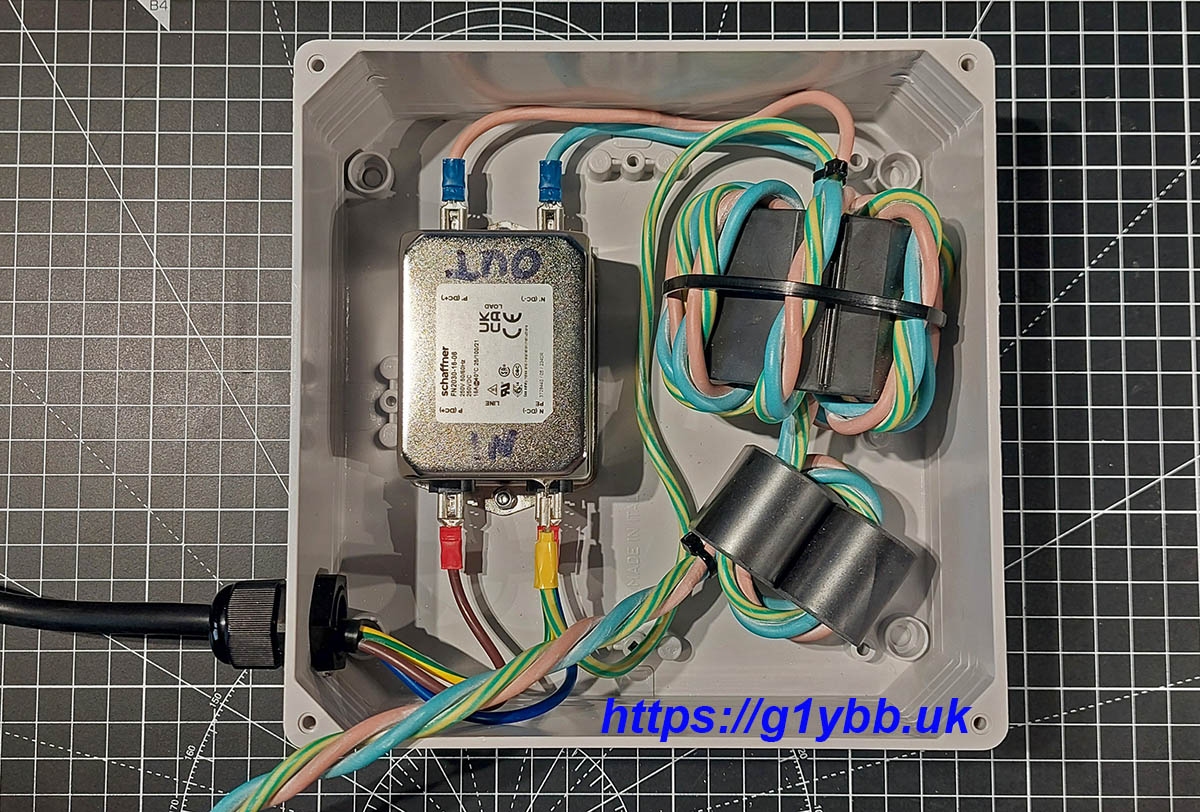
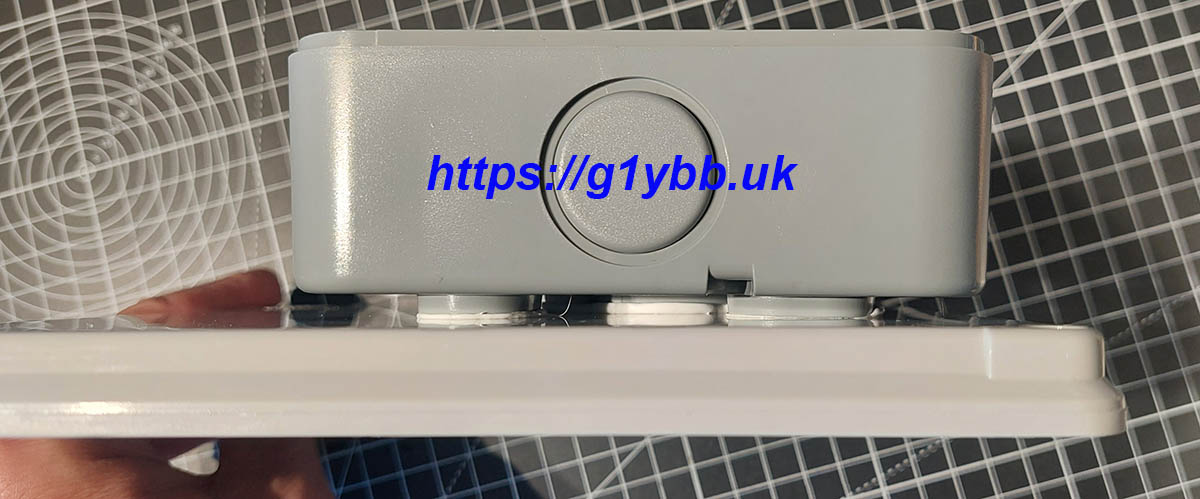
You’ll notice I only have one gland fitted to this box. As this is designed for my portable operating I want it to go between the generator and my extension lead so I am using a single waterproof outlet (the 3rd item from CPC above). This was fitted to the main lid with M4 countersunk and more nylocs and a centre hole for the output cables:
Before fixing these together I applied a ring of silicon mastic around the 5 holes to keep water out:
Output cable threaded through and lid fixed in place:
Once the outlet socket was wired and fitted it is ready to test:

The input lead is kept short, just enough to leave the generator and sit the filter box on the ground.
I’ll add my findings to this page when I test it.