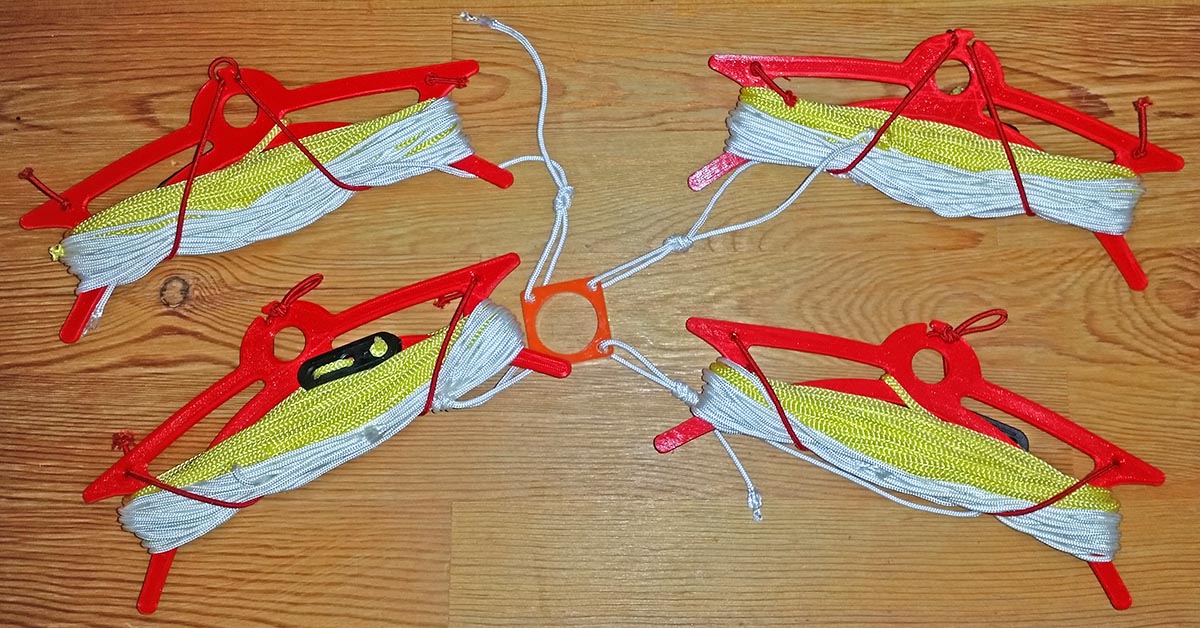
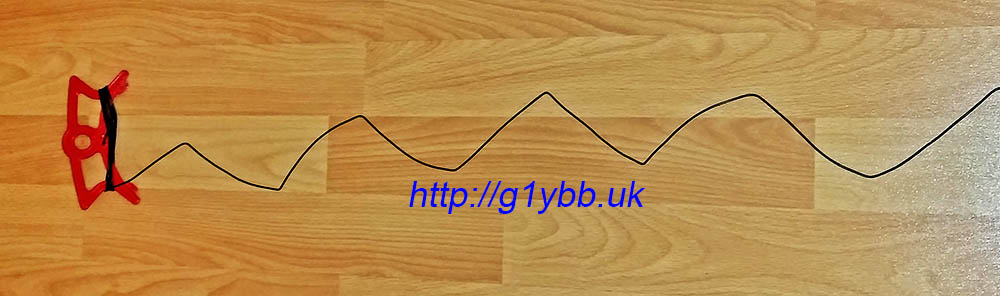
My portable HF 3 band linked dipole for SOTA activations I like to pack the wire away on a spool rather than a kite style wire winder. I find the figure of eight loops put kinks into the wire and I just prefer the wire to lie straight.
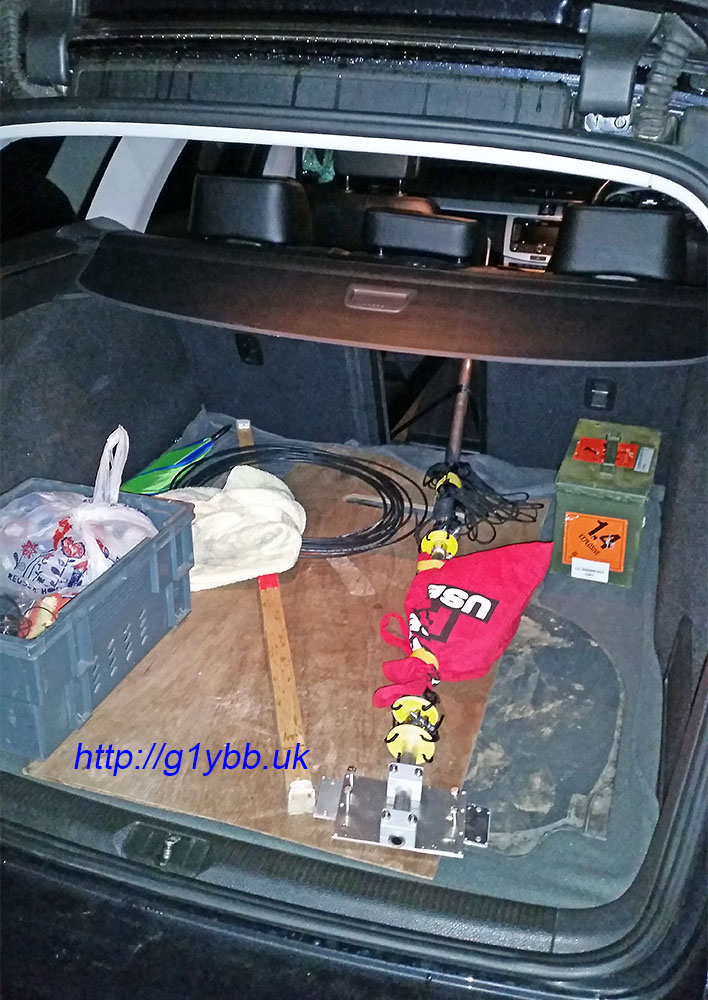
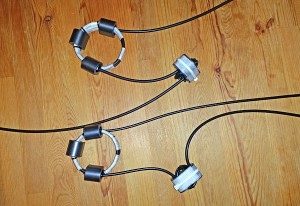
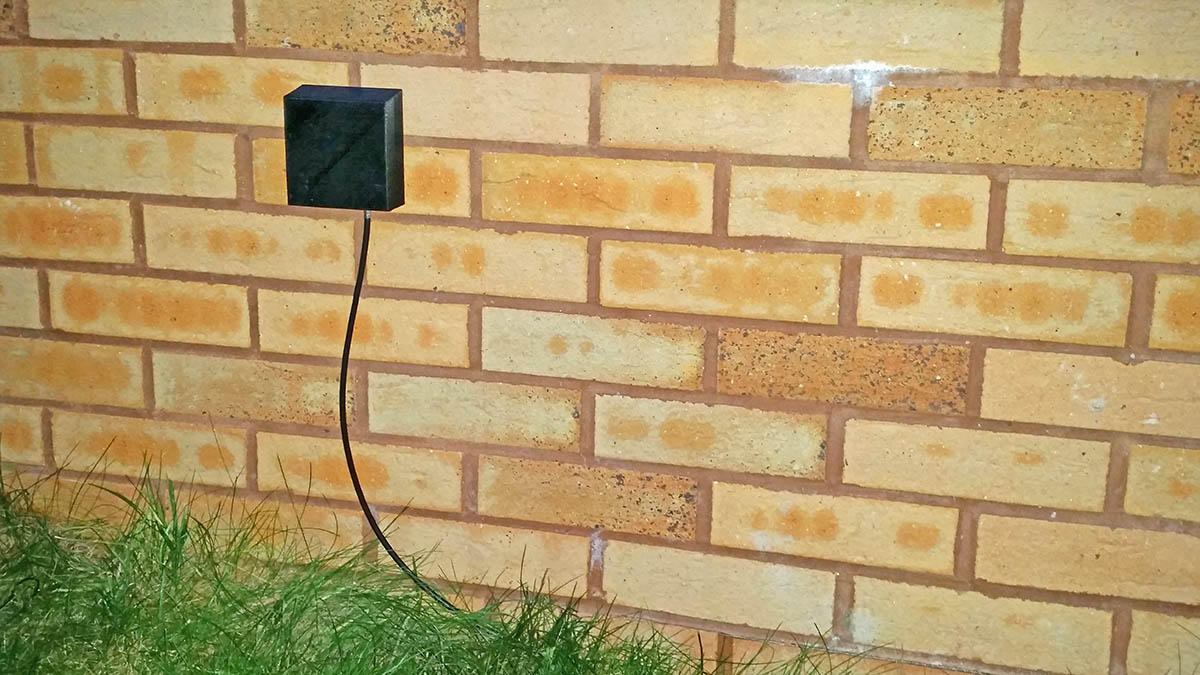
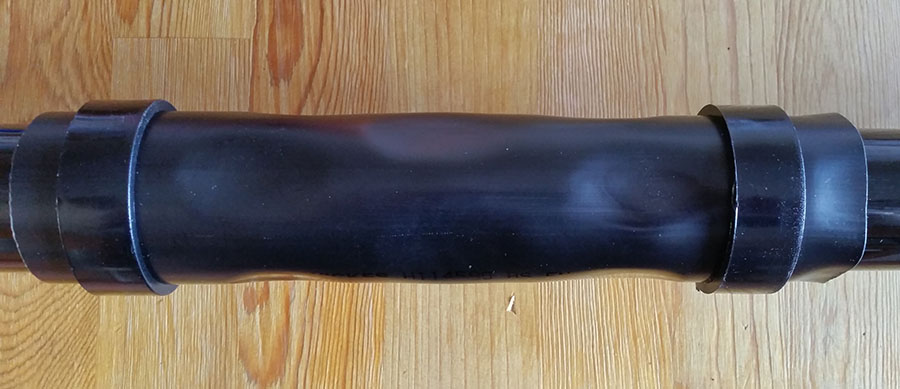
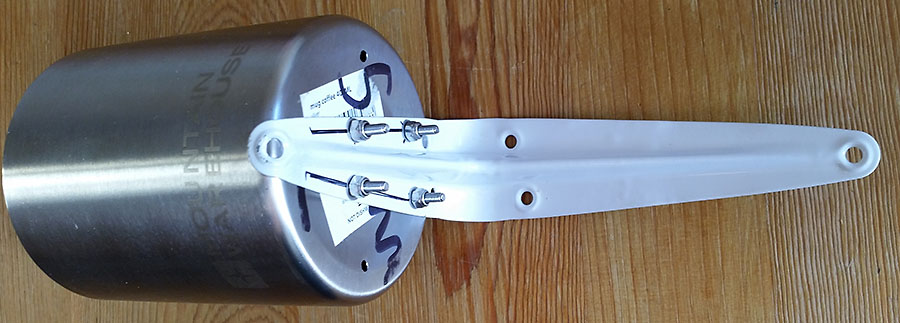
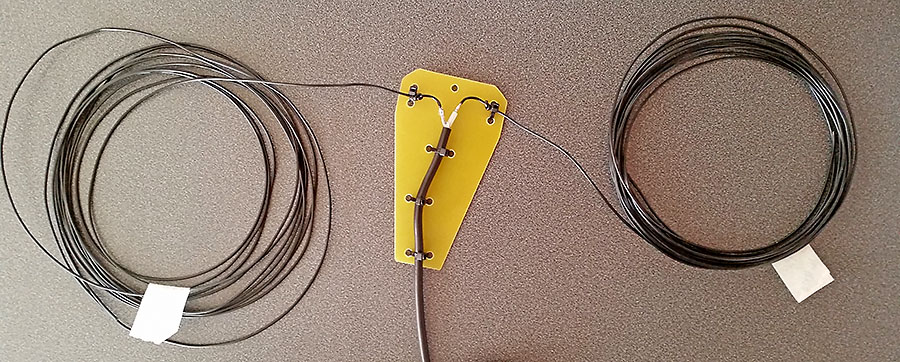
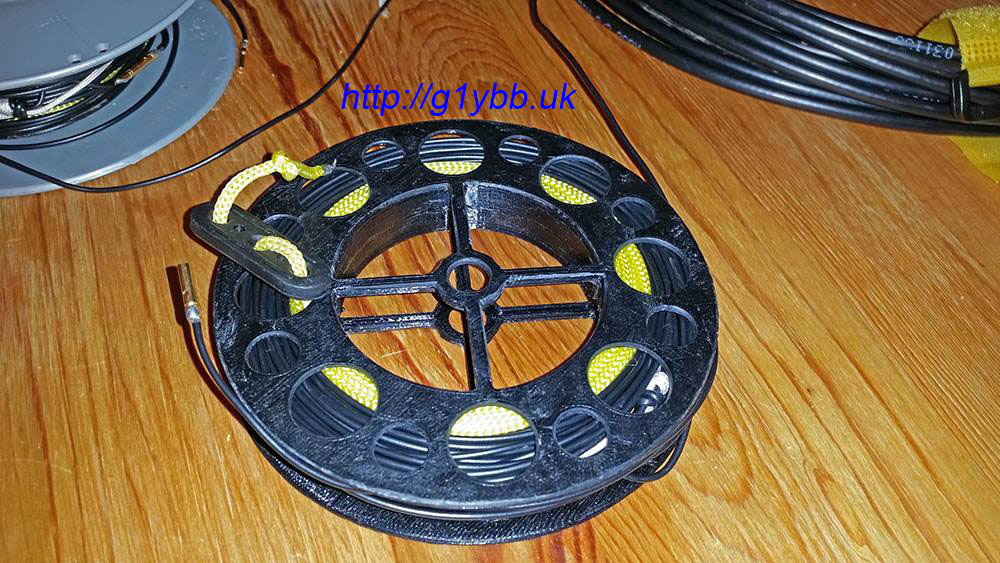
Since I made the dipole I have been winding both halves of the dipole onto one shared spool like so (picture is an older dipole but the spool is the same one I now use on the portable dipole):
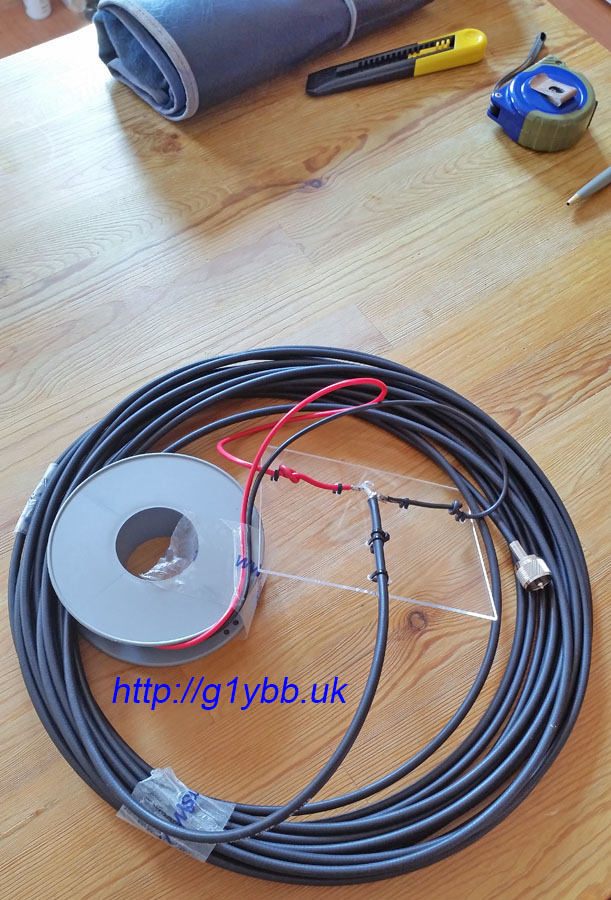
I use this spool as it’s the smallest I have to hand and has the capacity for both wires including their integral guy strings each end. This is OK in that it keeps the wires lovely and kink free but it takes a while to wind them onto the spool, and bringing one half of the dipole to the other invariably involves unhooking it off every tiny thistle or twig on the ground. Also the two halves love to tangle together.
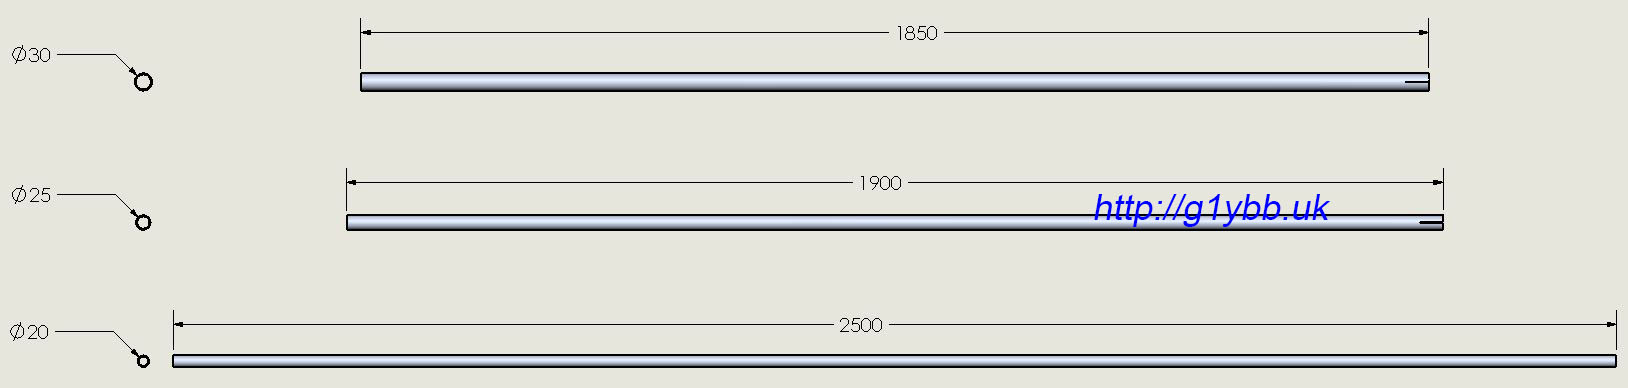
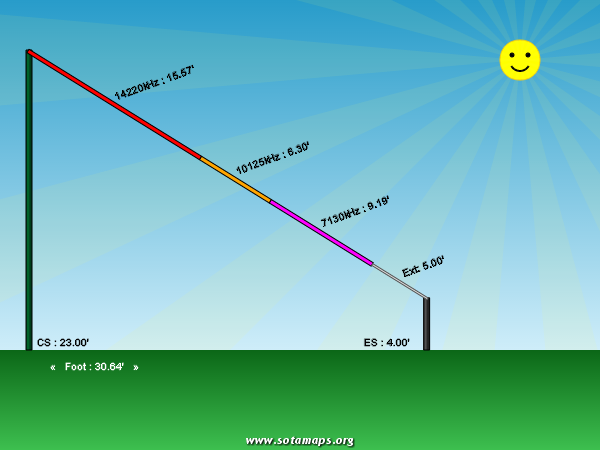
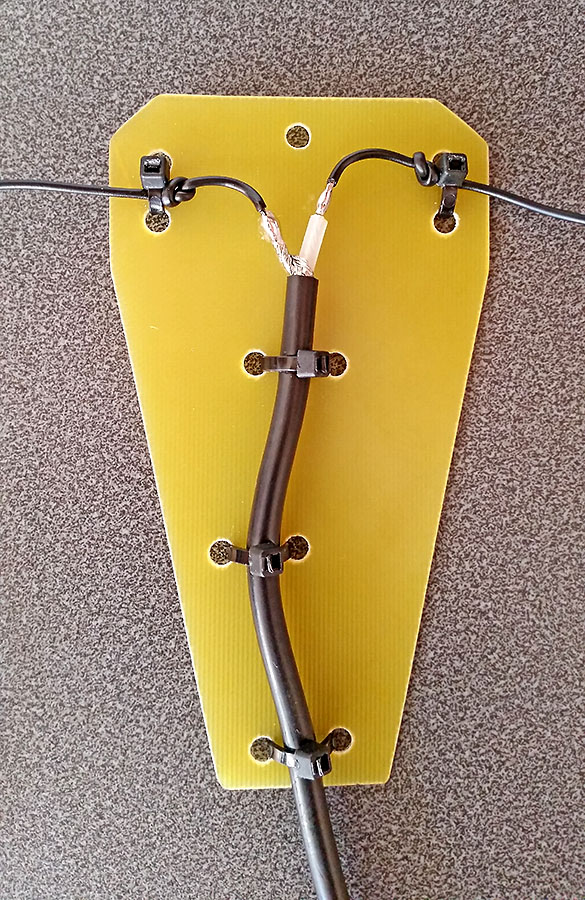
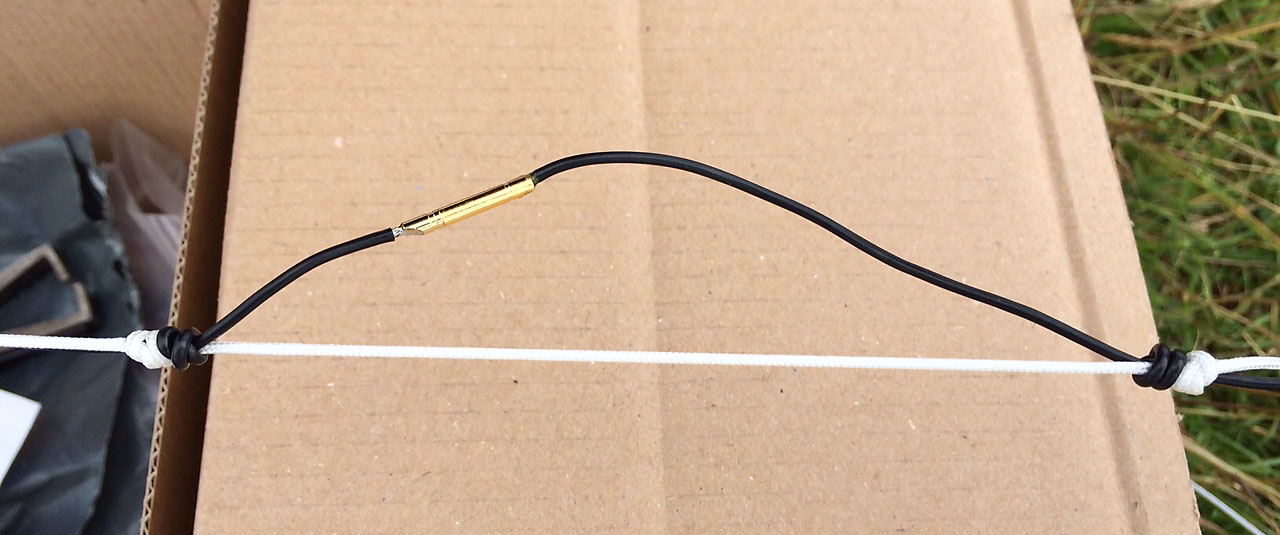
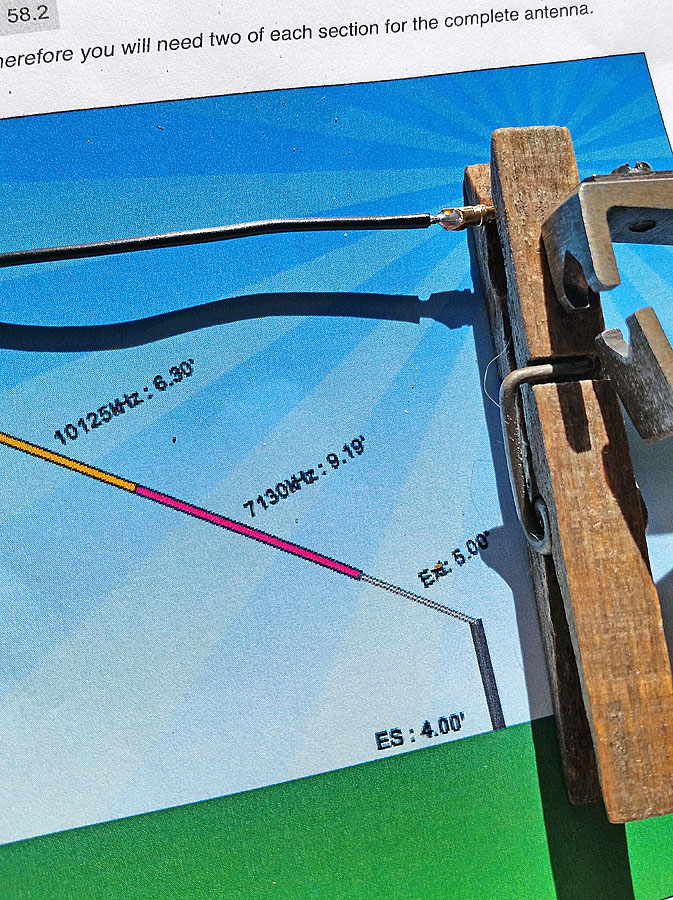
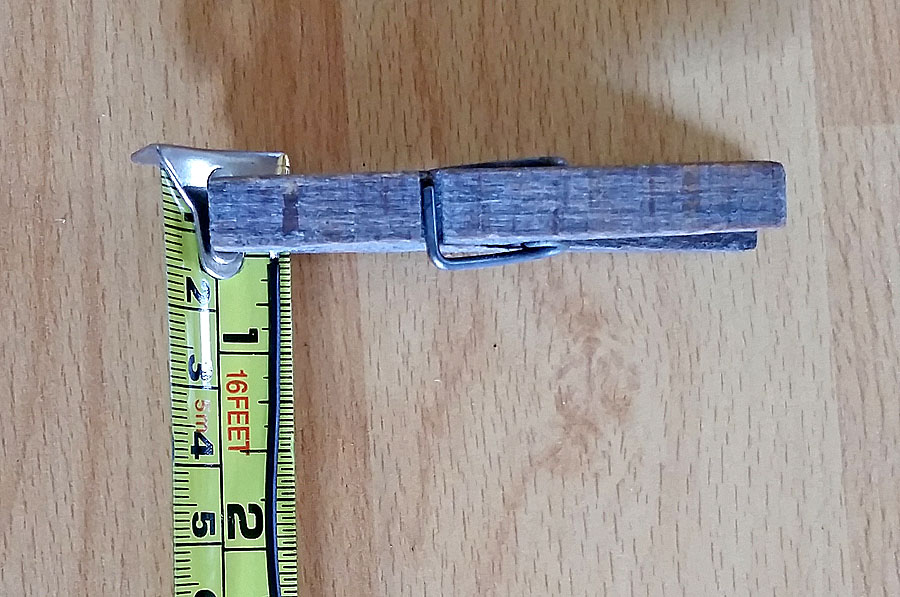
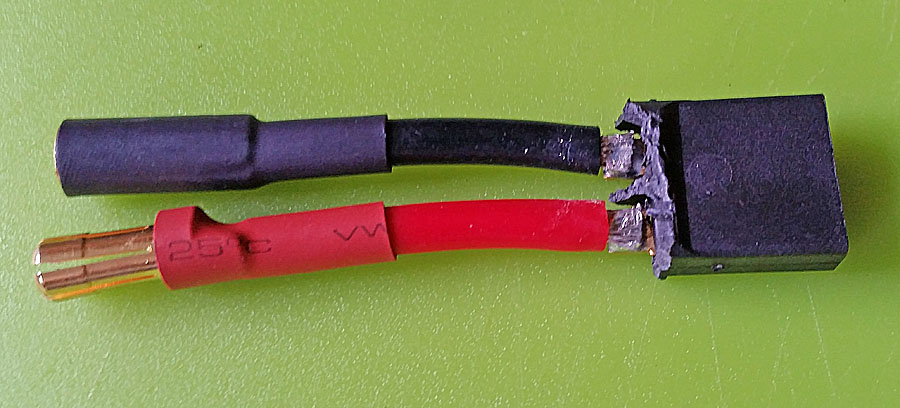
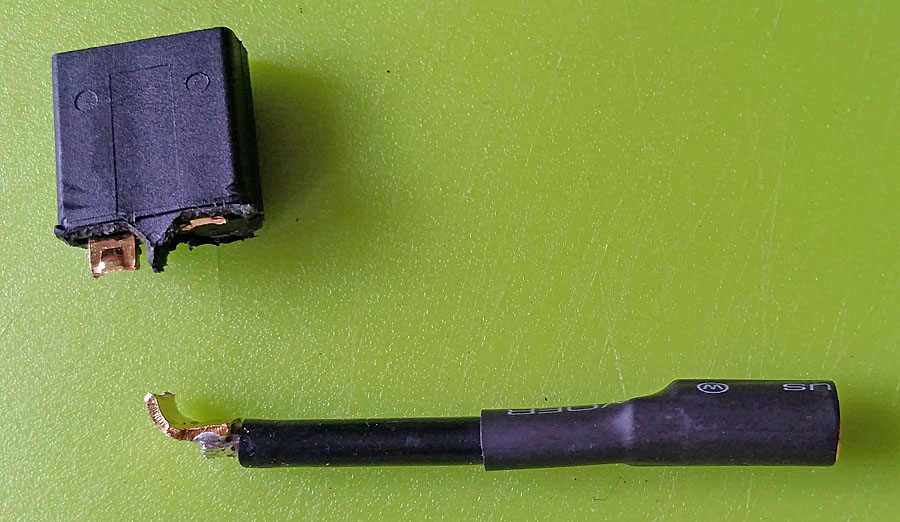
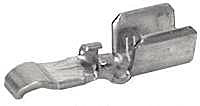
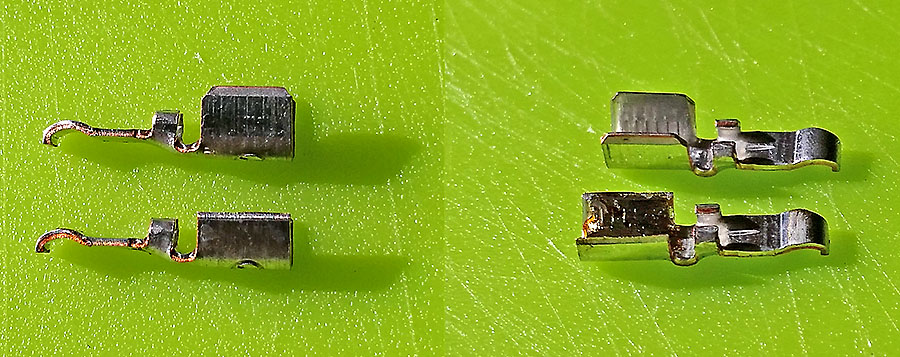
My dipole (described here) is for 20m, 30m and 40m with small bullet connectors for the links and is made from insulated 16/0·2mm wire with 3metres of 3mm nylon guy line attached at the end of each half.
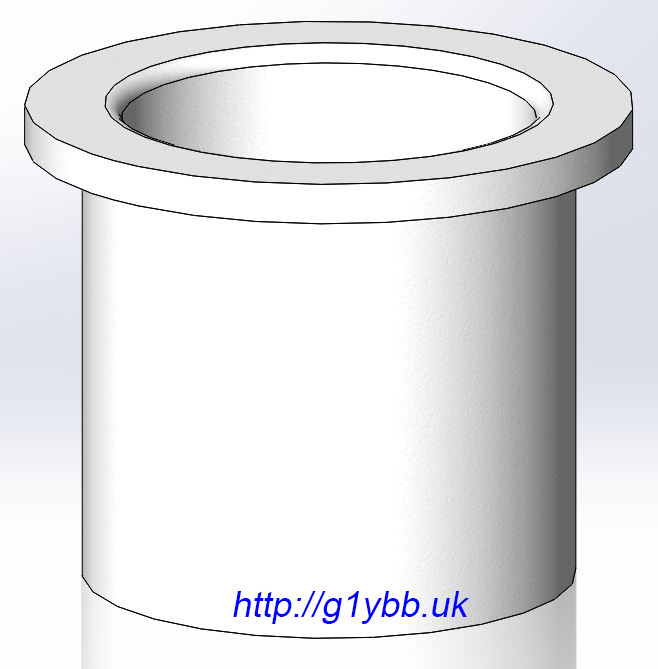
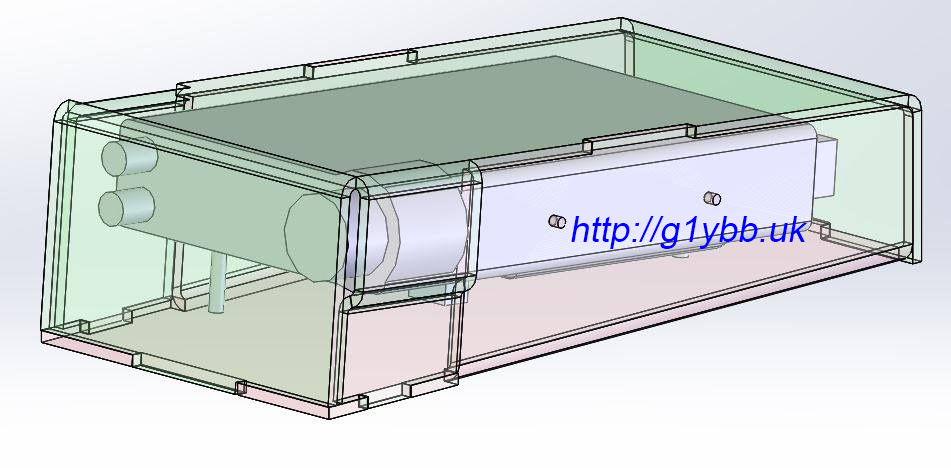
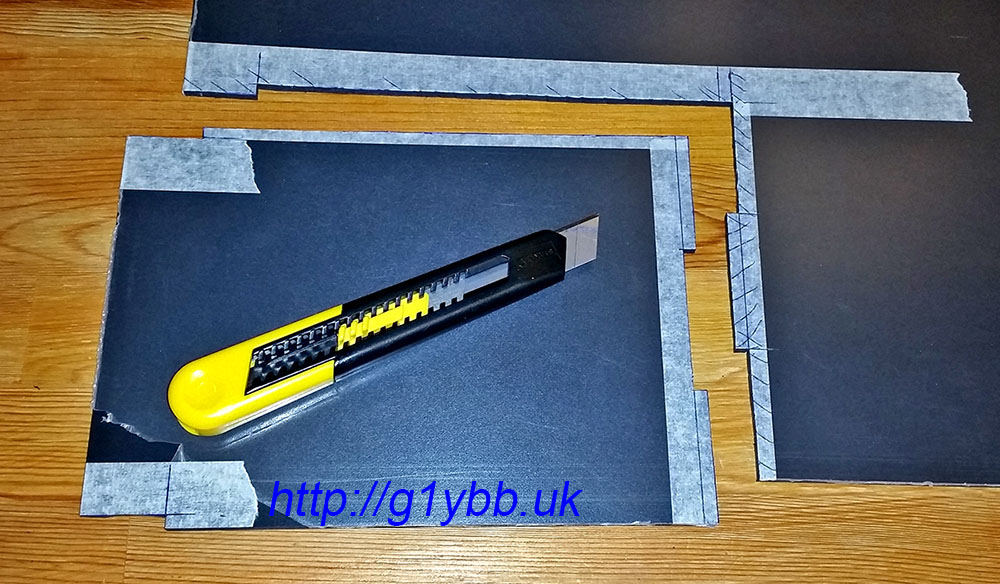
So I decided to model a smaller dedicated single wire spool to separate the wires and make deployment and packing away easier and faster. This would be 3D printed by my friend Paul so the design needed to be suitable for that, ideally with no time consuming support structures needed during the printing. It would be in ABS so a two part (identical halves) design was used which would be cemented together. The cement works like a weld essentially melting the two parts together. Loading on this part is very minimal anyway.
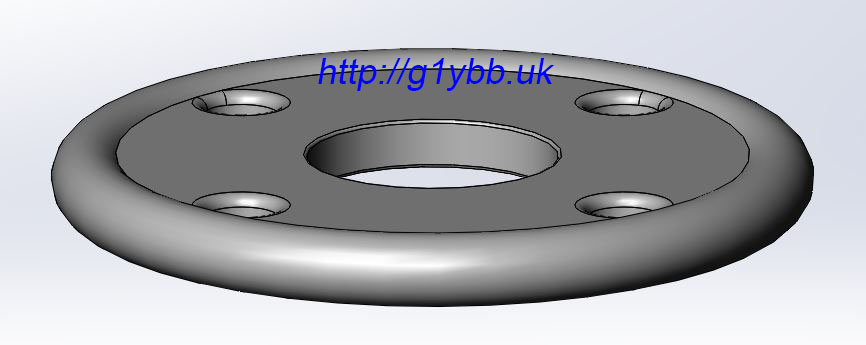
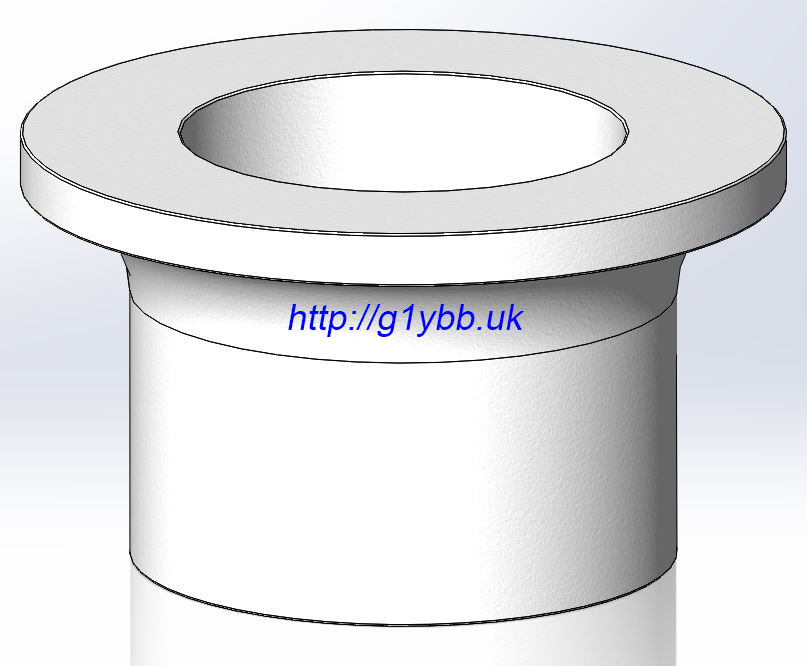
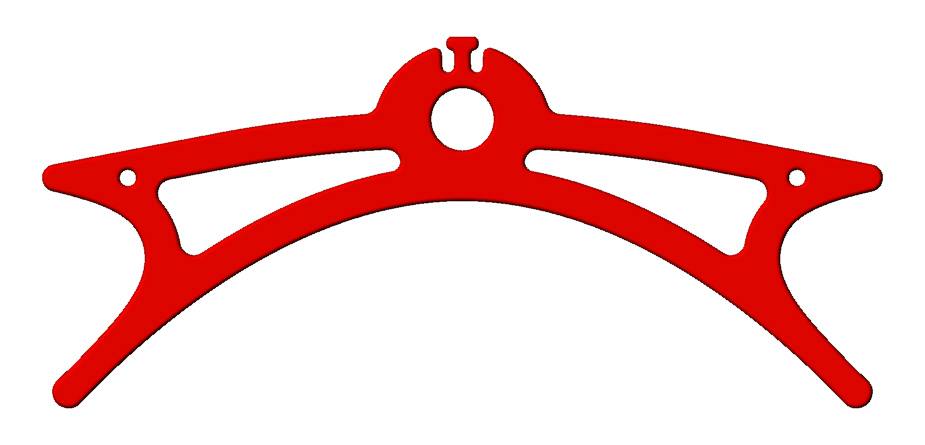
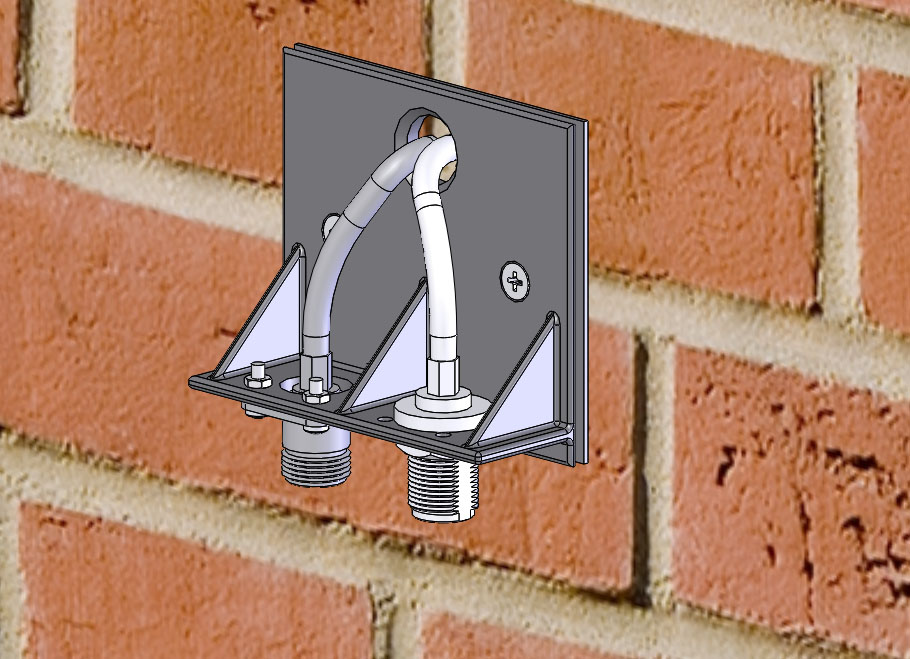
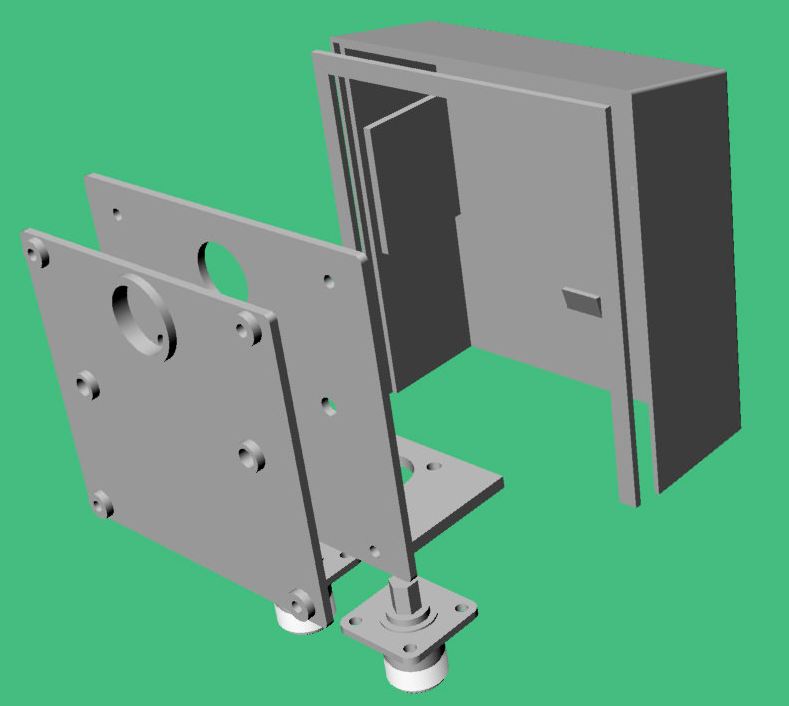
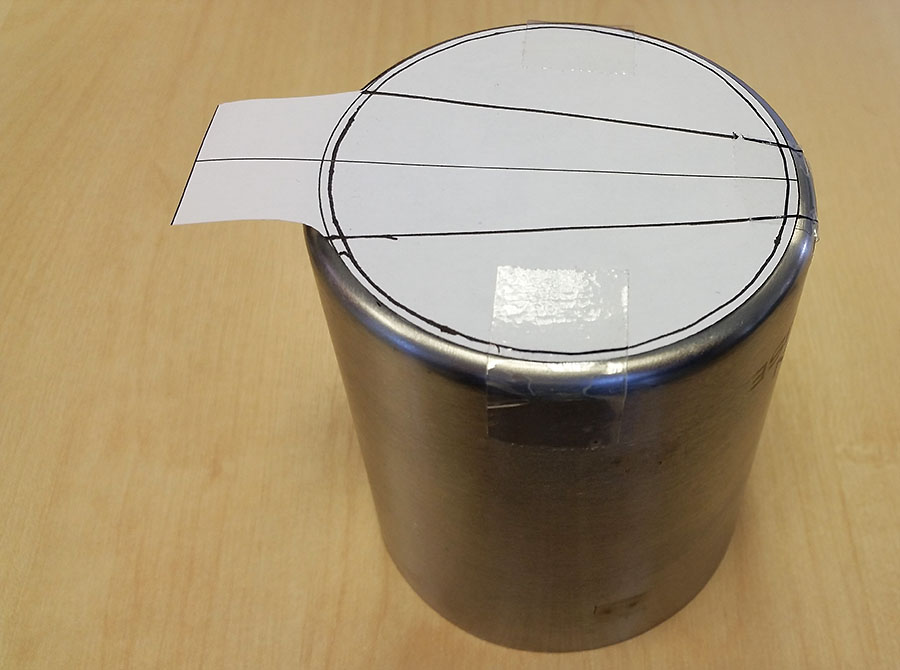
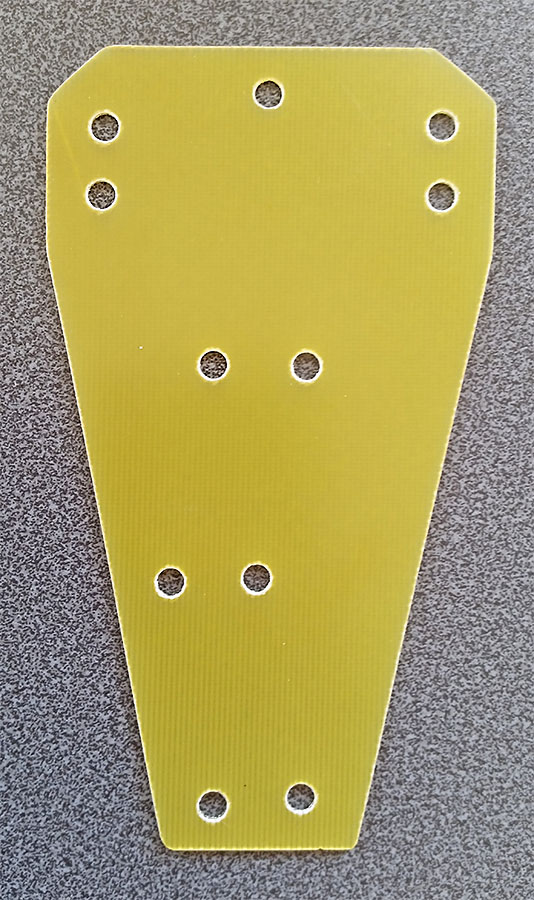
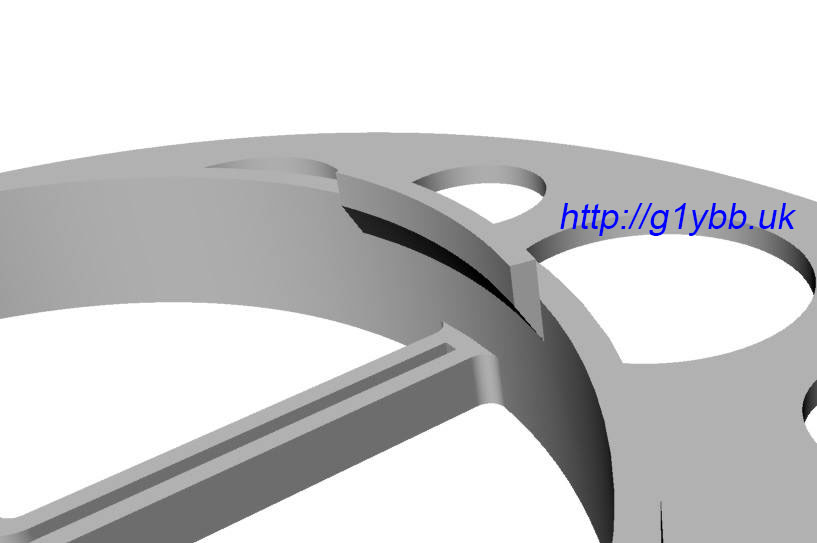
This is the design I came up with:
The design features were to be:
- Lightweight. I wanted the two spools to be equal or less weight than the existing single grey spool. I am always aware of ‘feature creep’ upping the carry weight. A large central drum and shallower cheeks keeps weight down, as do the weight reducing holes.
- Function. Obviously I need it to take all the wire without overflowing but not have so much capacity I was carrying dead weight.
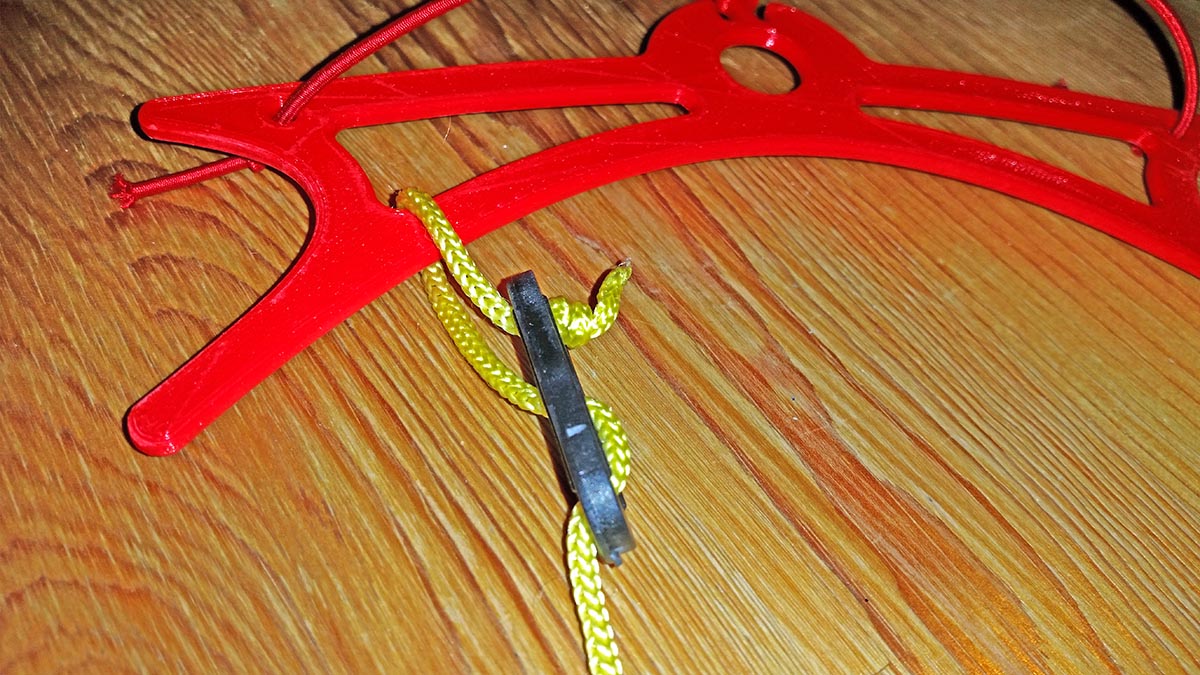
- Usability. I wanted to make it easier and faster to use. The larger internal drum size means more wire wound per revolution and the cross members in the sides are sized to allow a gloved finger from each hand to fit in quadrants 180° from each other to make a simple hand winding action. Additionally the larger weight saving holes were sized to allow the plastic guy locking buckle to pass through to make starting the winding up of the guy very easy.
- Bonus features. I realised when adding the weight saving holes that a good airy pattern of holes would greatly help with natural airing and drying out when packed away wet. I also added some internal locating lugs that would self centre each half during the cementing together process (a request from Paul after the prototype build).
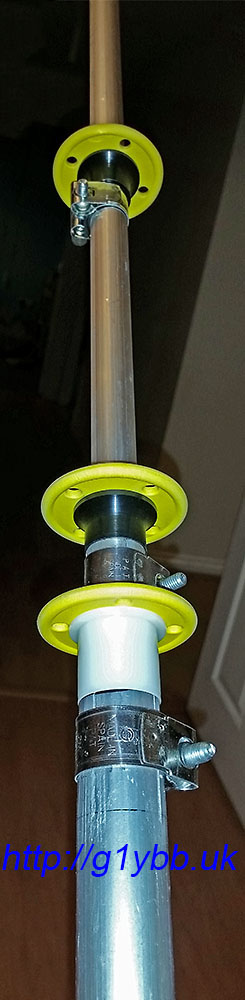
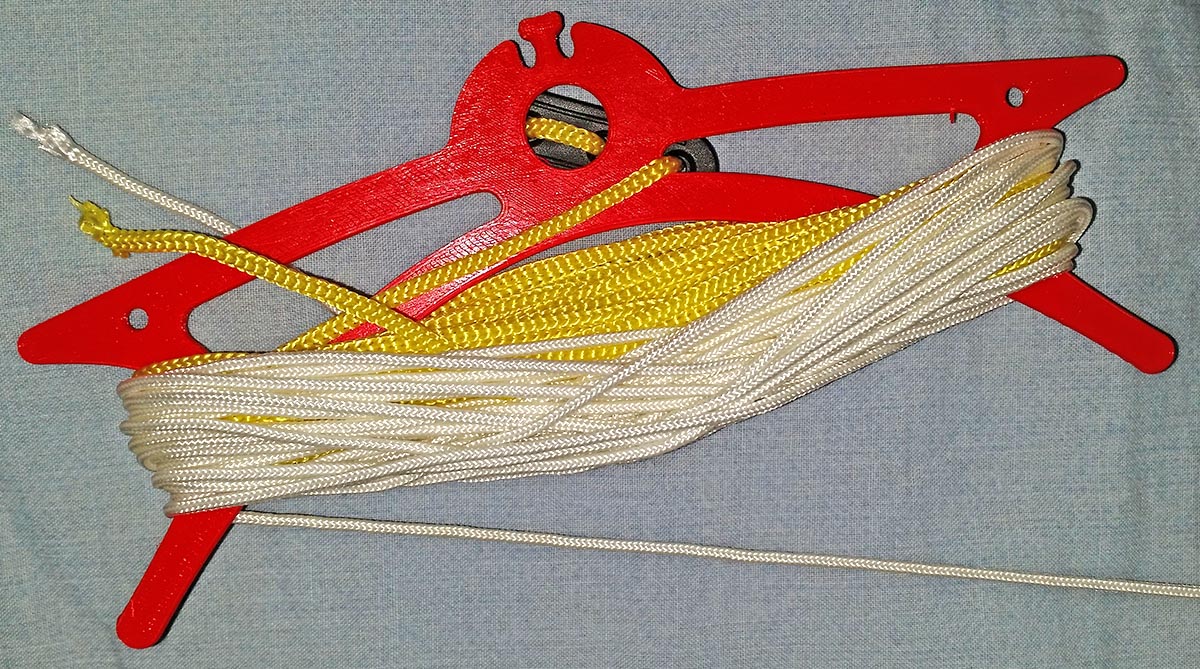
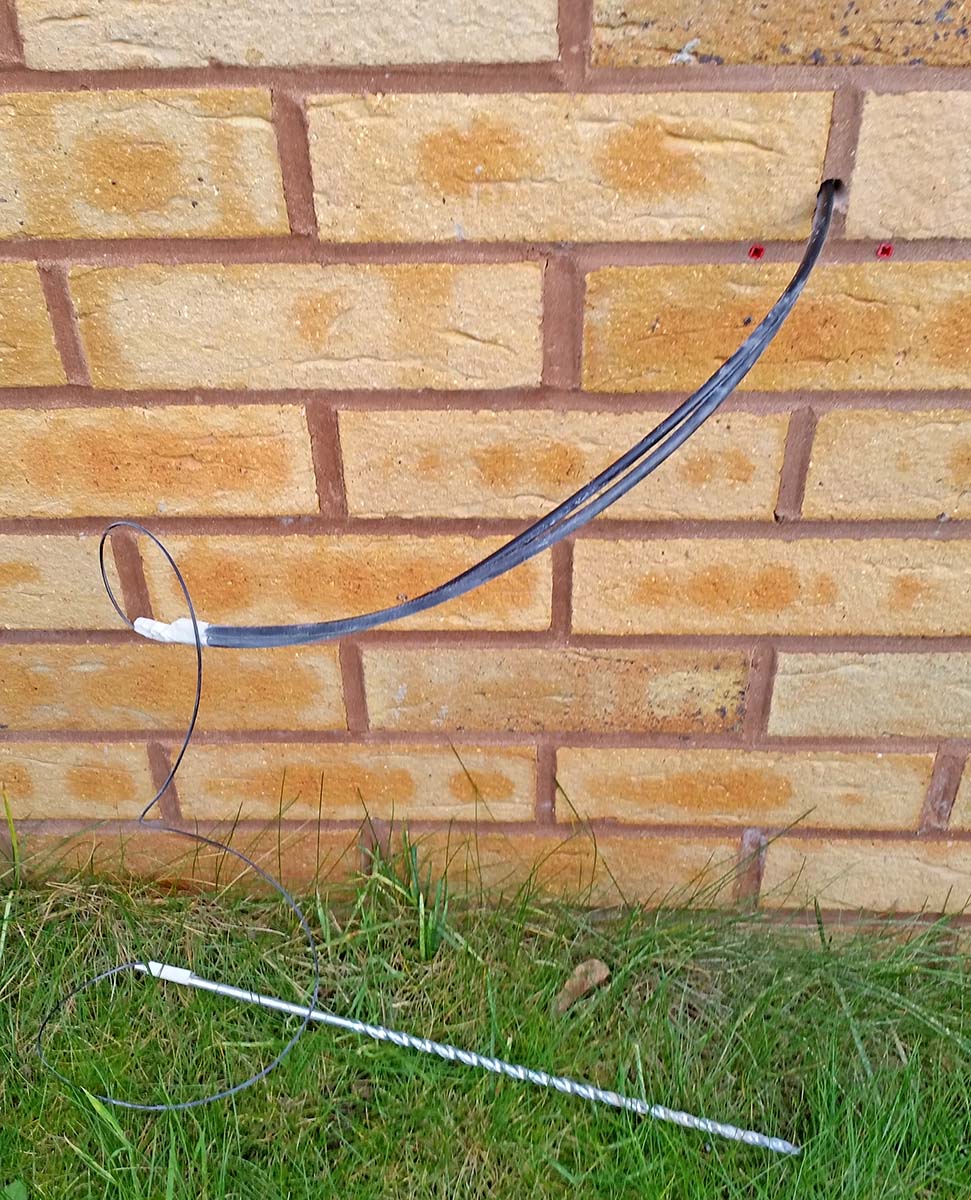
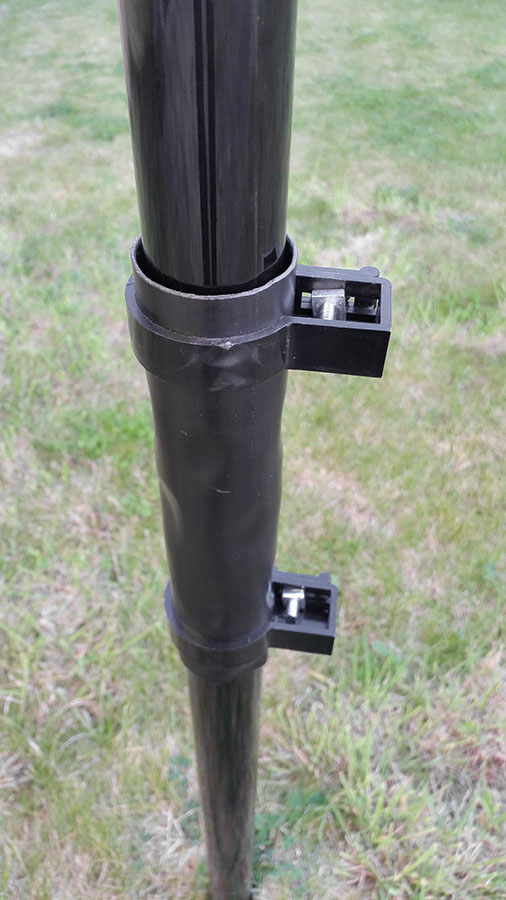
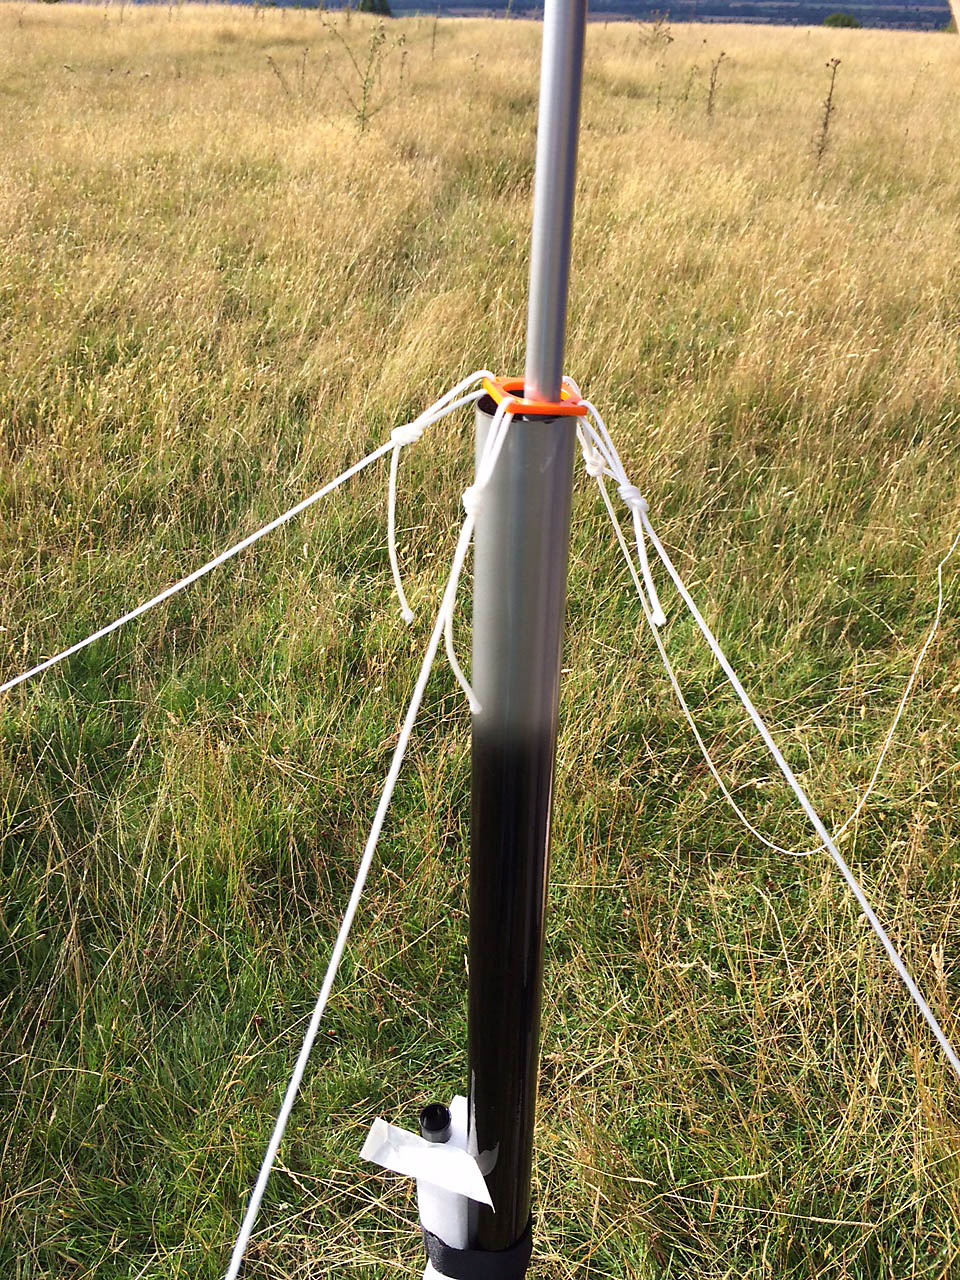
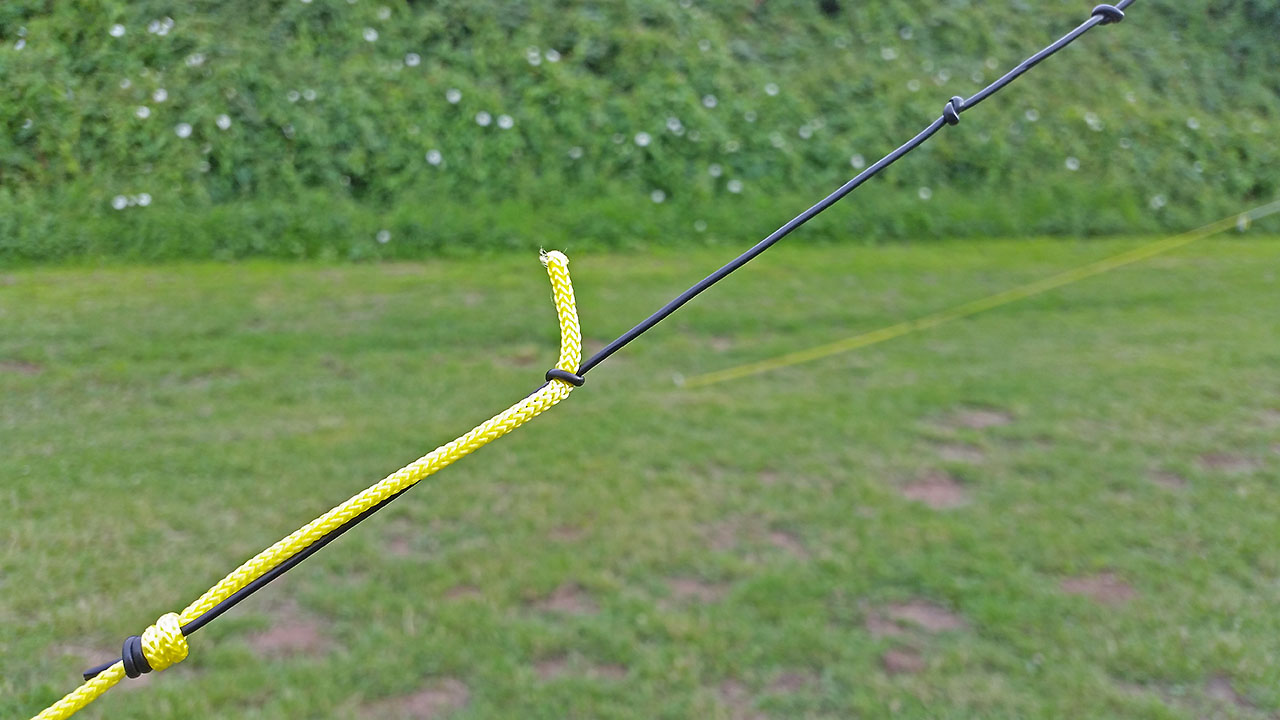
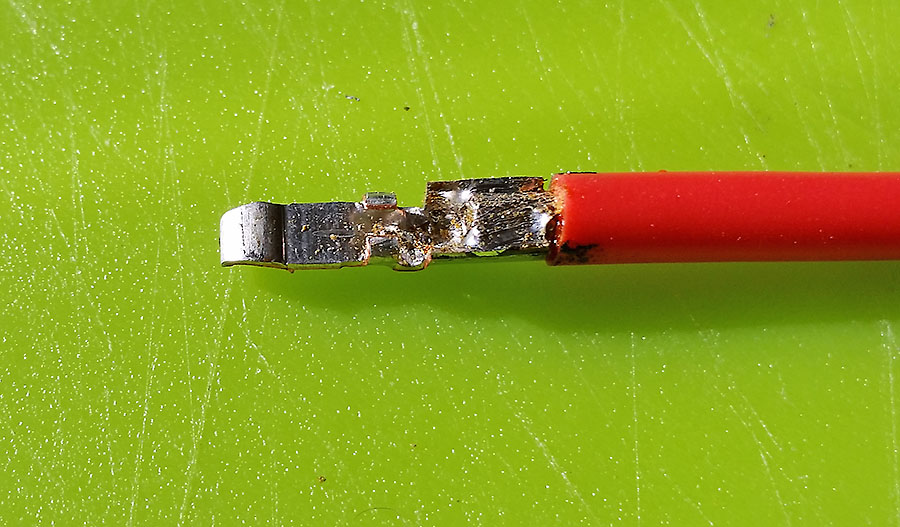
The 2nd version soon arrived and was tested with the dipole. It was definitely much easier and faster to wind up the single dipole half which fitted nicely in the spool capacity (that’s an open 20m to 30m link sticking out):

Deployment is extremely fast as the spool is small enough still to use a thumb and finger of one hand as an ‘axle’ on the centre hole each side (sized to take a pen or pencil for when it’s too cold for dexterous hands) and as I can now deploy each half where I need it immediately with no tangles I’d say deployment is between 2 to 4 times faster which is appreciated when the wind and rain is biting.
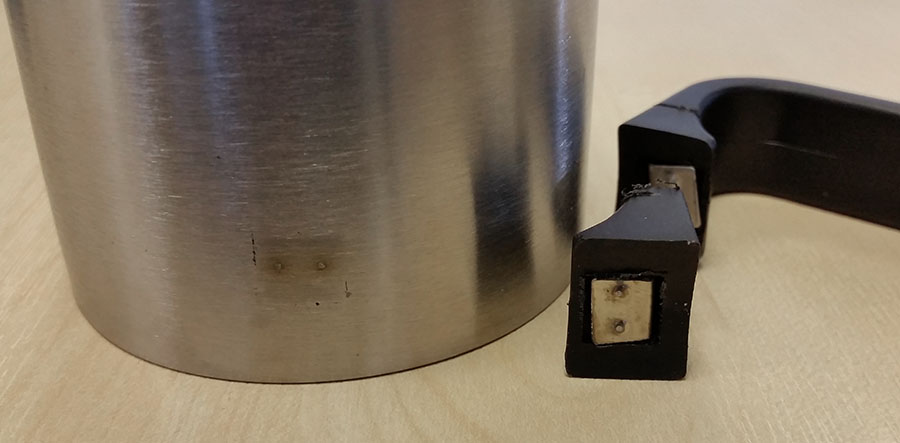
Paul has made a small improvement to the design for printing purposes. My location lugs had such a small surface area they did not have time to cool down before layers so he has extended them lengthways but removed the vertical part of the lug to keep the volume (and thus weight) the same:
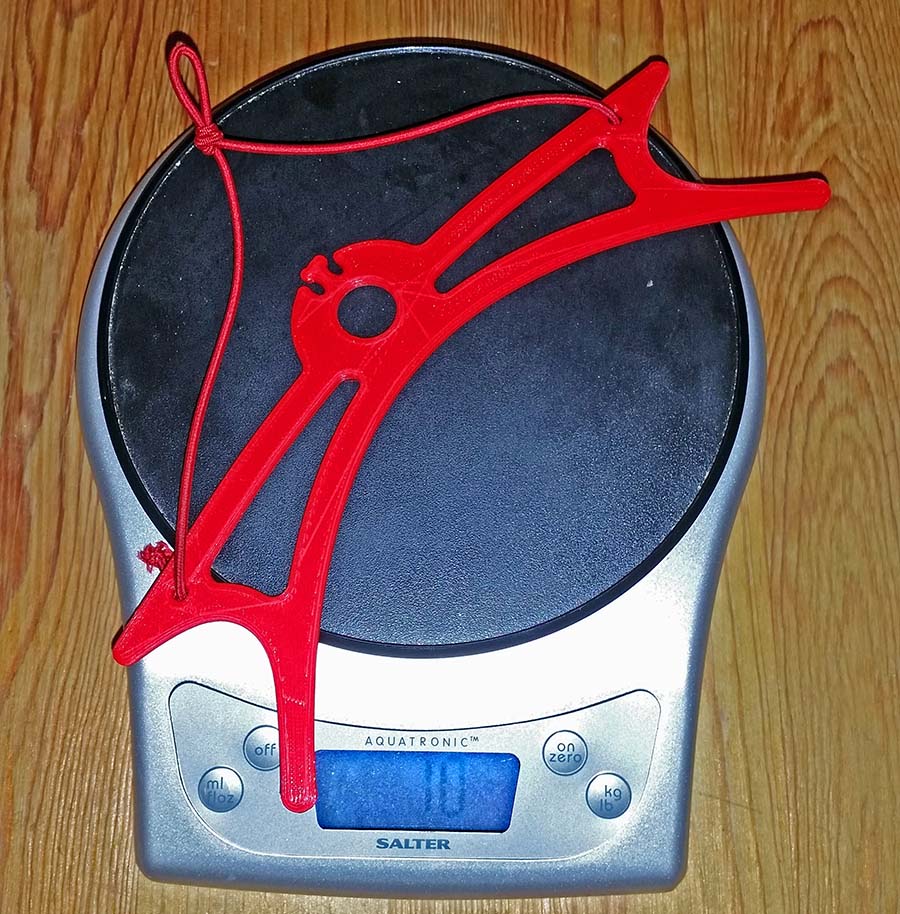
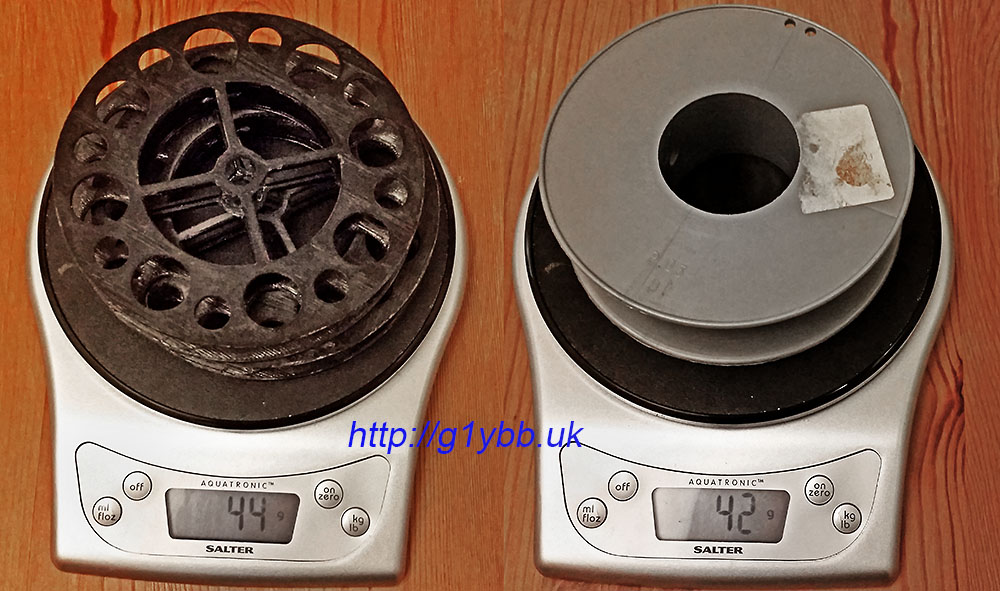
Here are a final pair to make one spool fresh off the 3D printer:
The final weight for the pair of finished 2 part cemented up spools is 44grams. 2 grams over budget but I can live with that for the much better overall system:
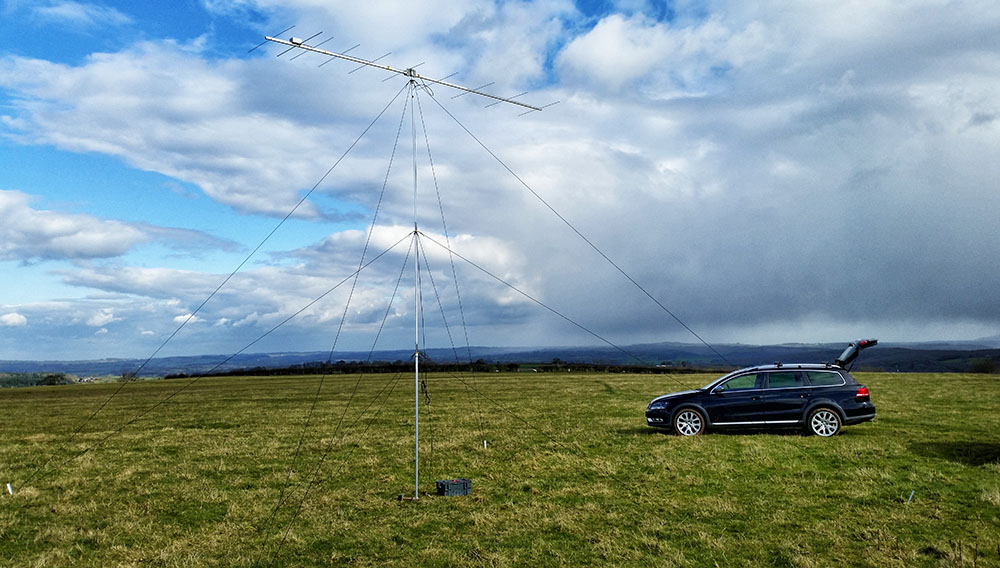
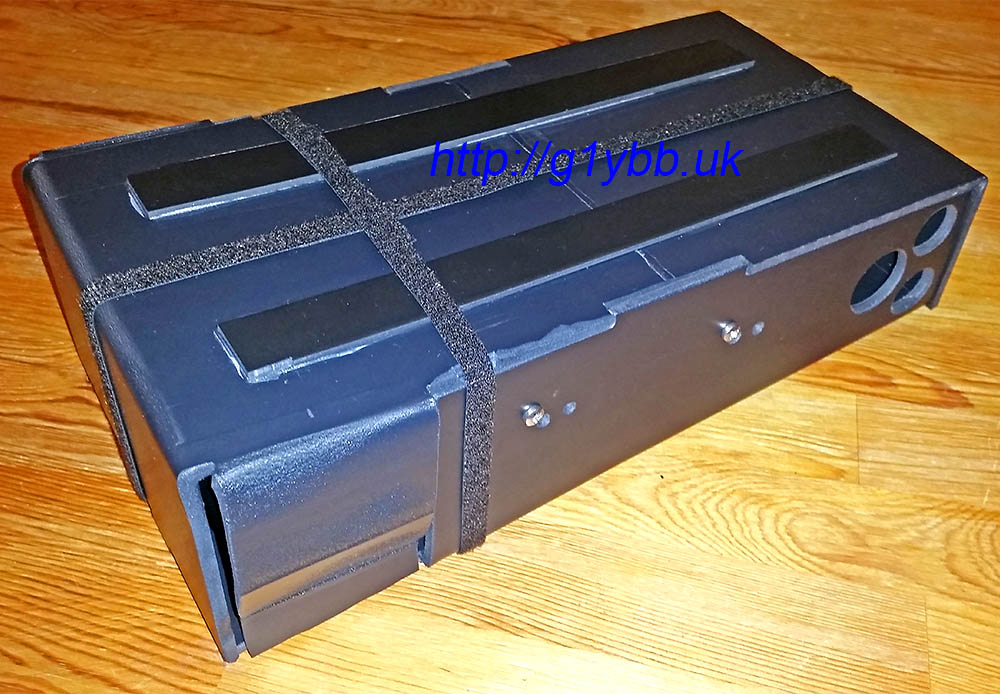
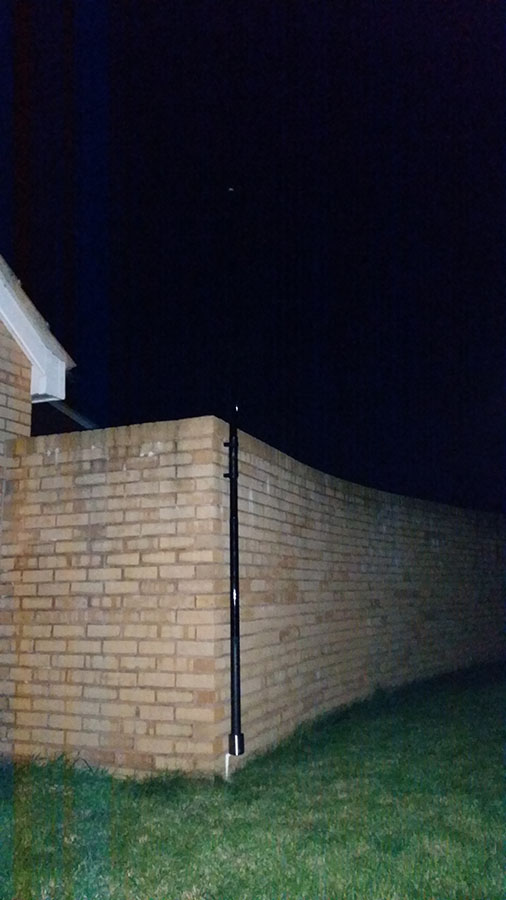
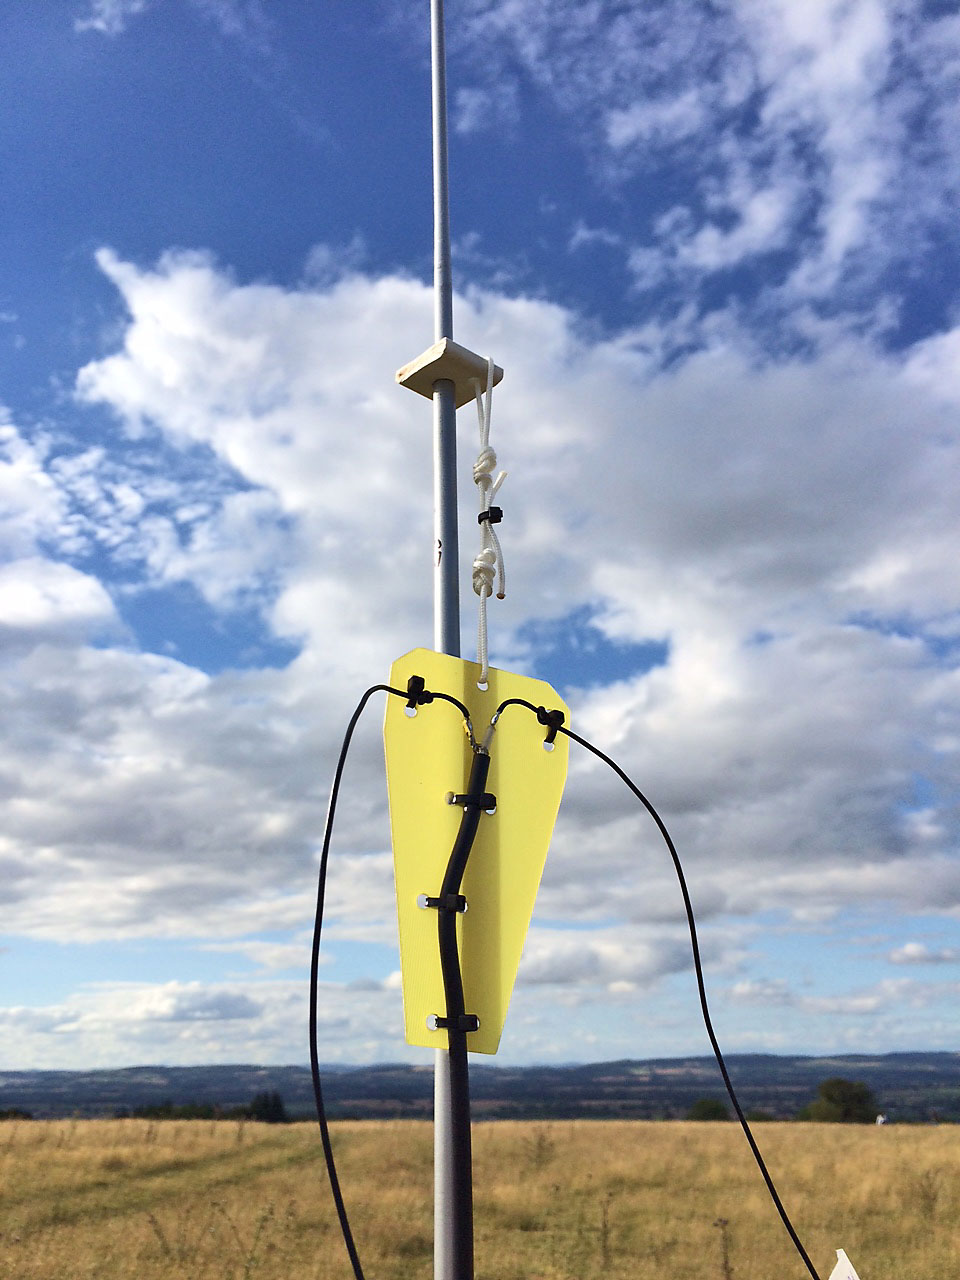
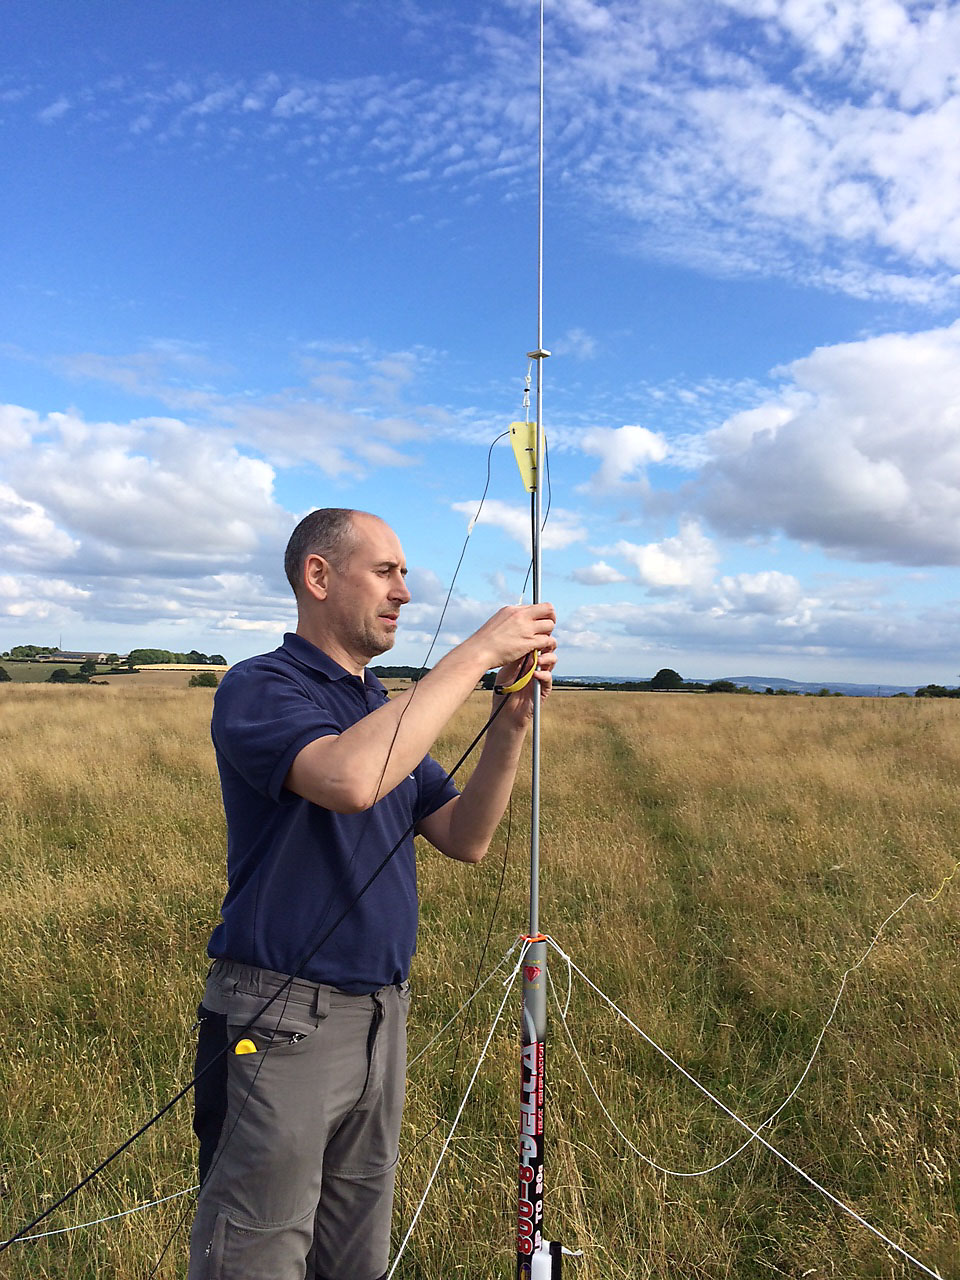
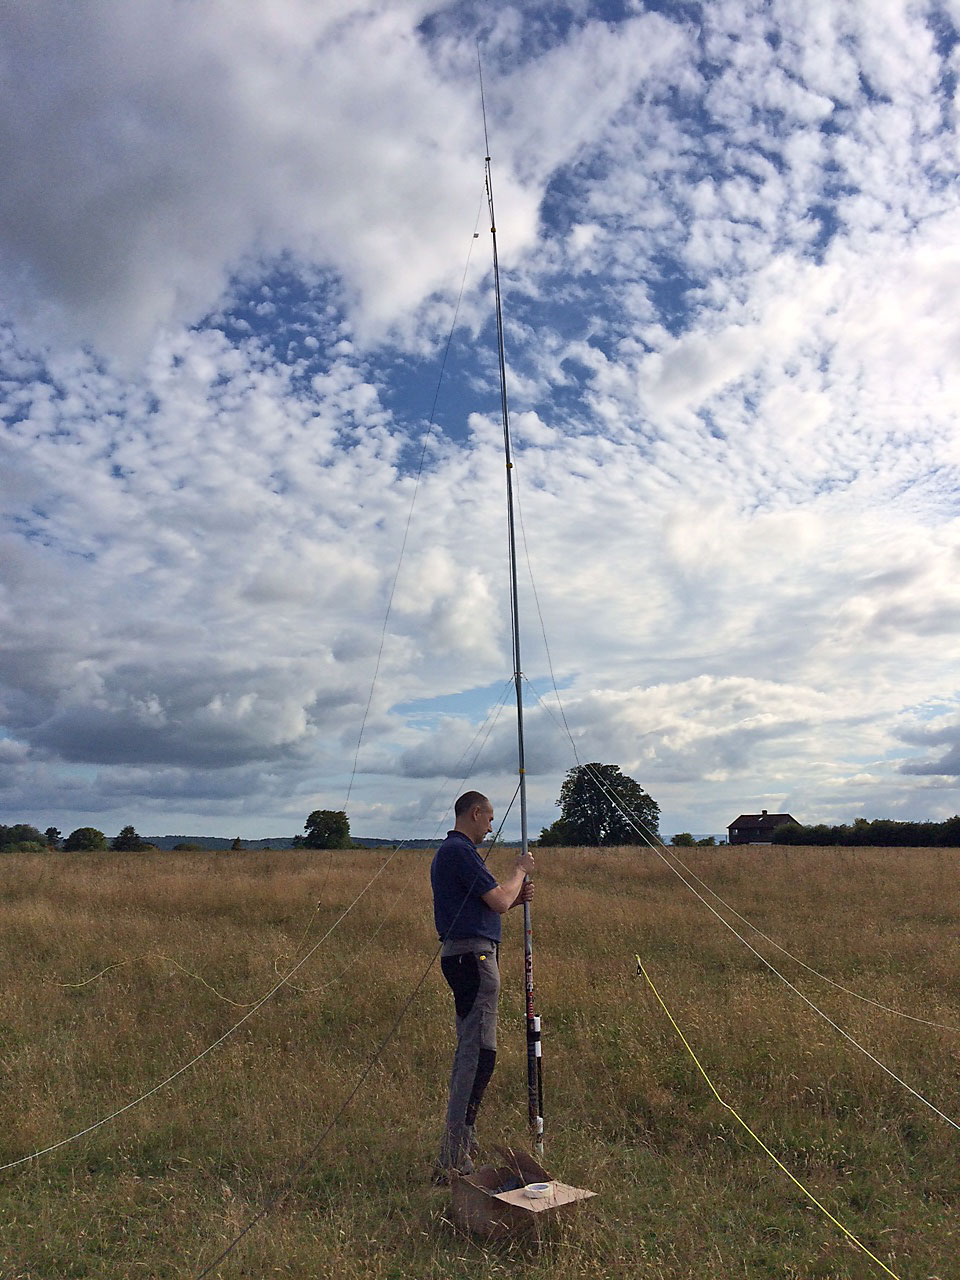
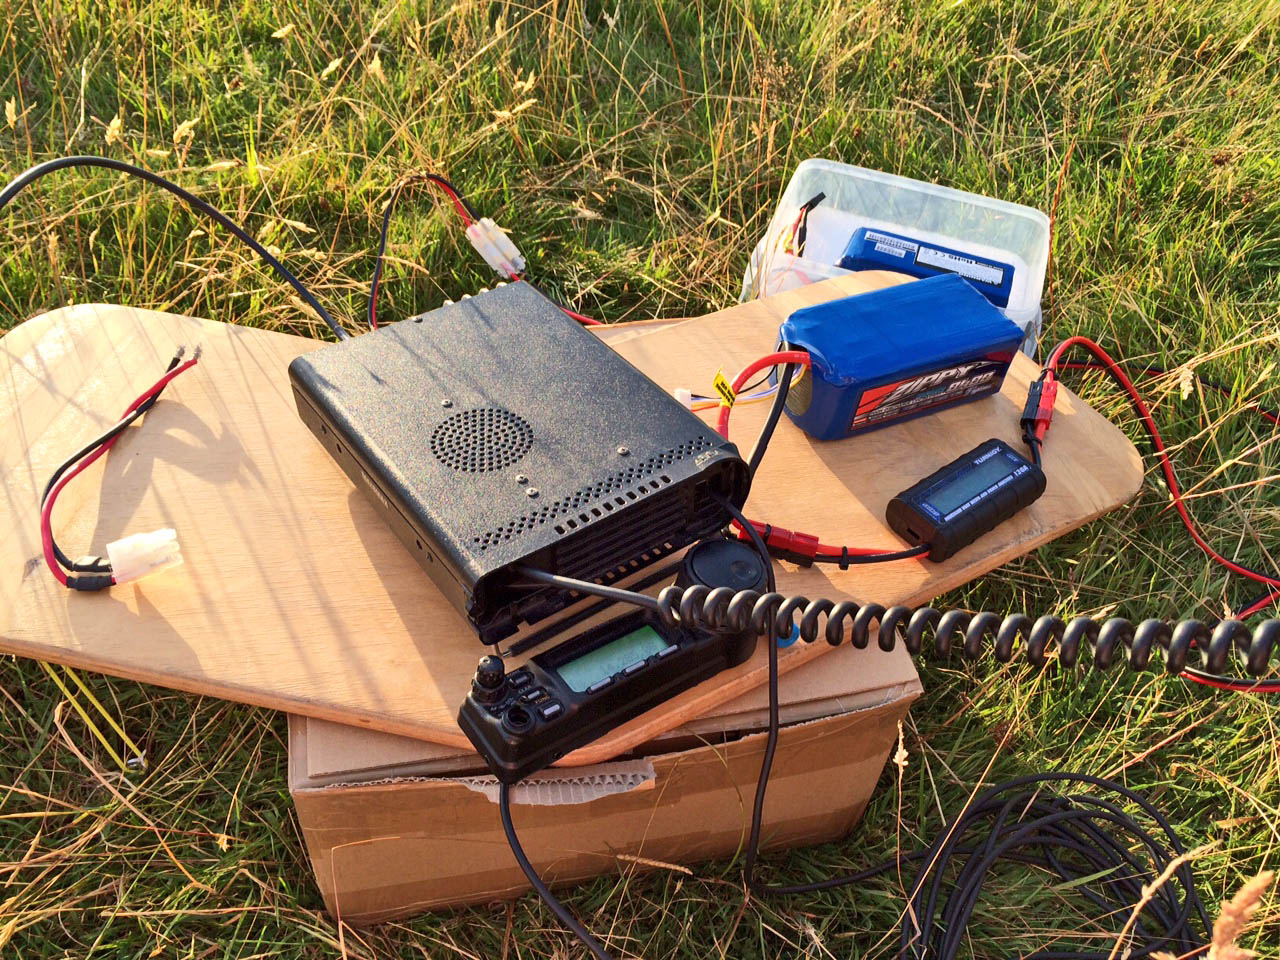
SOTA HF dipole ready to roll, literally:

Quick demo showing deployment and packing away:
If anyone with their own 3D printer is interested is making use of this design Paul has made it available on Thingiverse and Youmagine.
(Obviously your wire diameter and lengths will dictate suitability)