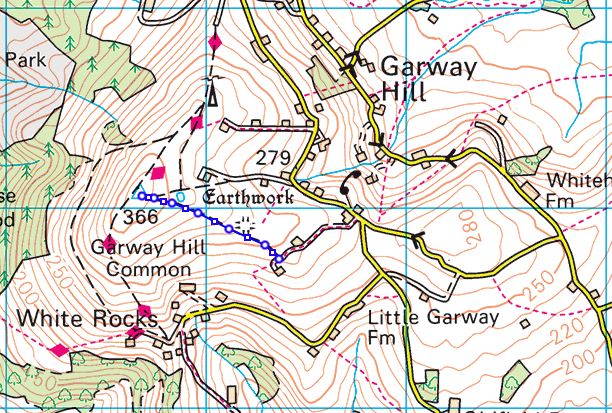
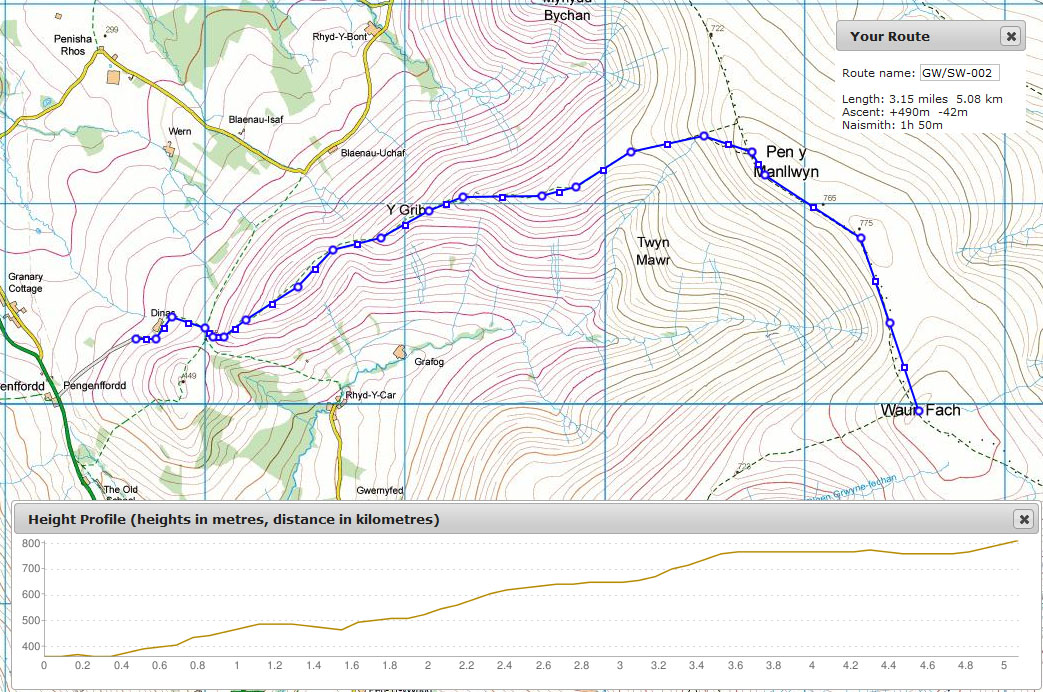
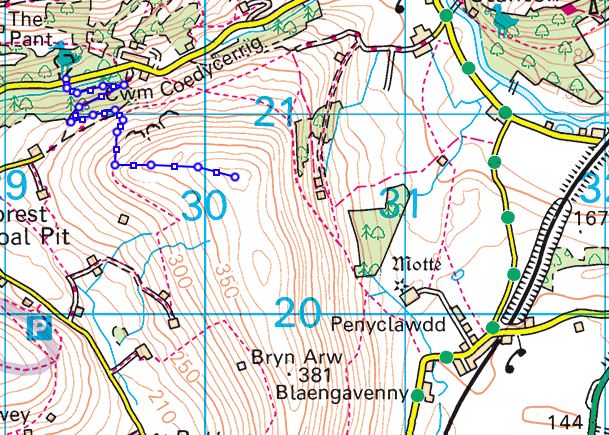
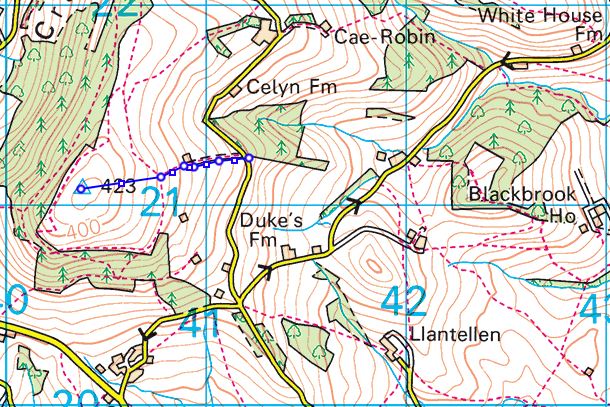
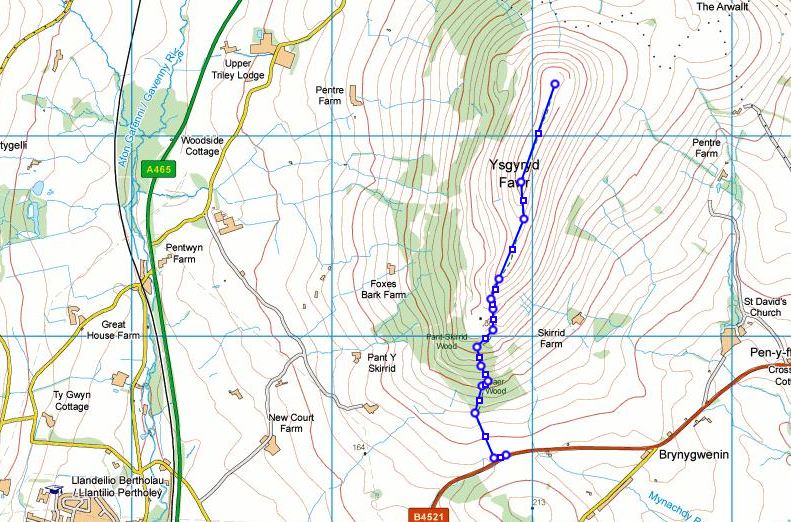
Been a while since I have been out due to other commitments and various reasons, but I had the chance of heading up to Skirrid Fawr GW/SW-106 to activate it for the first time (for me). As it was a Sunday afternoon the car park was packed as ever, even though I left it later in the afternoon. But I managed to squeeze in at the car park found at SO329164 and head up the usual path. This takes you up through the trees (at any junctions go up) and to a gate by a stone wall. Turn right here and head up again taking a left up some steps a couple hundred metres after. Up some stone steps then go right and onto the ridge. Easy to find your way up this one even in complete white out. The walk is 1.3 miles and a height gain of 277m, reasonably steep in places but not too bad even with my 40lb sack.
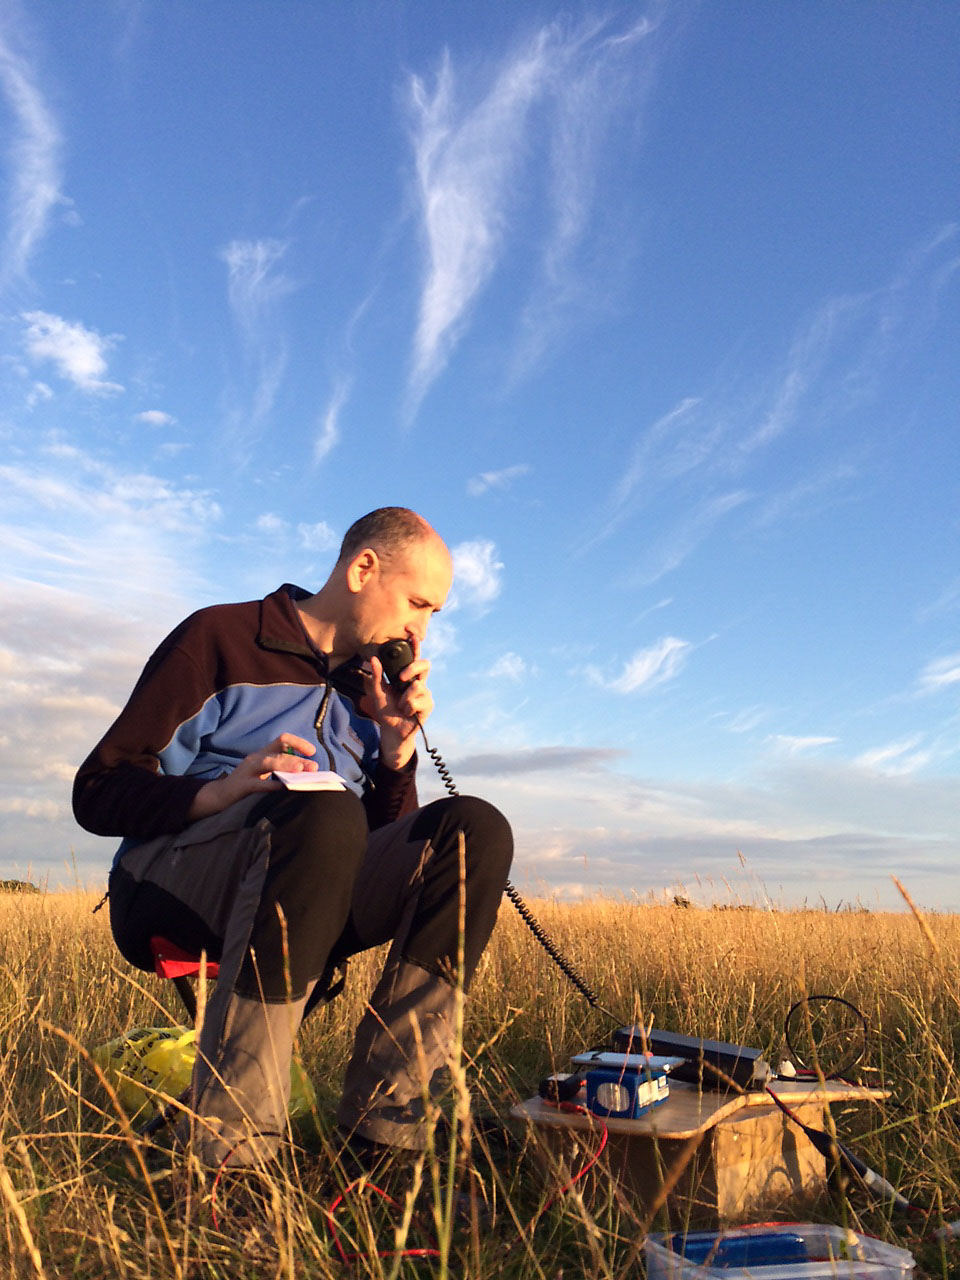
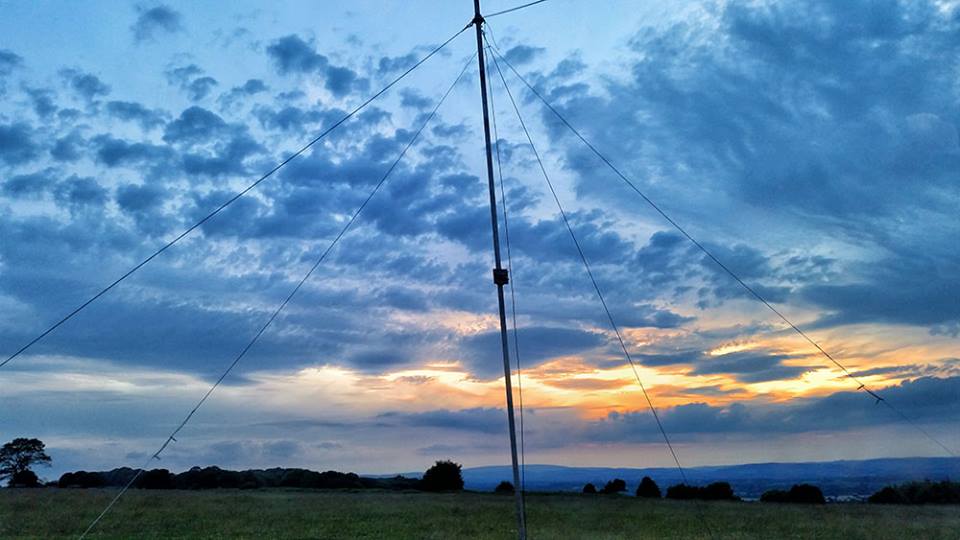
As I was getting rained on I donned my waterproof trousers on the ridge not wanting to sit for some hours in cold wet trousers. Luckily shortly after it stopped raining. Nearly always works! By now it was not that far from sunset and I managed to grab a couple of nice views.
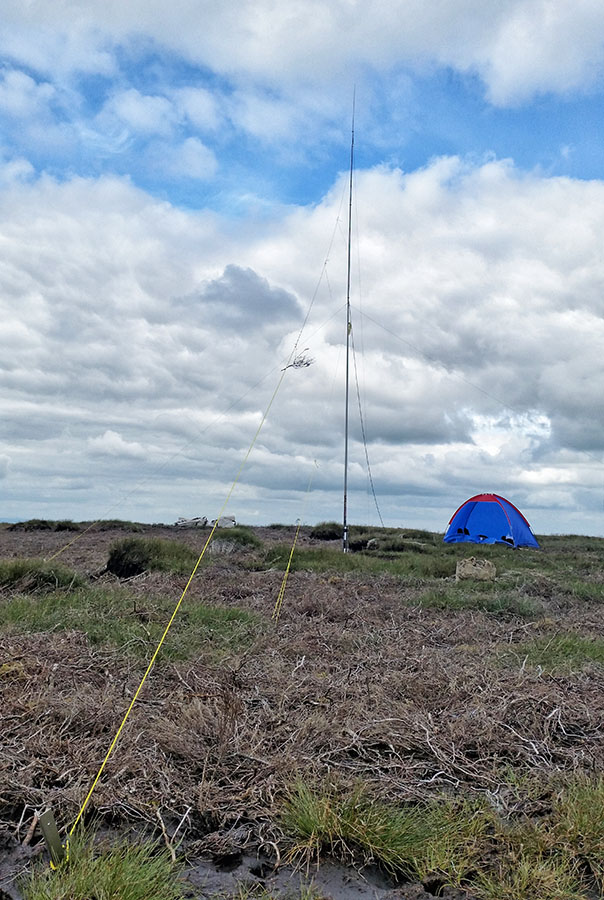
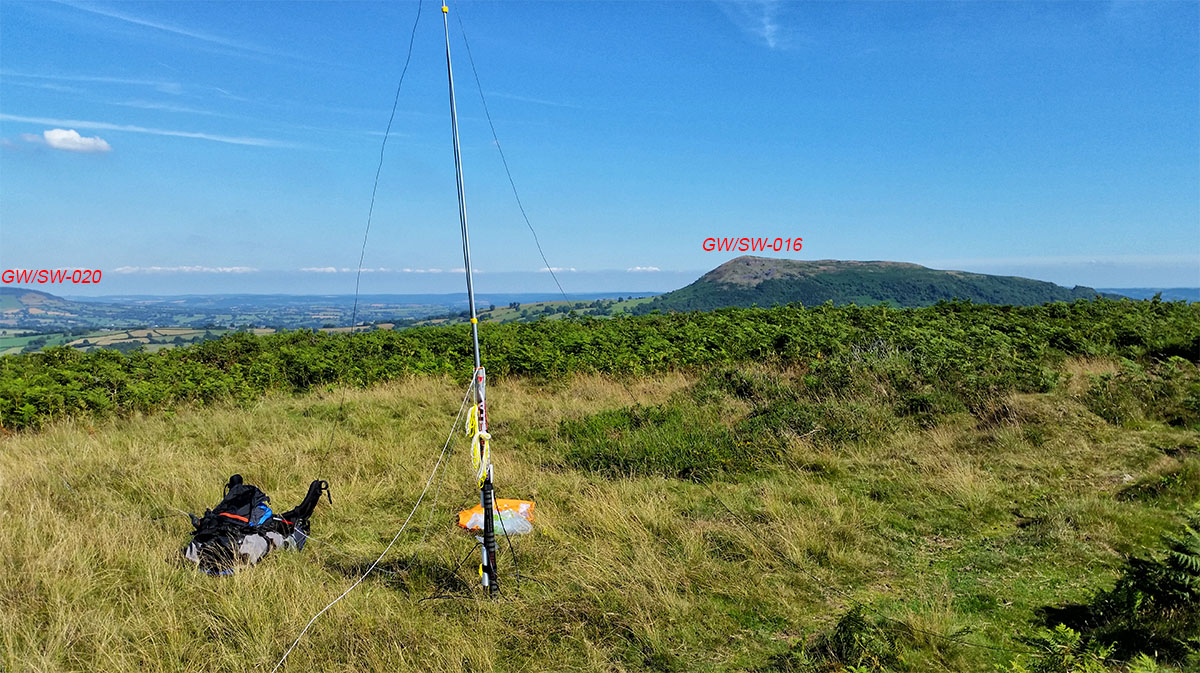
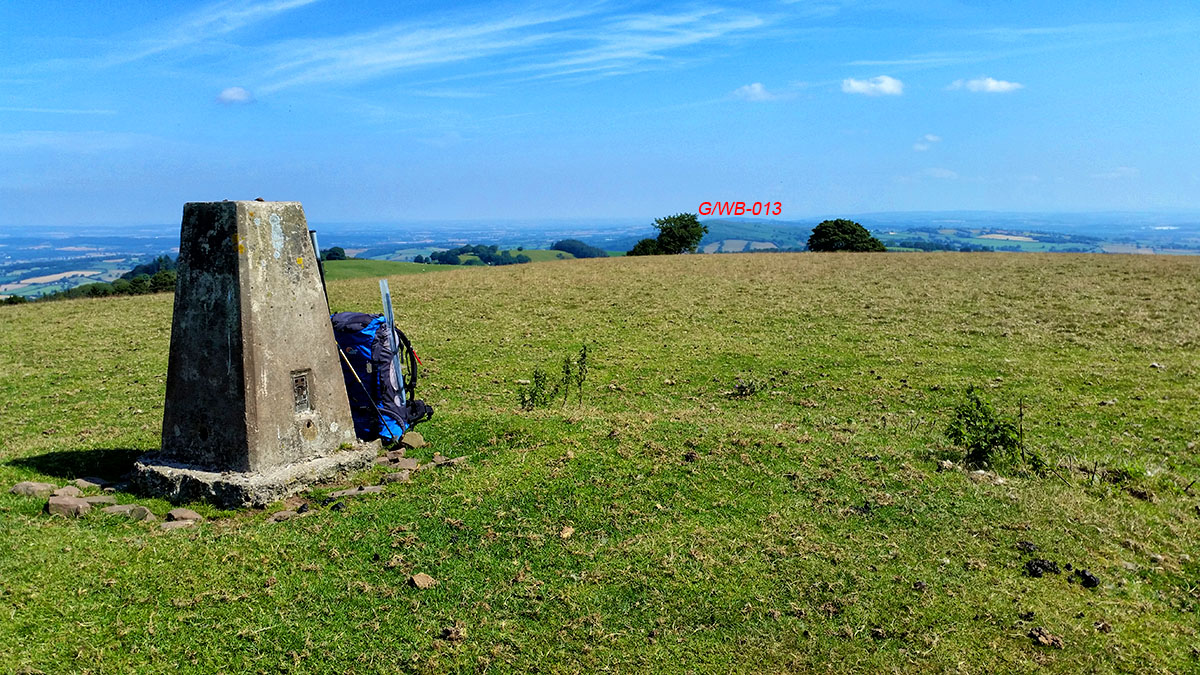
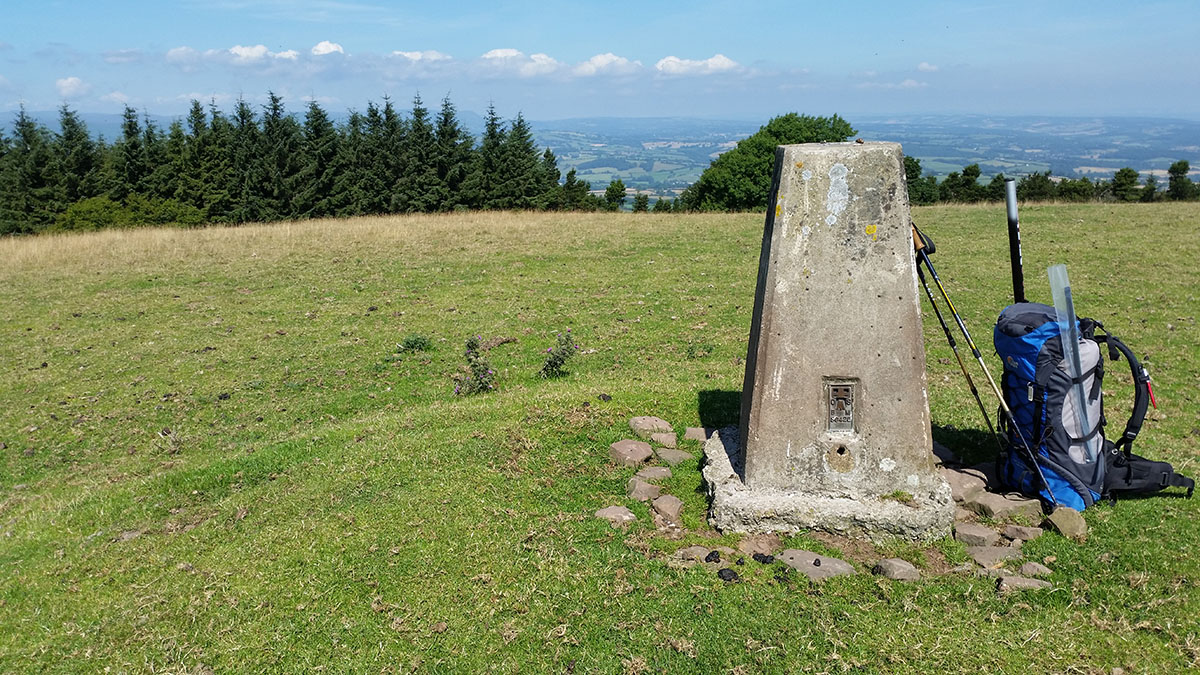
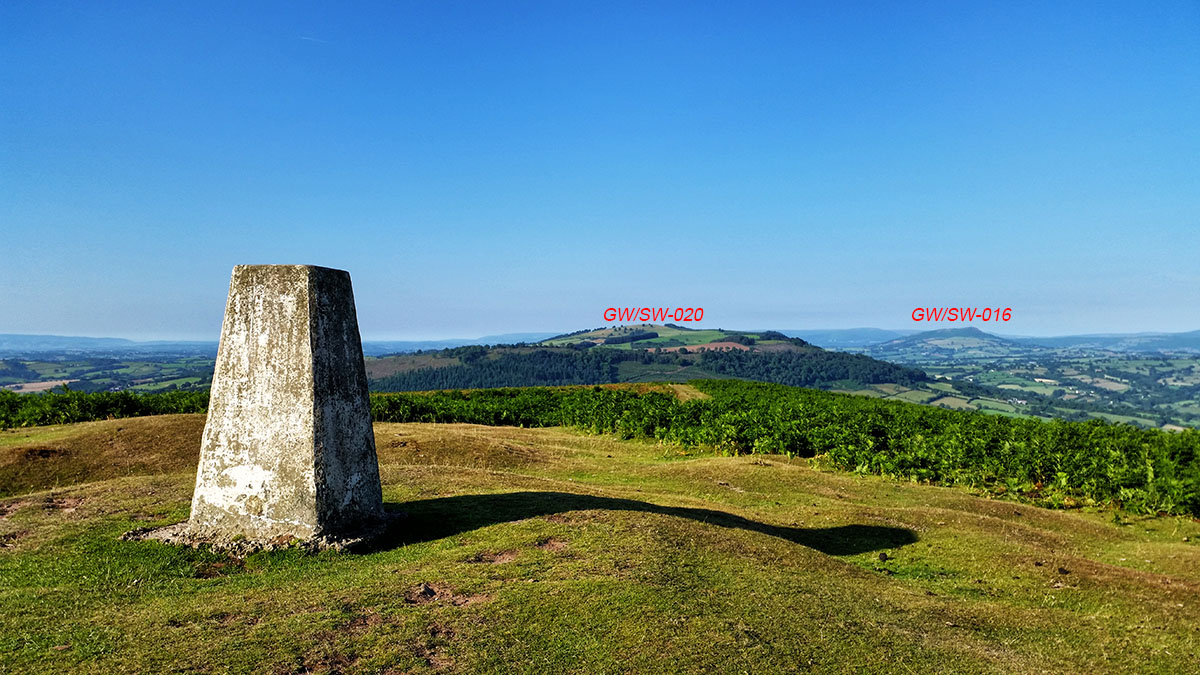
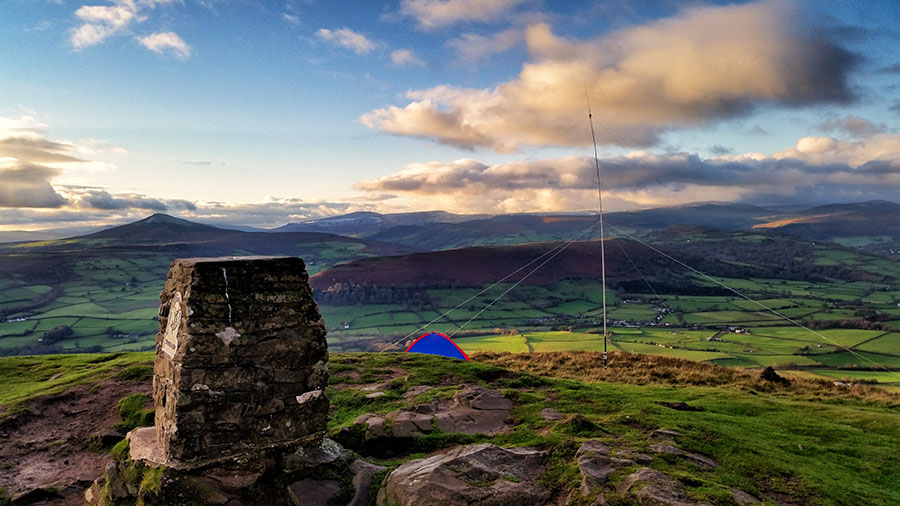
Looking West from the summit over where I set up the station.
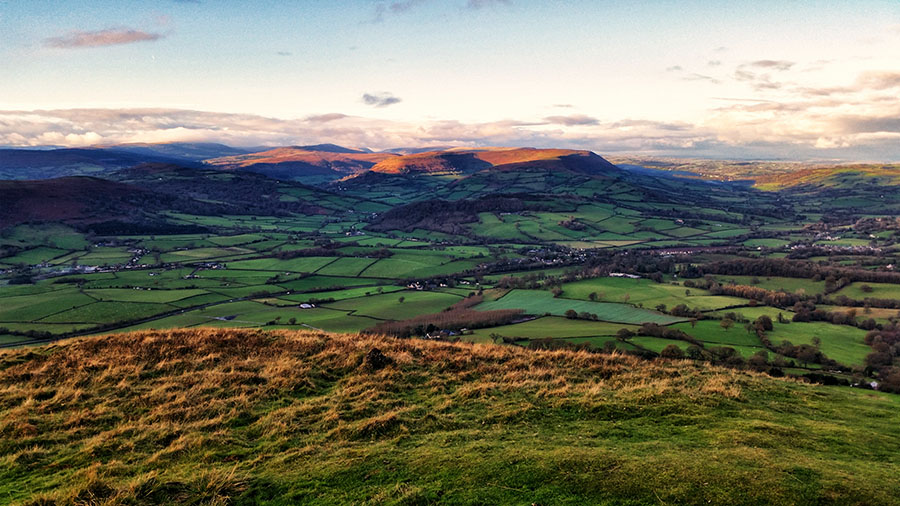
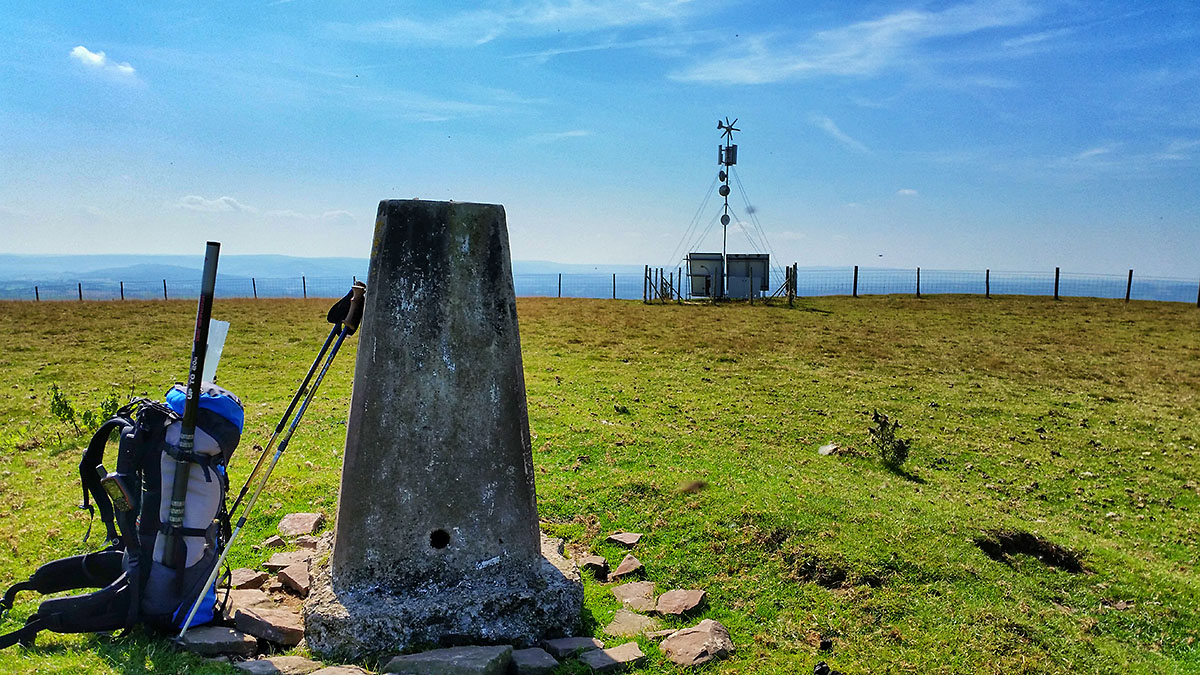
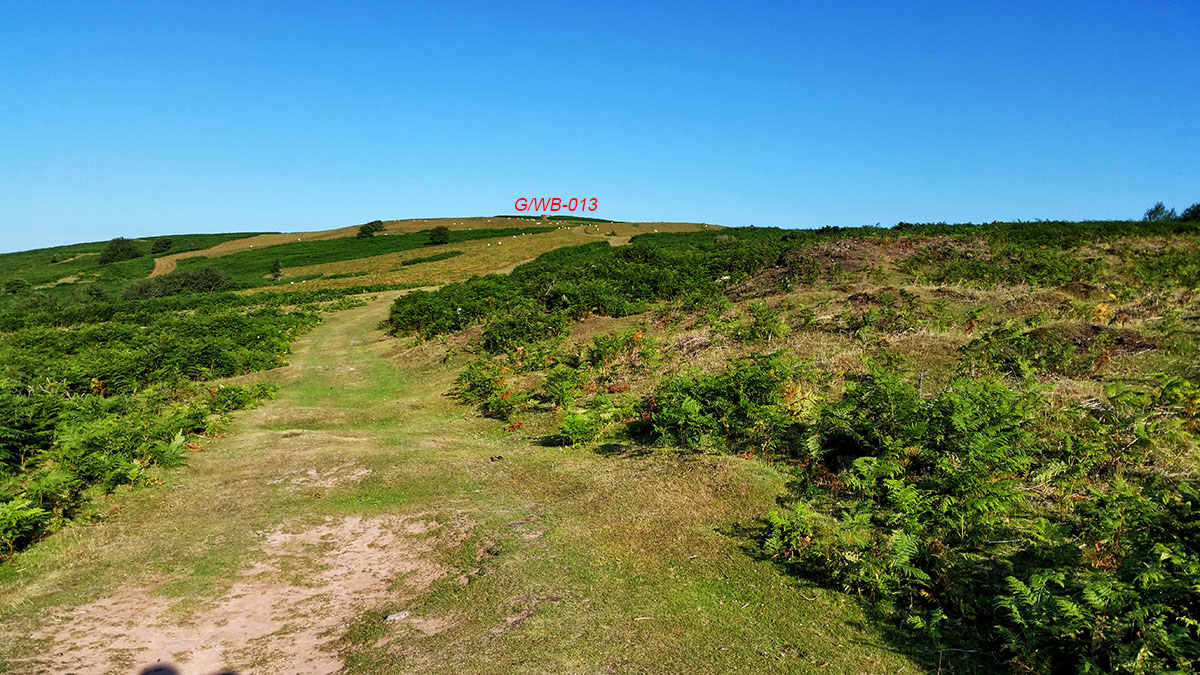
View back along the ridge I just ascended.

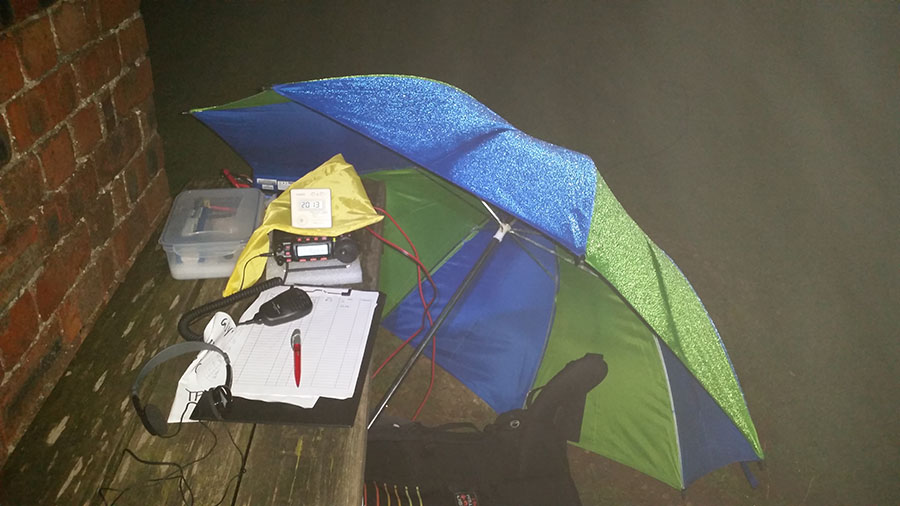
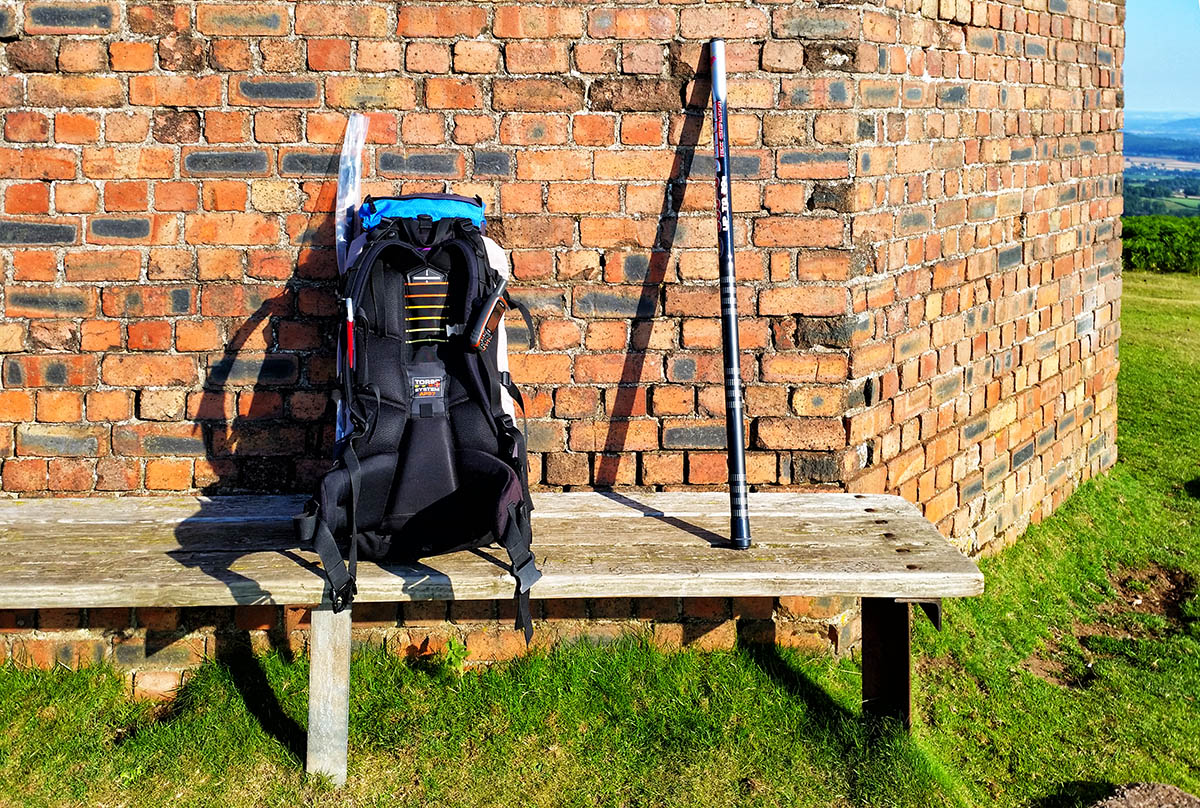
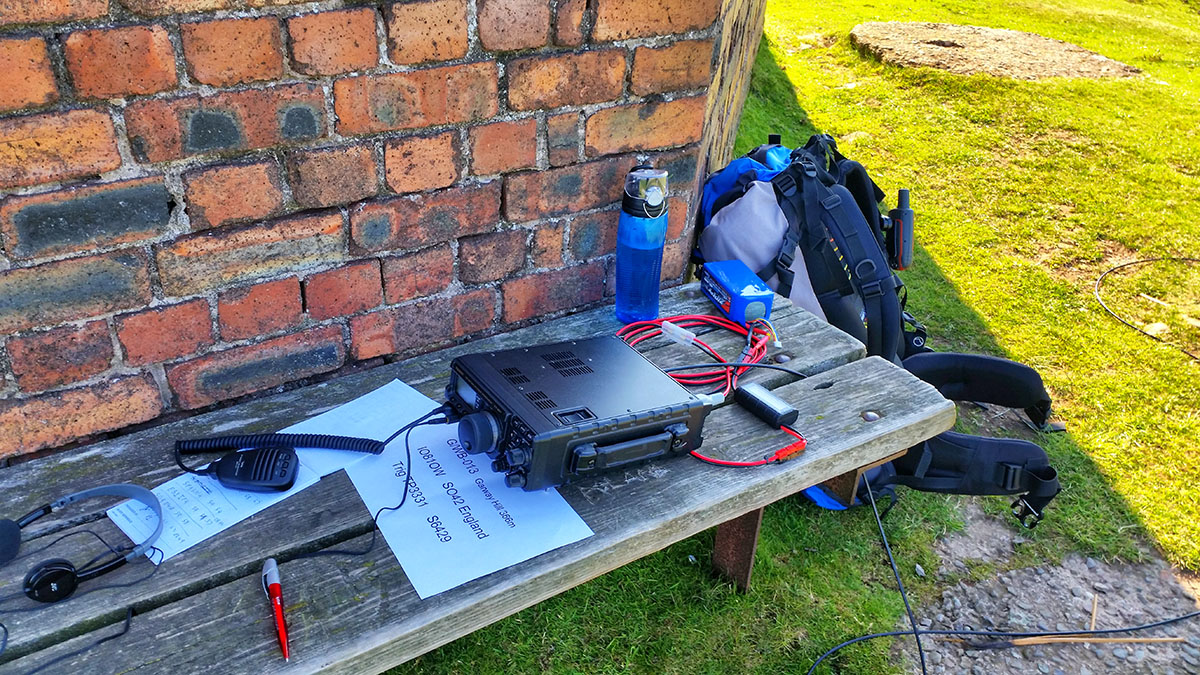
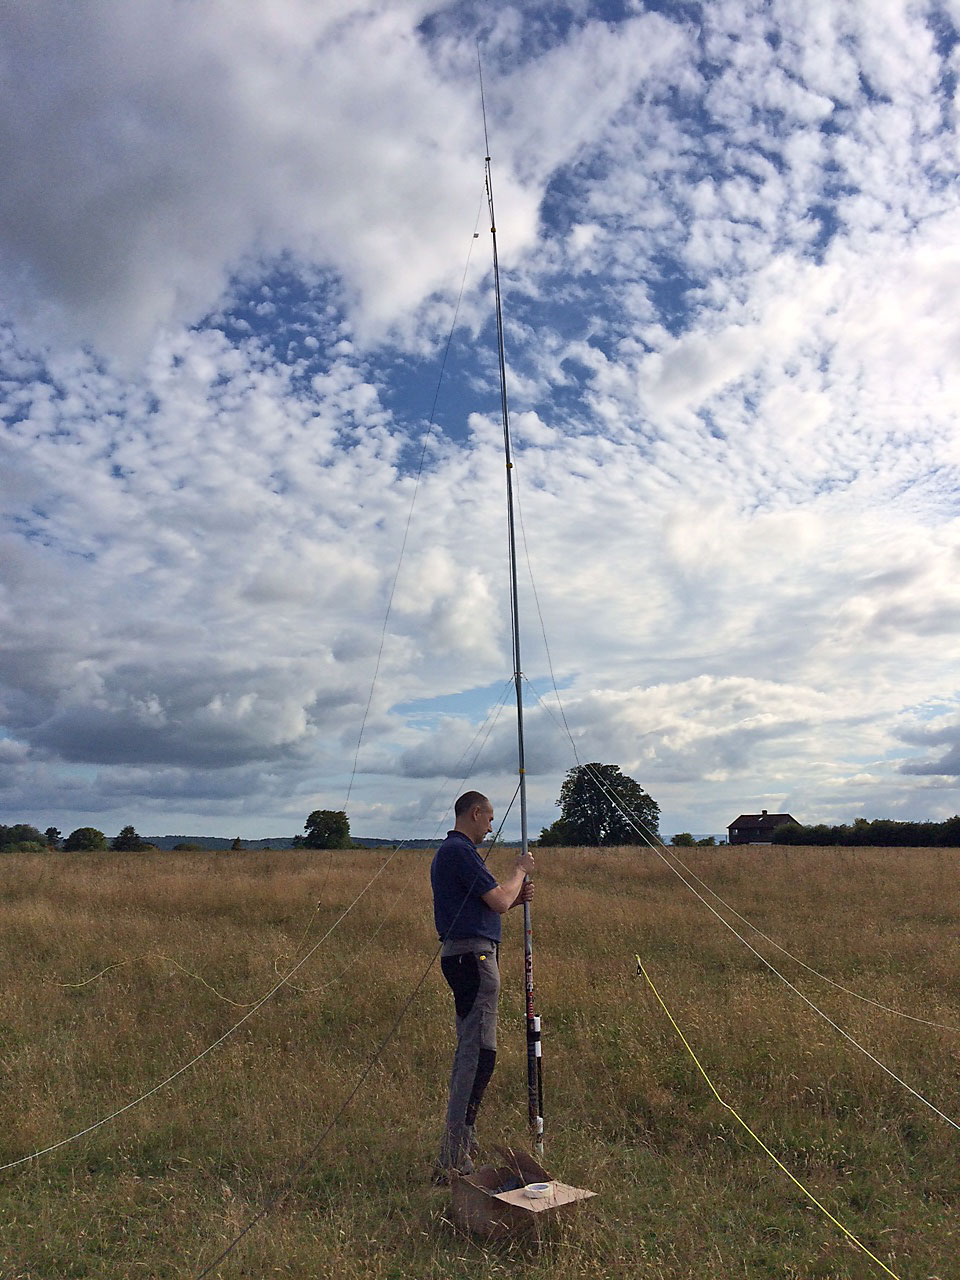
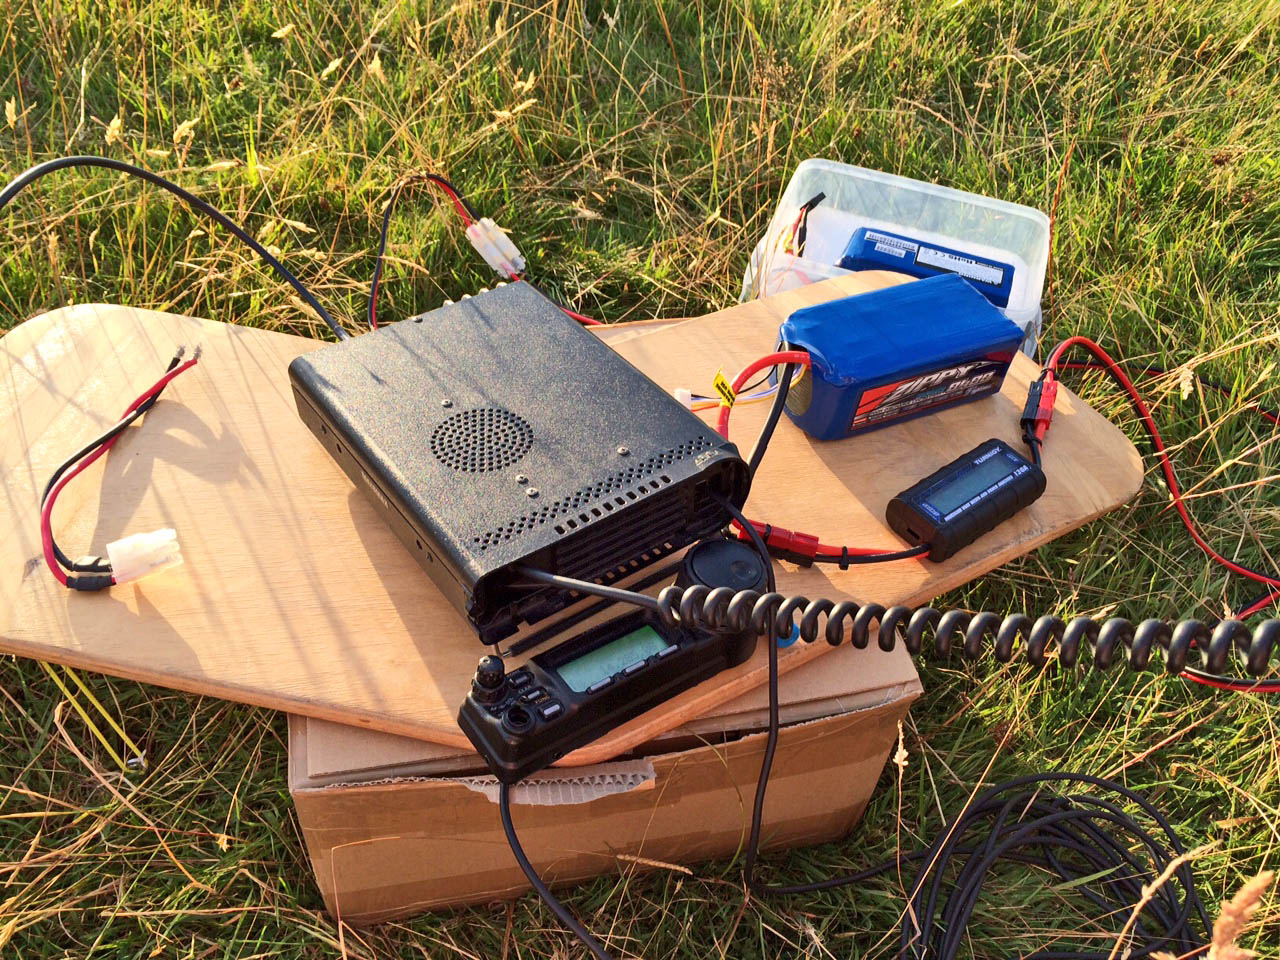
There is a nice little area West of the summit where you can set up and be out of the way of the main of the foot traffic. As it was getting on I only had one set of visitors that I heard. Though once the headphones were on there may have been more.
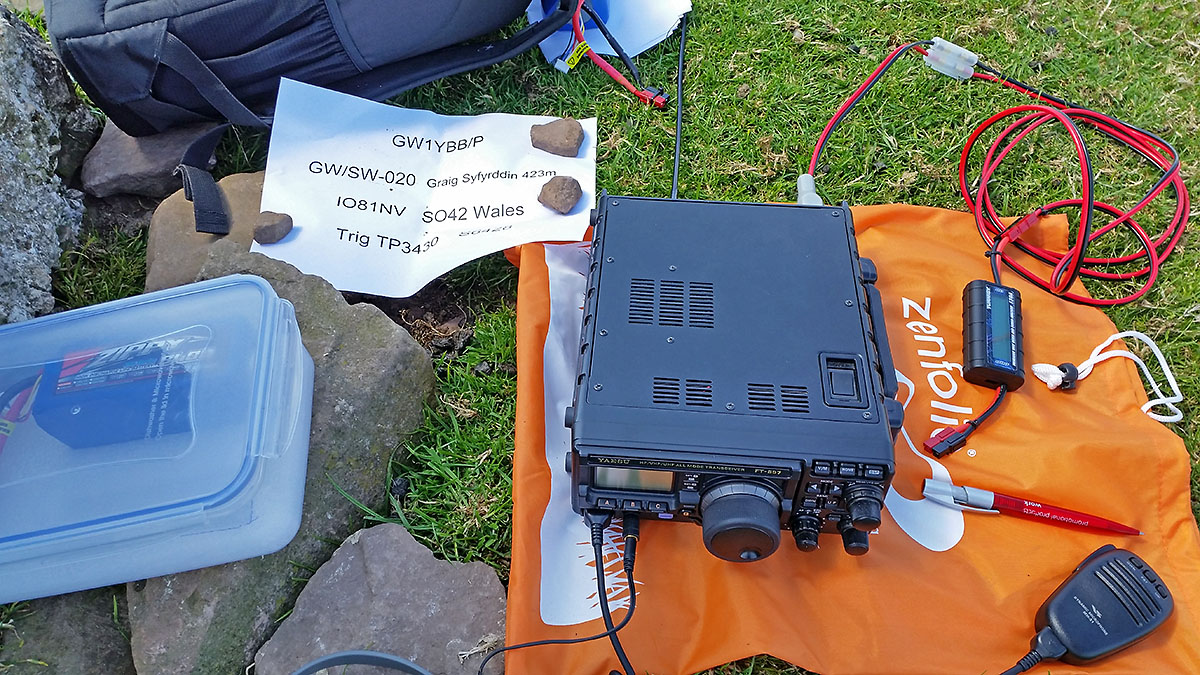
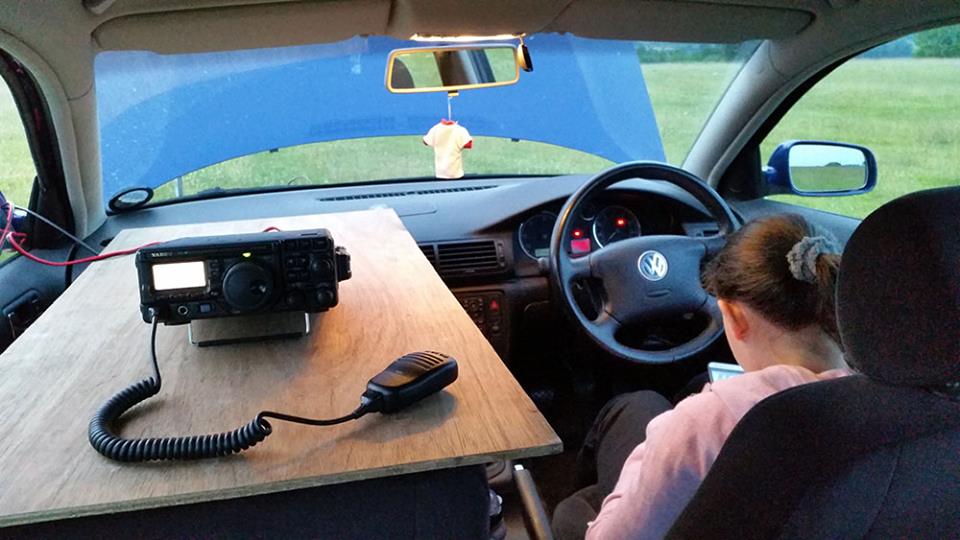
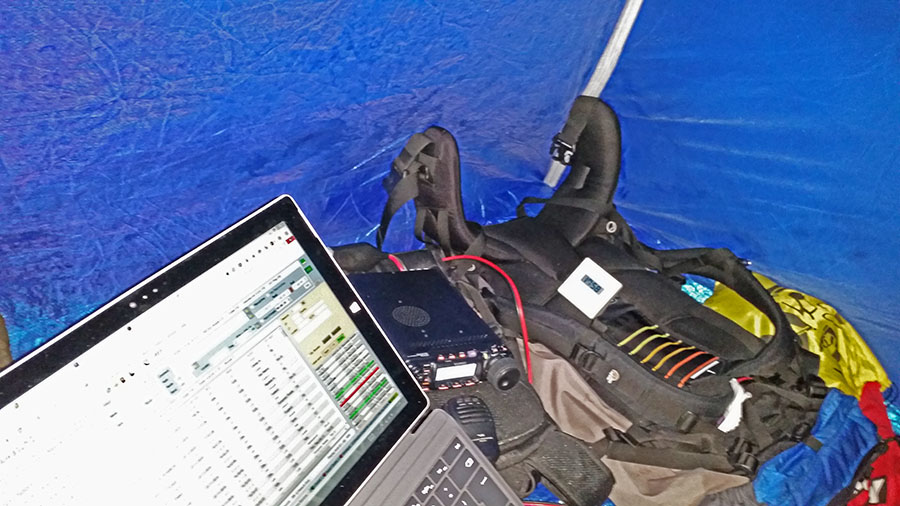
As there is pretty decent mobile internet access from Skirrid I decided to road test my new Microsoft Surface Pro 3 using the phone as a WiFi hotspot. This worked out well. I ended up being there about 2¼ hours and over that time the Galaxy S5 went from a full charge (at home) to about 75% battery power. That included taking the photos on this page and also syncing those photos and my Log4OM files via Dropbox. I was able to keep an eye on the SOTA alert page (for what it was worth!) and use the lookup on the logging program Log4OM. I did disable the instant upload of the QSO information in case of typos. The integral fold out stand for the Surface Pro 3 was good as it hokked over my knees and kept the keyboard and screen at a suitable place to use. As the text is quite small on the Surface I was introduced to the joys of steamed up glasses when coming back into the beach shelter after and antenna tweak. Quite pleased with the Surface Pro 3 as it still has 70% battery power left.
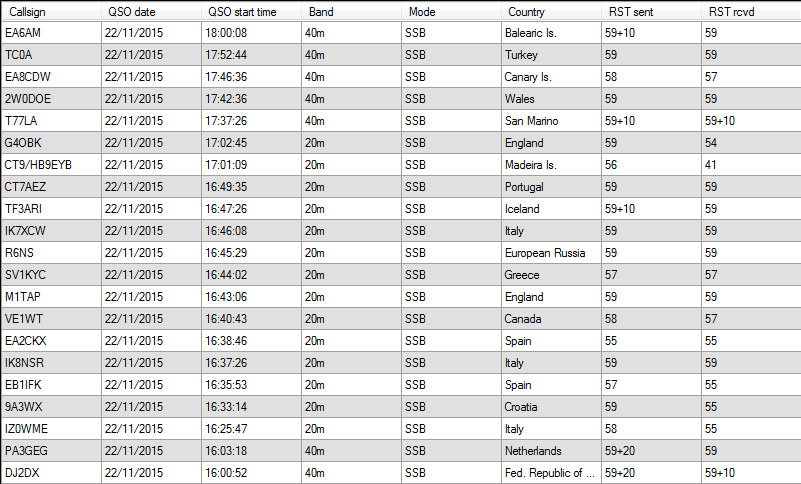
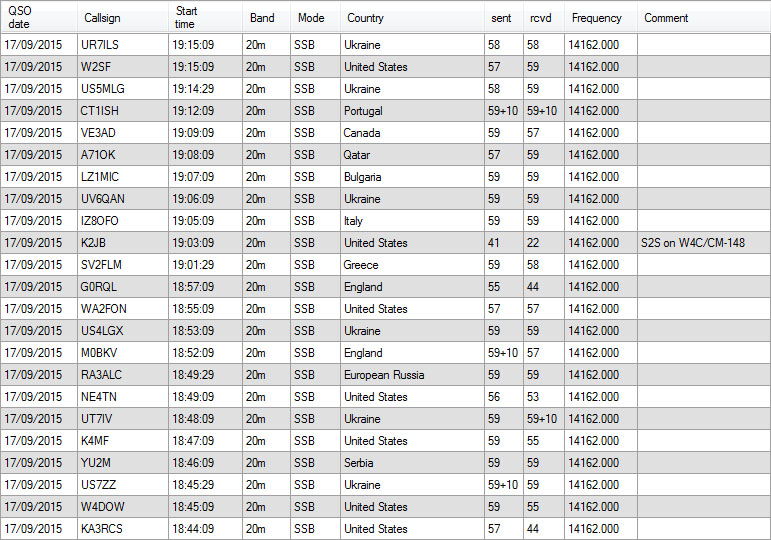
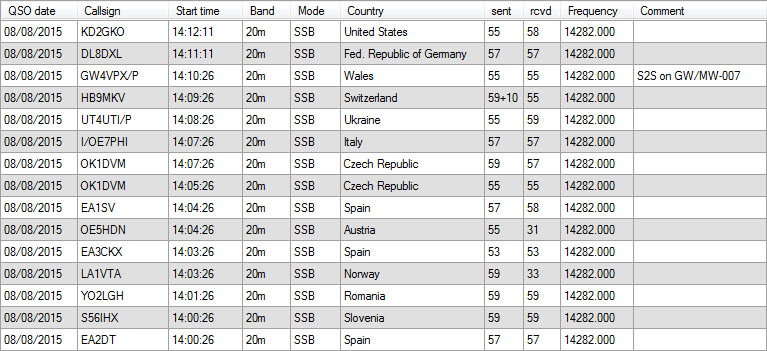
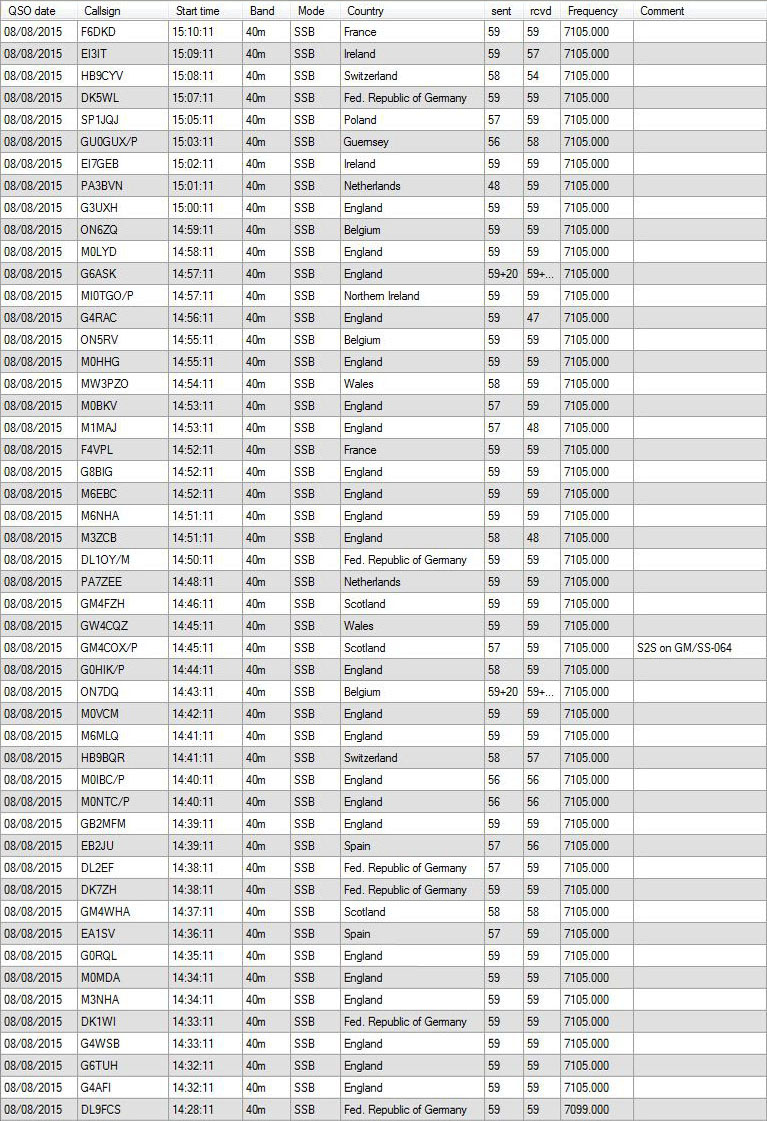
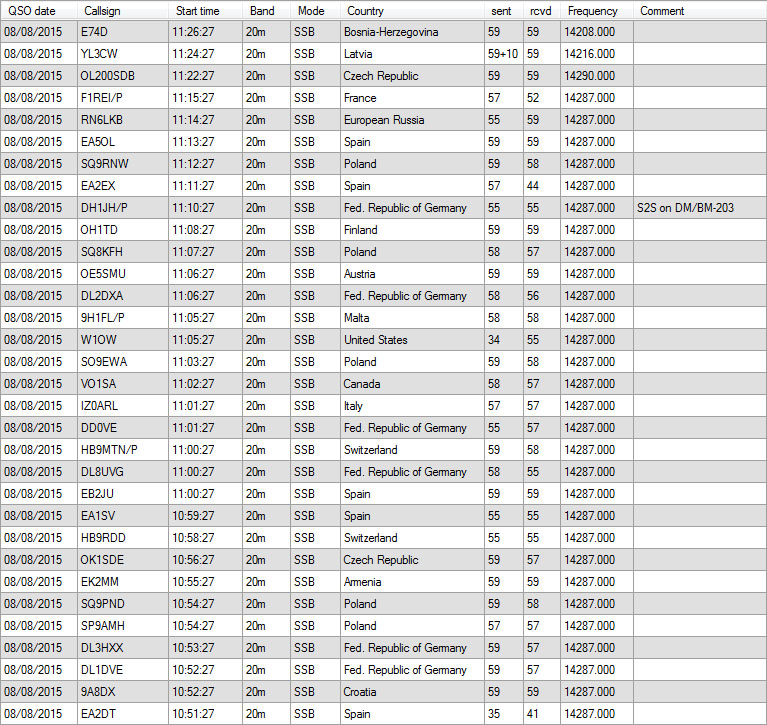
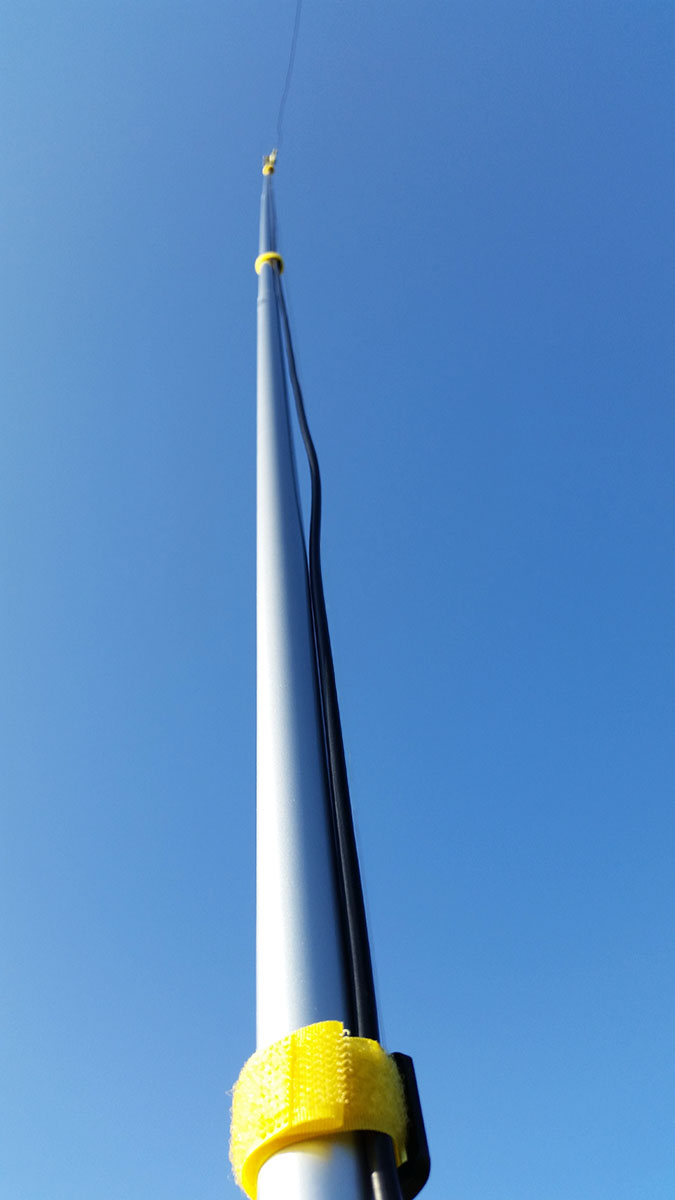
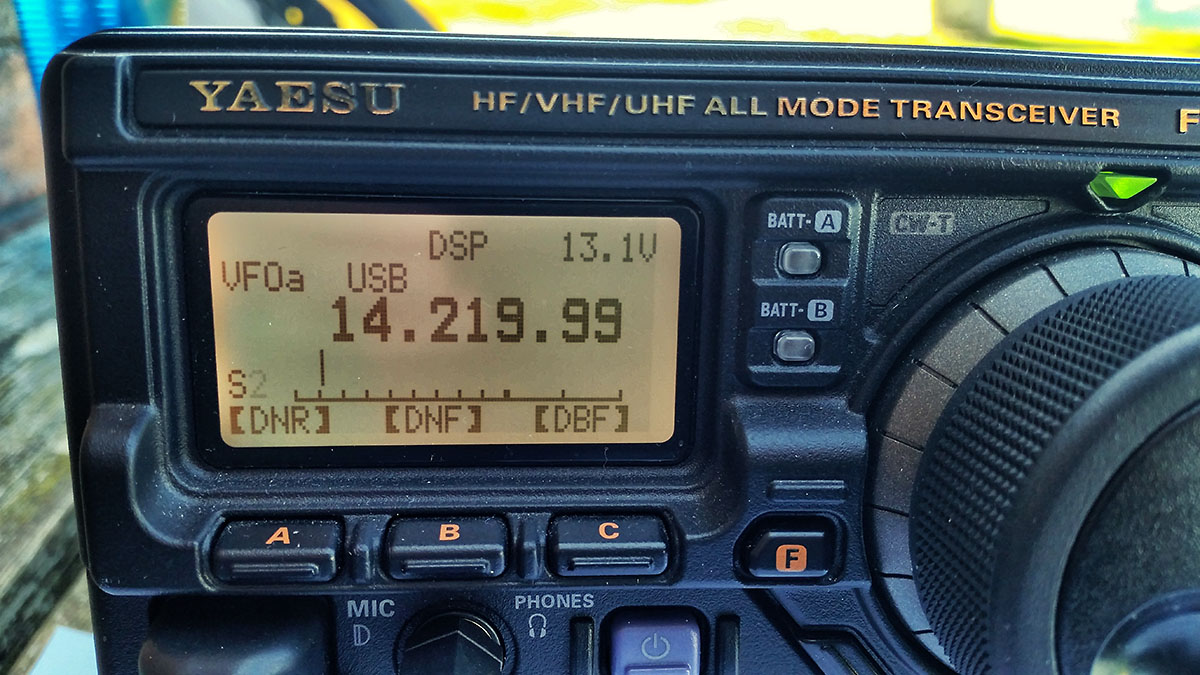
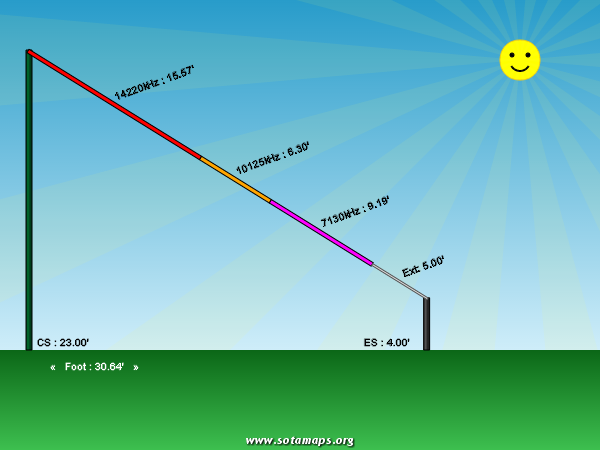
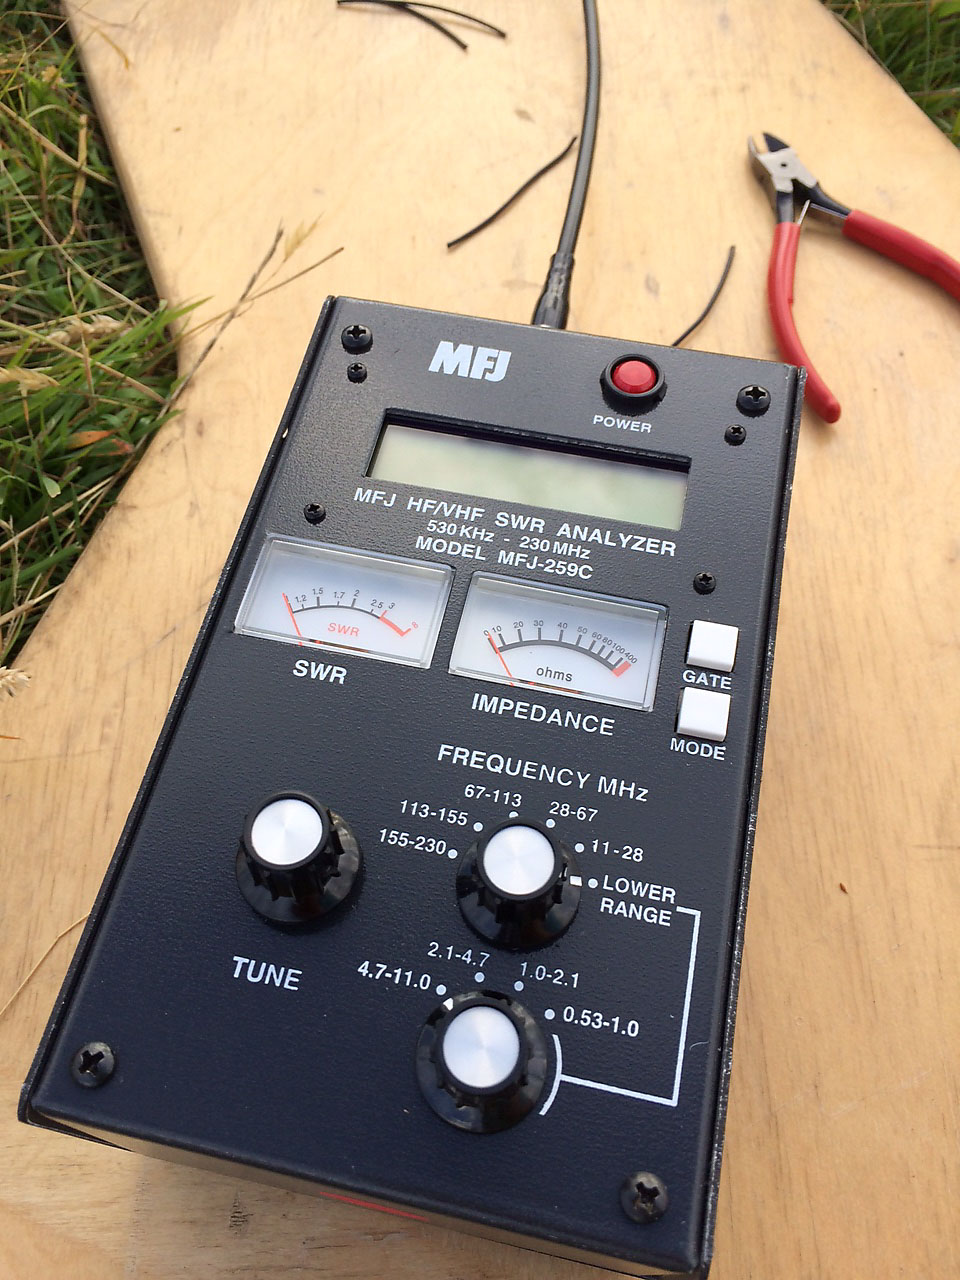
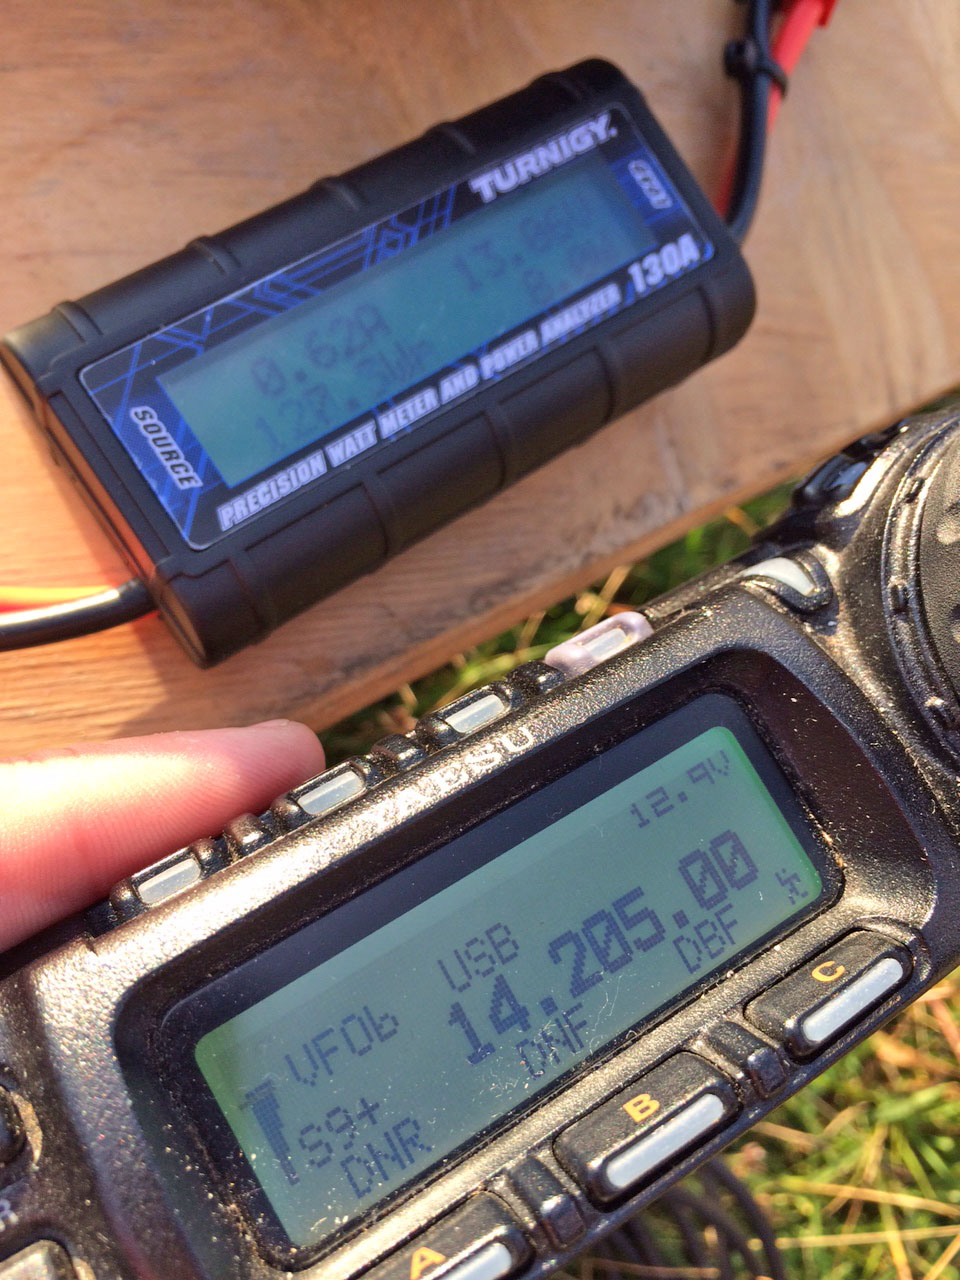
I started on 40m hoping to get some inter G SOTA and WAB trig chasers but things were very slow even after self spotting. An activation during the ARRL Sweepstakes Contest was possibly not one of my better ideas. I worked a couple of stations on 40m then I kept getting someone moving onto my frequency and they seemed oblivious to me. I then noticed when I transmitted the SWR bar graph was going up. Normally I have no reading on my link dipole. I checked outside and saw a couple of sections of the fishing pole had retracted and the ends of the dipole were on the ground. After sorting that out I decided to try 20m. The band was full of the ARRL contesters and as I wasn’t prepared with the complex exchange data I tried to avoid them. I managed to find a clearish frequency and struggled along with slow QSO rate despite spotting myself again until a contester came on frequency that definitely wasn’t there before for about an hour. I tried 40m again and worked a few more before I quit. I noticed that in all the time I was there only 3 other SOTA spots popped up and none of those on a band or mode I could chase.
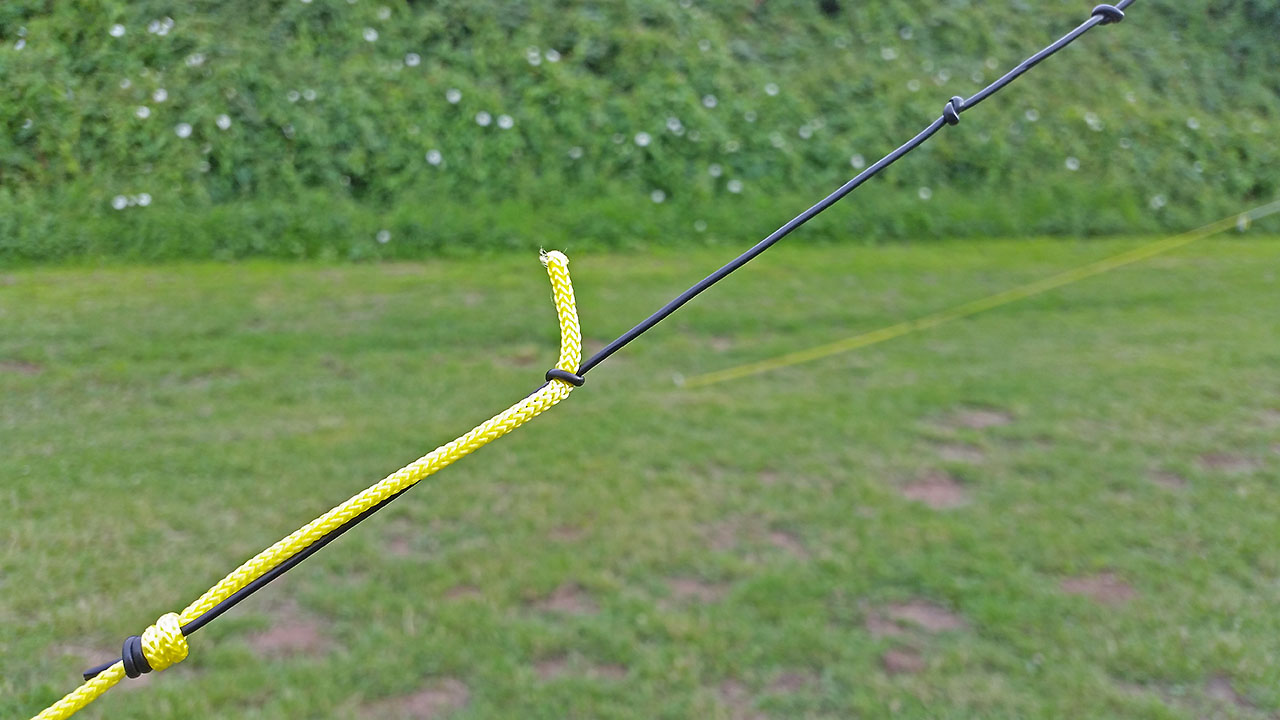
The main reason I packed in was my butt was killing me. The Surface Pro was great but it meant staying in one position all the time and I need a better seat than the garden kneeler I have. I was starting to feel the chill too, though inside the shelter was pretty comfortable compared to the wind chill outside. Tonight’s lesson learnt is no matter how windy or wet it is, no matter how stiff your fingers are, it IS worth the time to pack your guy strings away the way you normally do, that never ever has a tangle OR you will spend ages breaking your back in the kitchen later untangling an impossible jumble.
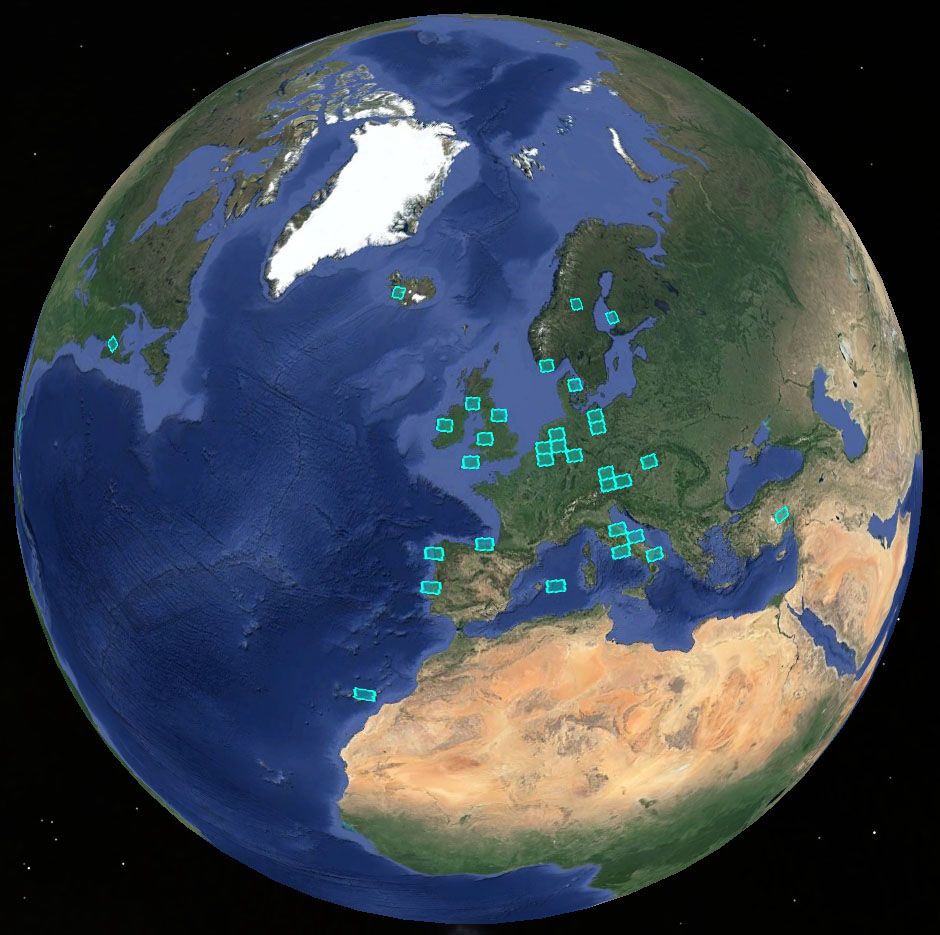
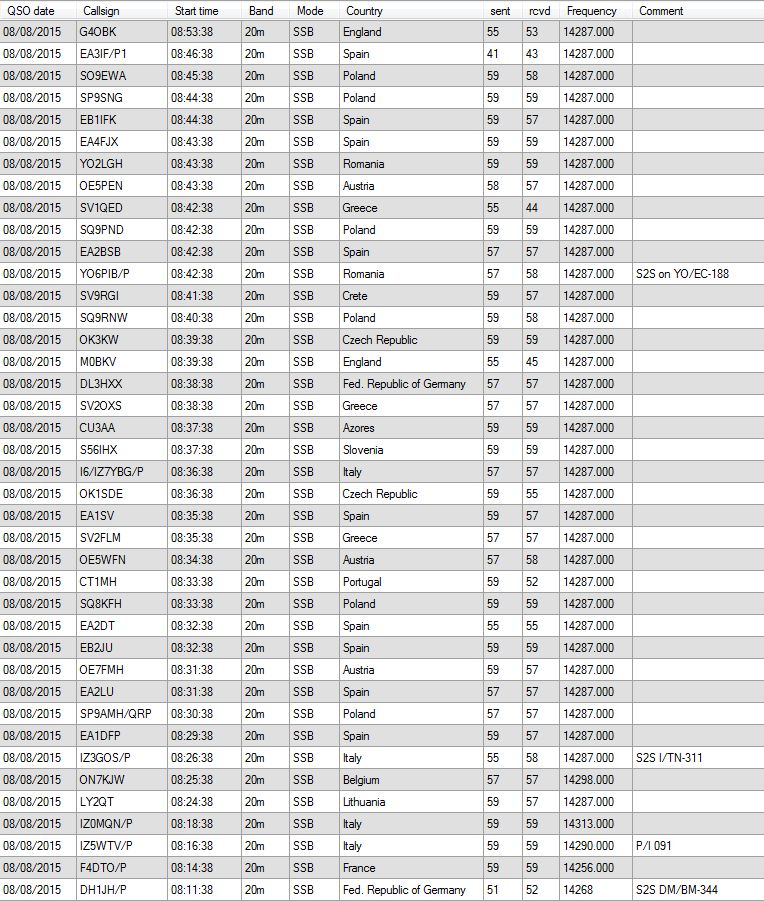
Overall 21 QSOs which is a bit disappointing but a few new countries worked.