Following my first wire dipole which is too heavy for portable and I am using it at home, I am making a multi band link dipole for portable use for SOTA activations on the hills and mountains.
Instead of traps it will have links where we can make or disconnect sections of wire in to be resonant on different bands. It will be cut for 20m, 30m, and 40m. The 30m dipole should work as 5 half waves on 6m, and the 40m dipole should work as 3 half waves on 15m.
Via the SOTA reflector I found this very useful link dipole designer:
http://www.sotamaps.org/extras.php
and used it to design the dipole like so:
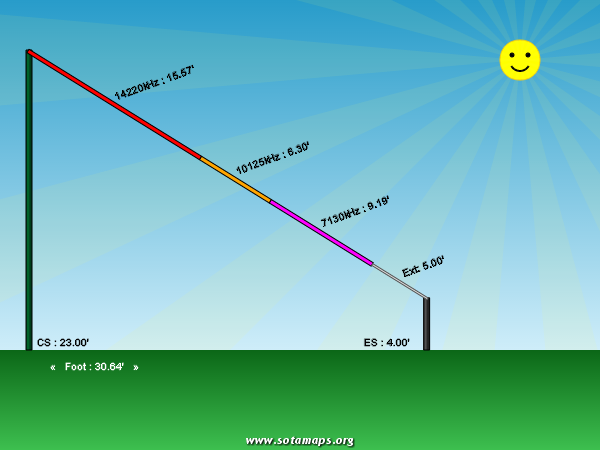
The 4 foot support at the ends will be my trekking poles, which enable me to keep the end elevated with a lesser ground footprint, which needs 61feet as it is.
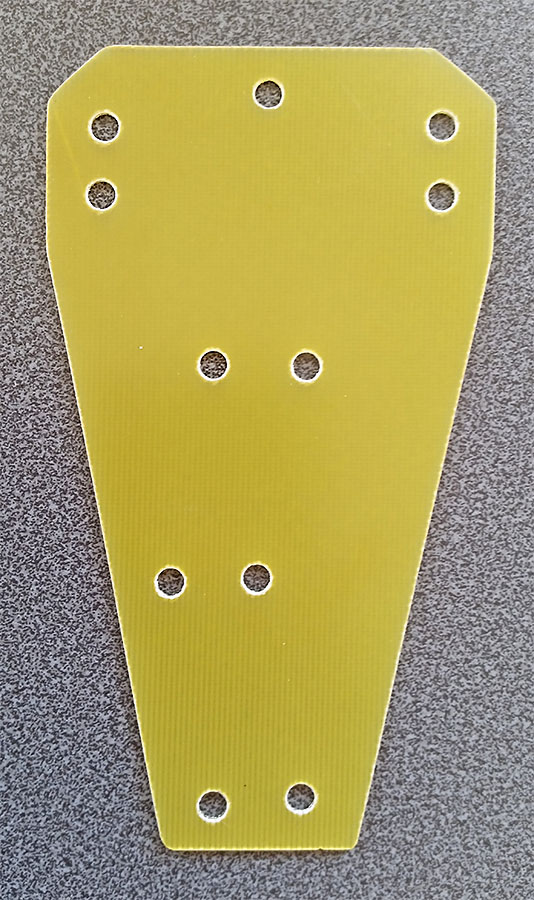
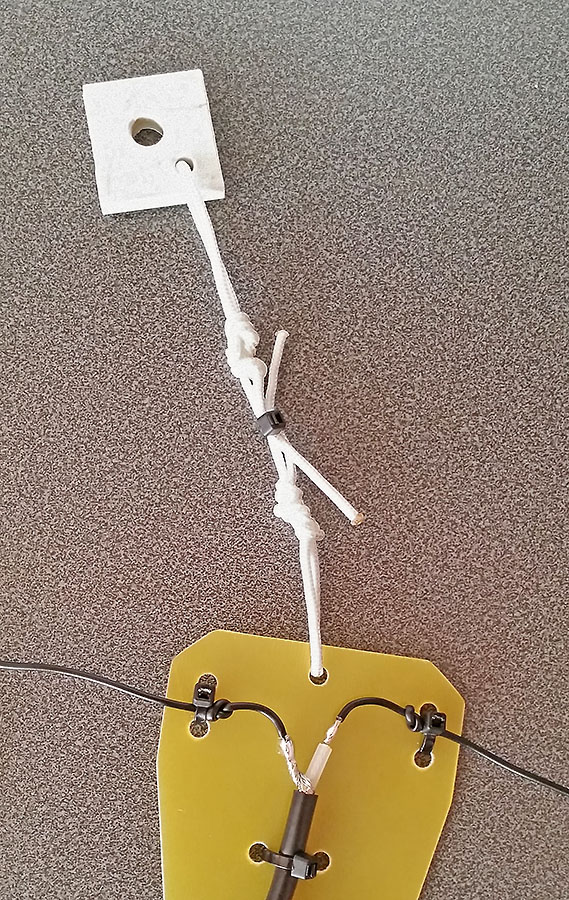
I decided to adopt a very similar design as my first dipole (here) with a flat plate centre and cable ties. The plastic I used before I found to be a little brittle so I don’t expect it to last repeated portable batterings on hills. So I found some bare FR4 board and used that.
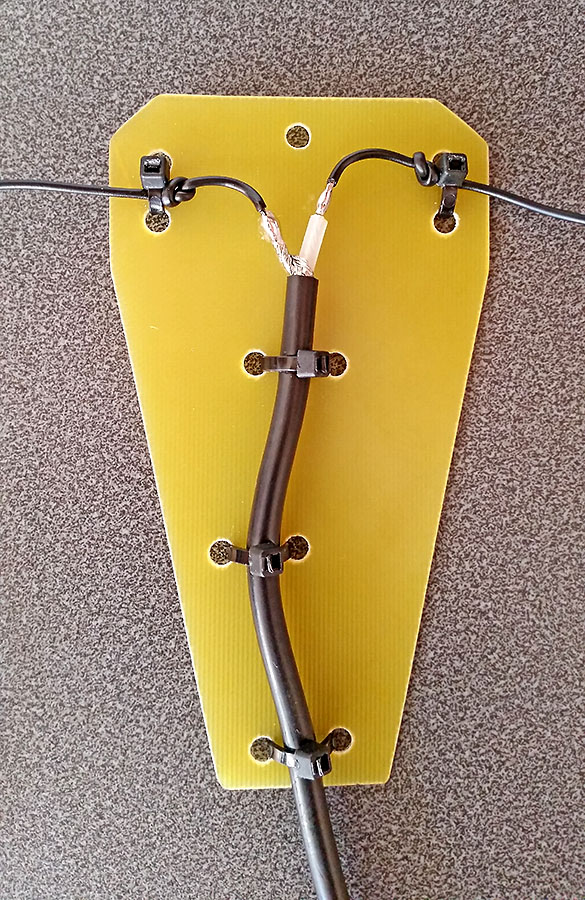
Coax stripped back and wires attached. I decided to not go for the loop of coax at the top many go for to stop water ingress, but go for a simpler style and will waterproof it with some liquid electrical tape. I have gone for RG58 as it’s less lossy and mechanically good and not that heavy really. It can always be lightened up if really necessary later.
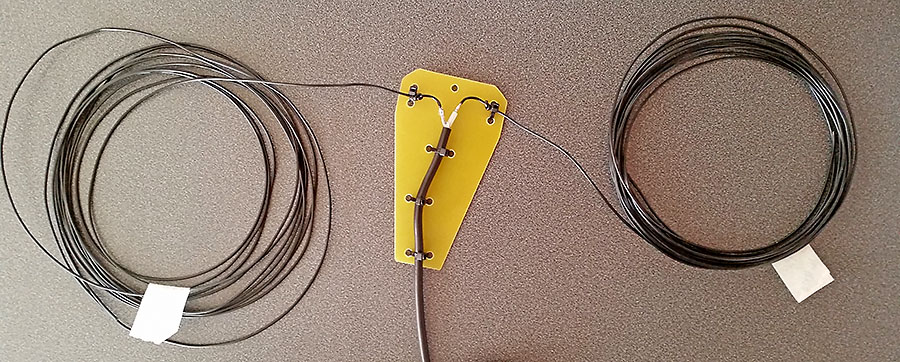
Showing the soon to be 20m antenna wire.
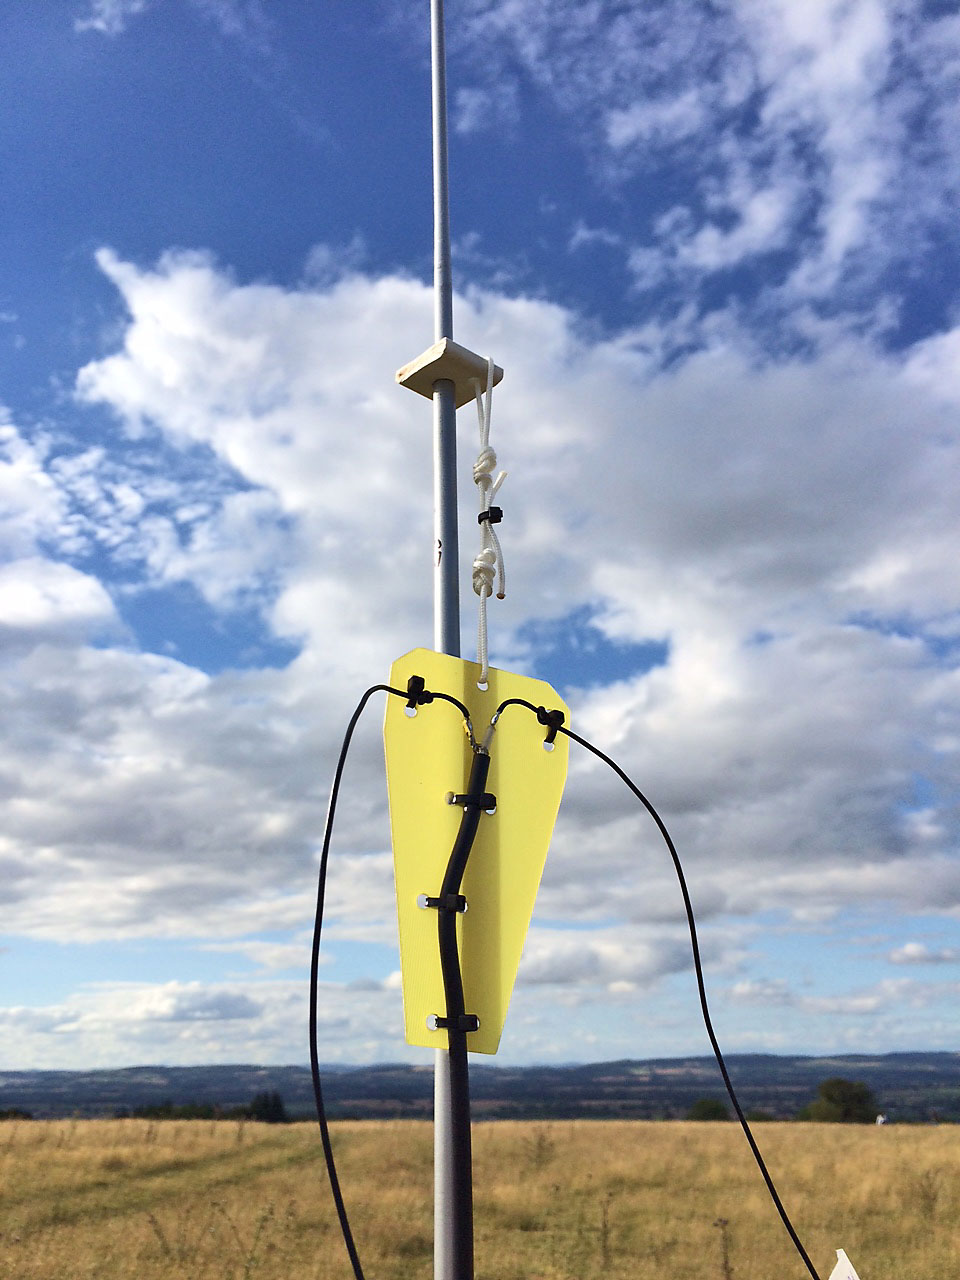
To mount the dipole on the fishing pole mast I have made this piece of uPVC which is very light and pretty strong which slips down over the thinner section and sits on top of the thicker section below like so:

And attached to the dipole itself:
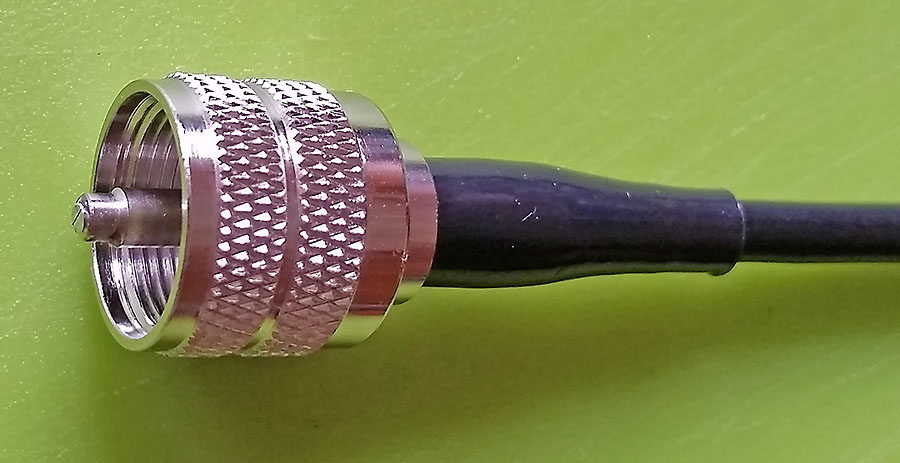
I have to put a word in for the Barenco crimp PL-259 connectors I got for RG58.
I prefer crimp to any other style due to the reliable retention on the braid (if you have good braid-the Barenco supplied RG58 has a good braid).
This connector also has a reduced diameter tip which lets you use the iron on the outside to transfer heat and keep the main contact section clean of solder.
It also comes with a stiff plastic strain relief that is such a good fit I didn’t think it would fit, but can be fitted and looks like it will give some support.
Product link
Next job is tuning it up and adding sections.
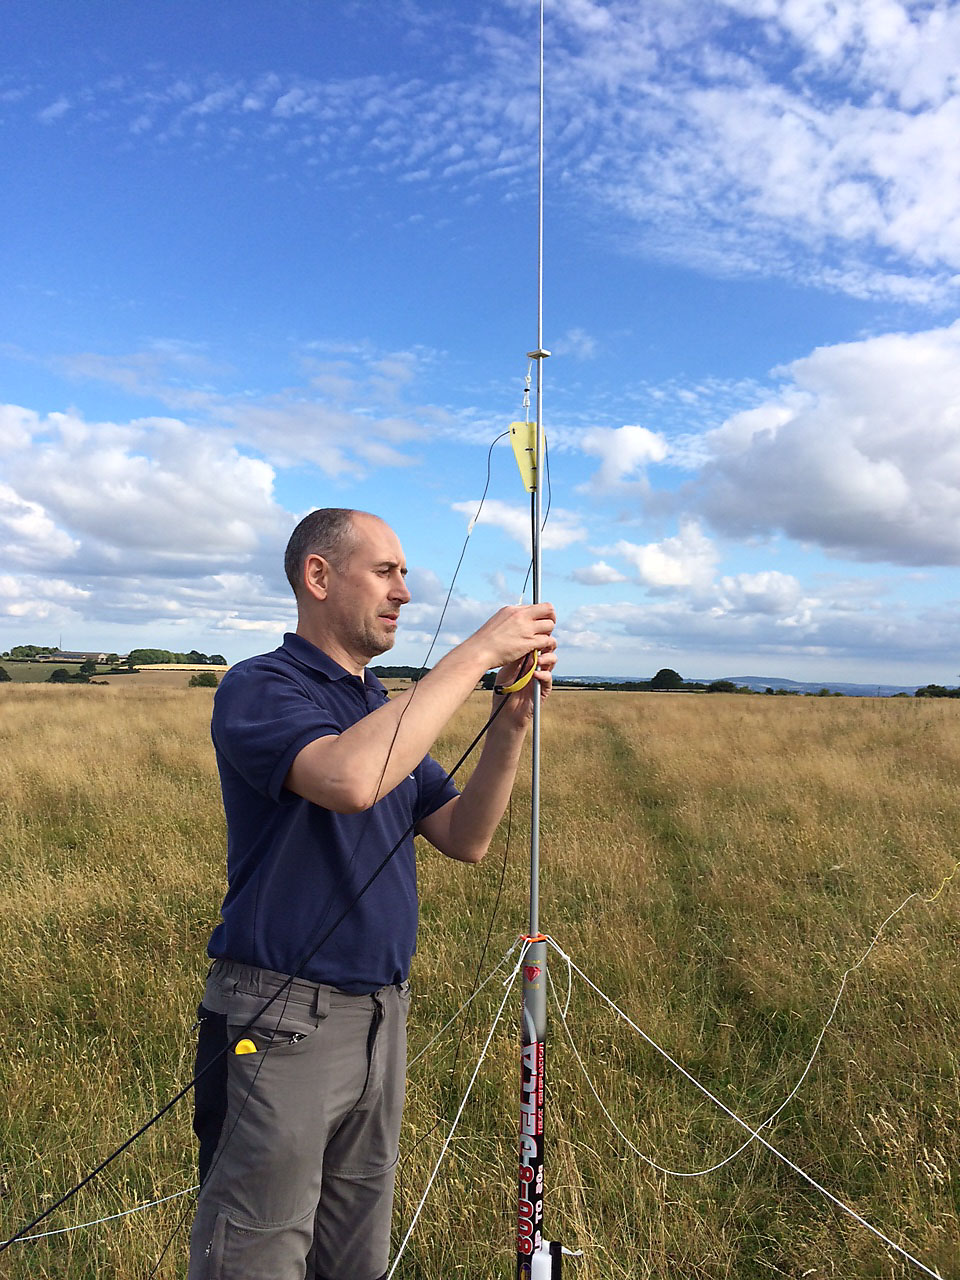
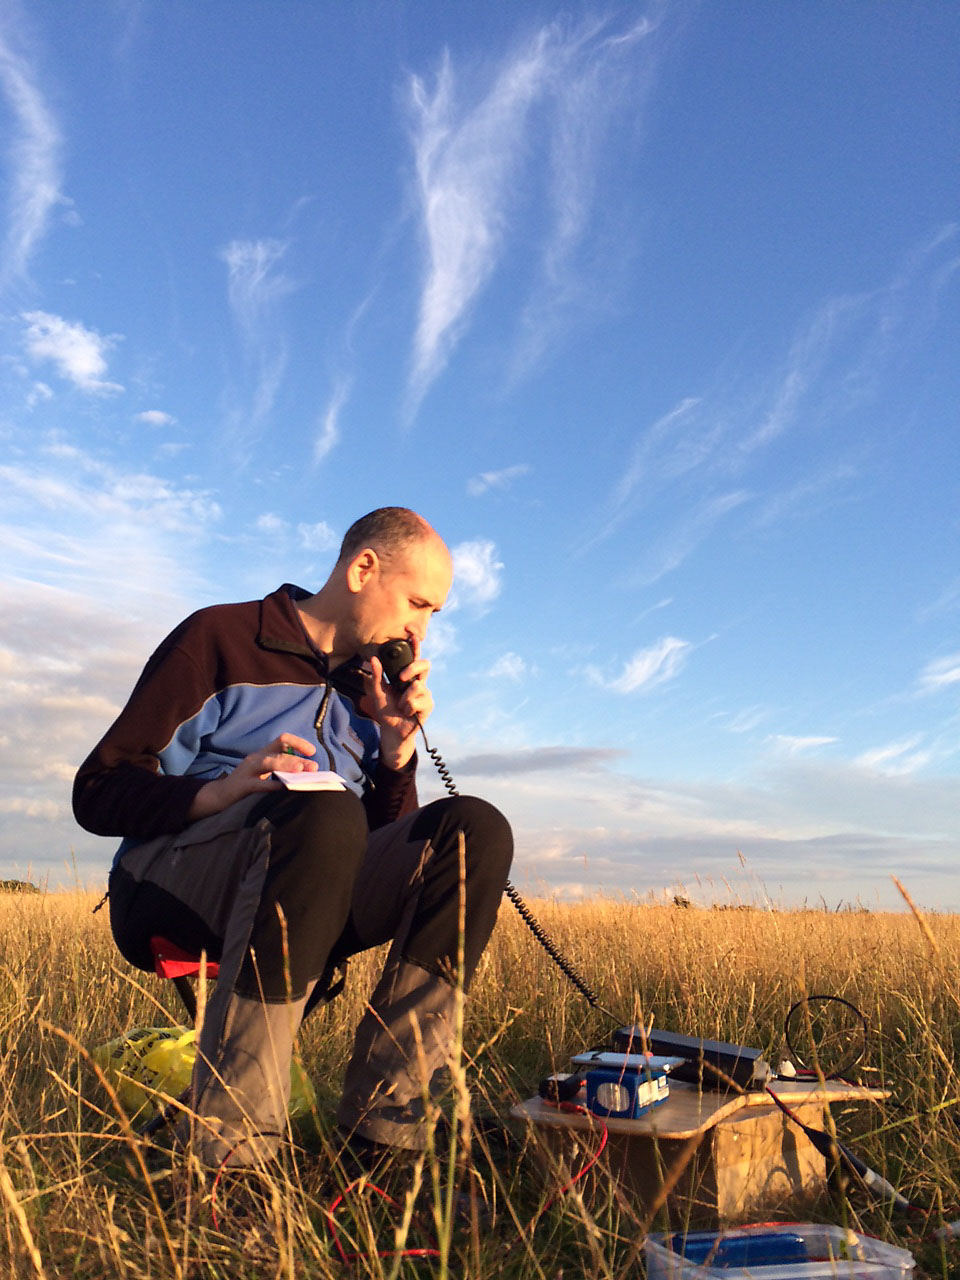
Off to a local hilltop common to set up the mast and antenna and tune the dipole sections.
I’m using an 8m fishing pole and will mostly use it guyed. I decided the middle size guy ring from SOTAbeams was the best option as it sits nicely on a joint and is a nice height but also not too steep an angle to collapse the pole, hopefully. I have a ground stake to strap the pole to for assisting in erecting it and holding the base steady. I tied four guys, but may use just 3 depending on location.
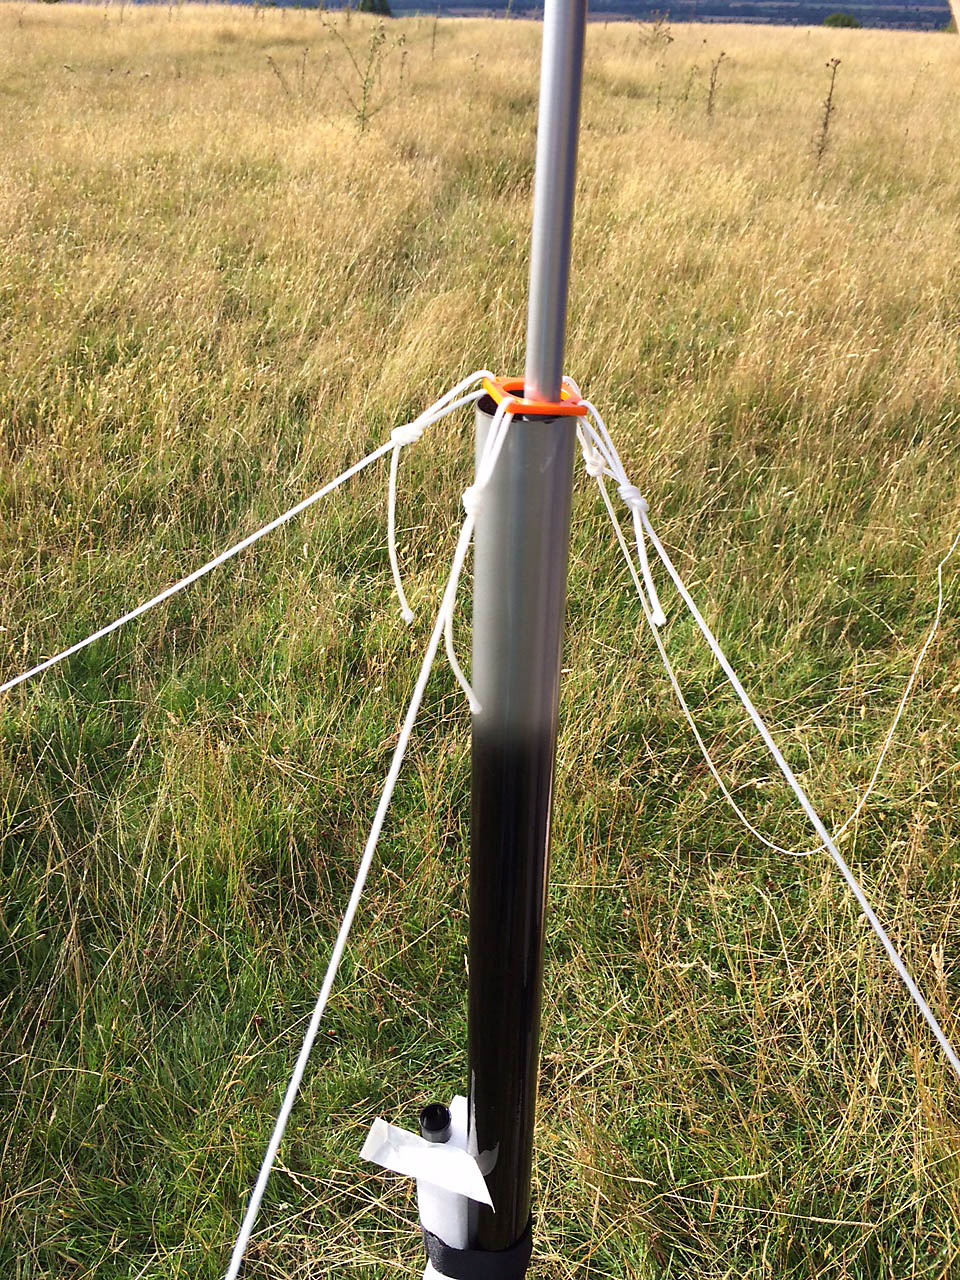
Antenna attached, will be at 23 feet above ground.
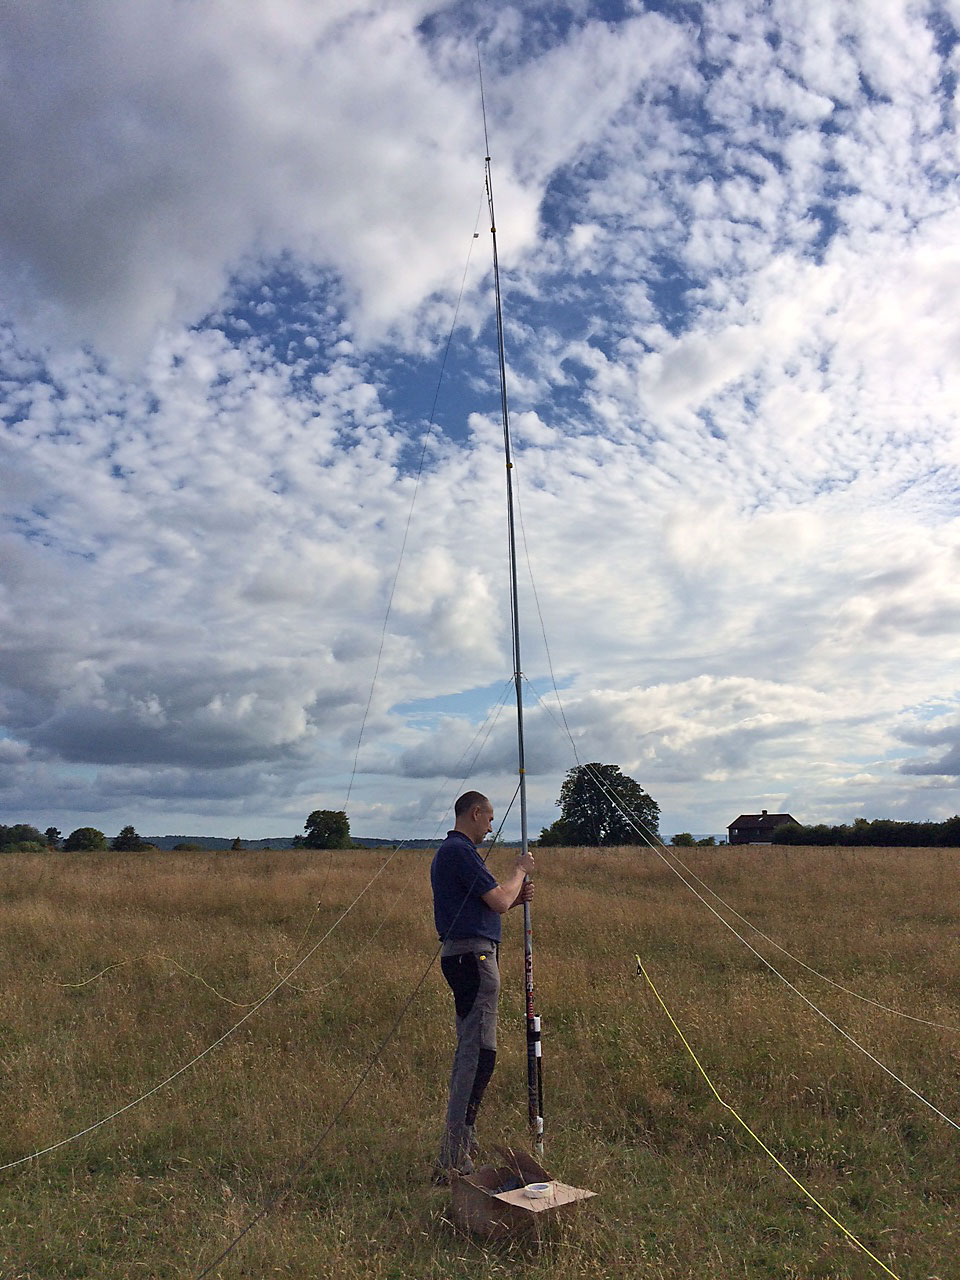
As I prefer to take the weight hit and reduce coax losses, I am using RG58. To save it bending the thinner top of the pole with the weight hanging away from the pole, I am using velcro cable ties to keep the coax against the pole to below the guy ring.
Raising the mast. This is SO much easier than hoisting a 20 foot aluminium scaffold pole on your own!
I used the MFJ269C for tuning the 20m section of the dipole. What an amazingly useful bit of kit!
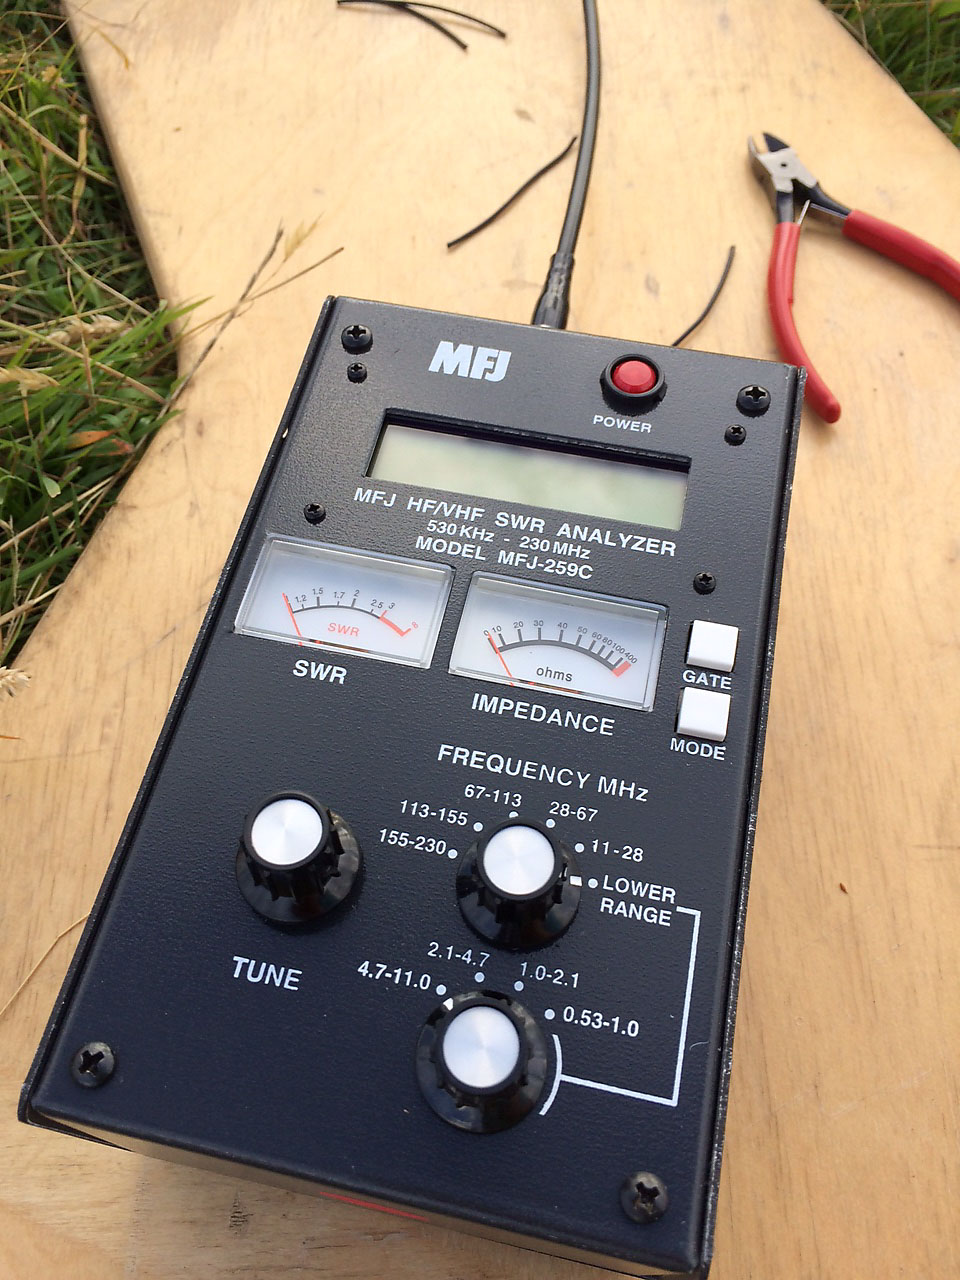
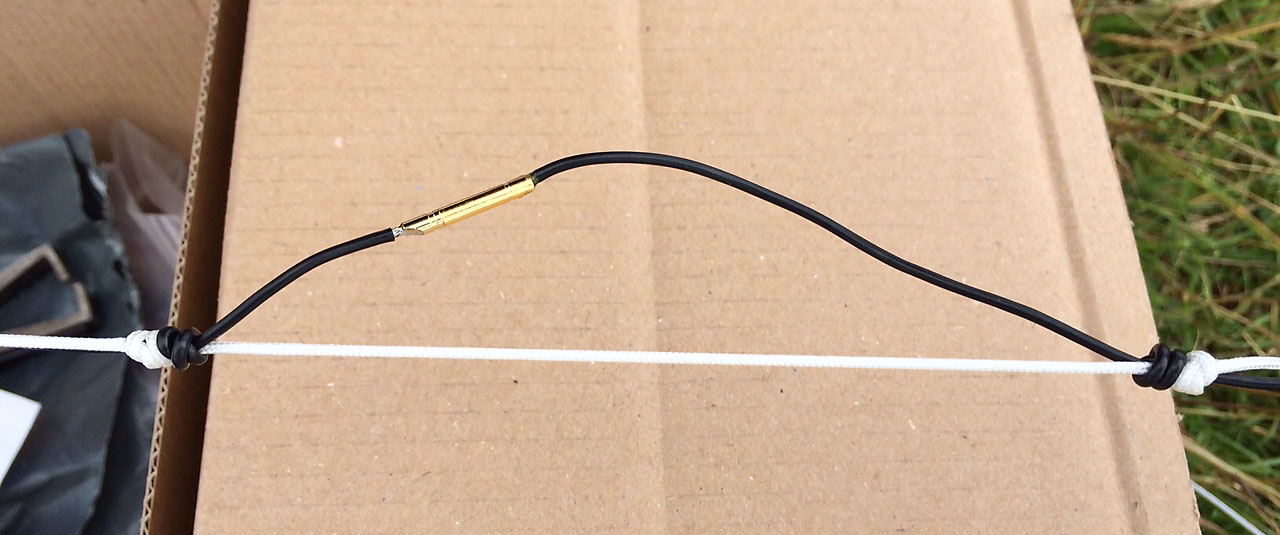
Once the wire was trimmed to nearly be resonant in band I tied on the string I am using to make the link supports. This shortened the dipole making it closer to resonance, then a final trim to tune. It actually read and SWR of 1.2:1 at both band edges, with 1:1 to 1.1:1 in the SSB portion, where I will be operating. Then trim off the ends the same amount as the length of the 2mm bullet connectors I am using for the links. I used the sockets on the ‘uphill’ side of the links.
Soldering the link on, literally ‘in the field’.
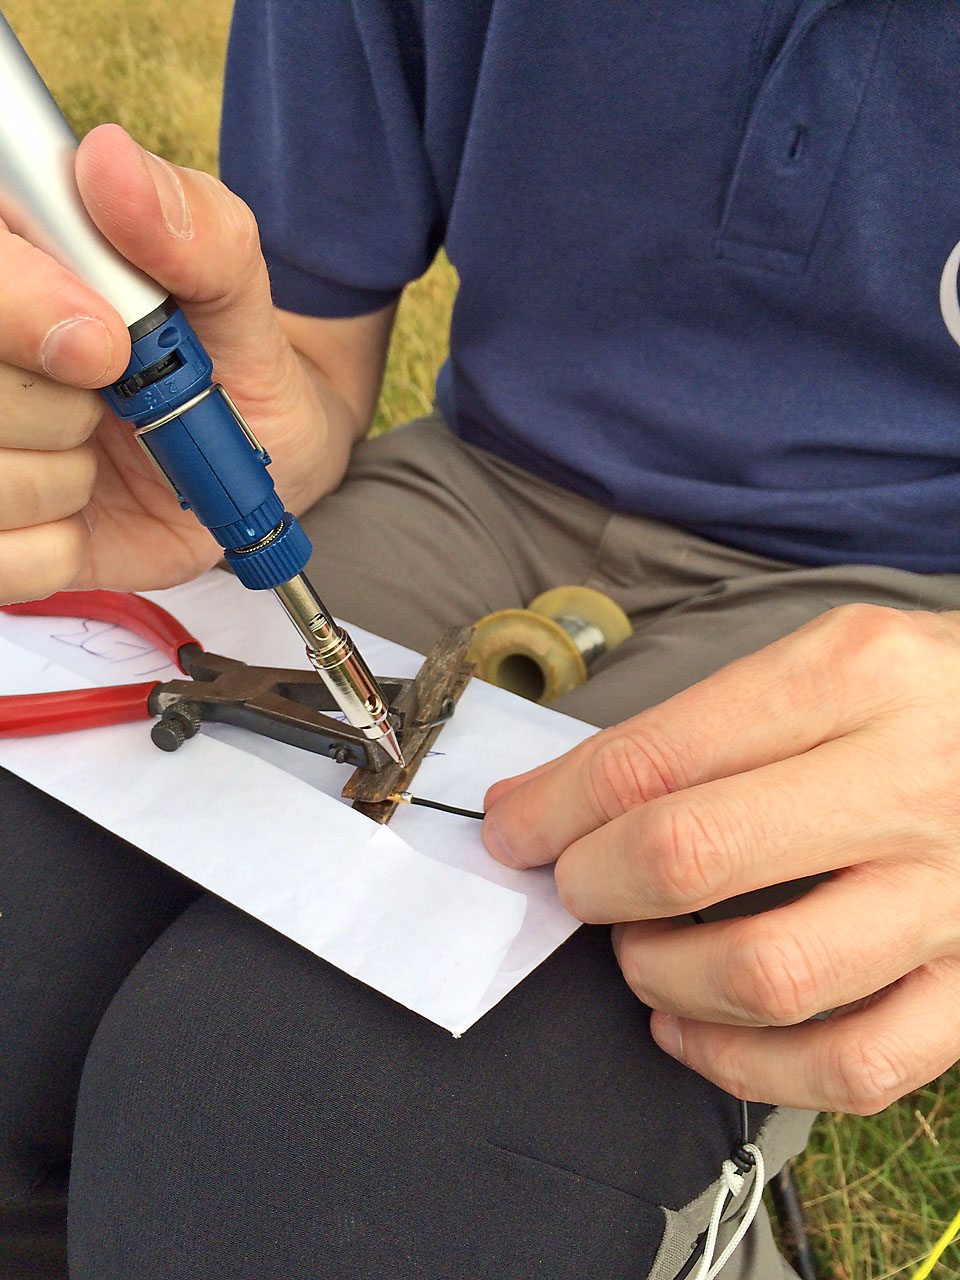
I’d pre-cut the next sections and already fitted the plug of the bullet connectors, so the link was soon made. I don’t think you’ll get much lighter link supports than these!
We soon had the 30m dipole tuned up nicely, and ends prepared for soldering. Except the brand new gas iron G1YFC had bought failed to work again. Managed literally two solder joints! That’s going back. So I will need yet another dipole building session tonight, as I plan to be using this tomorrow for SOTA activations.
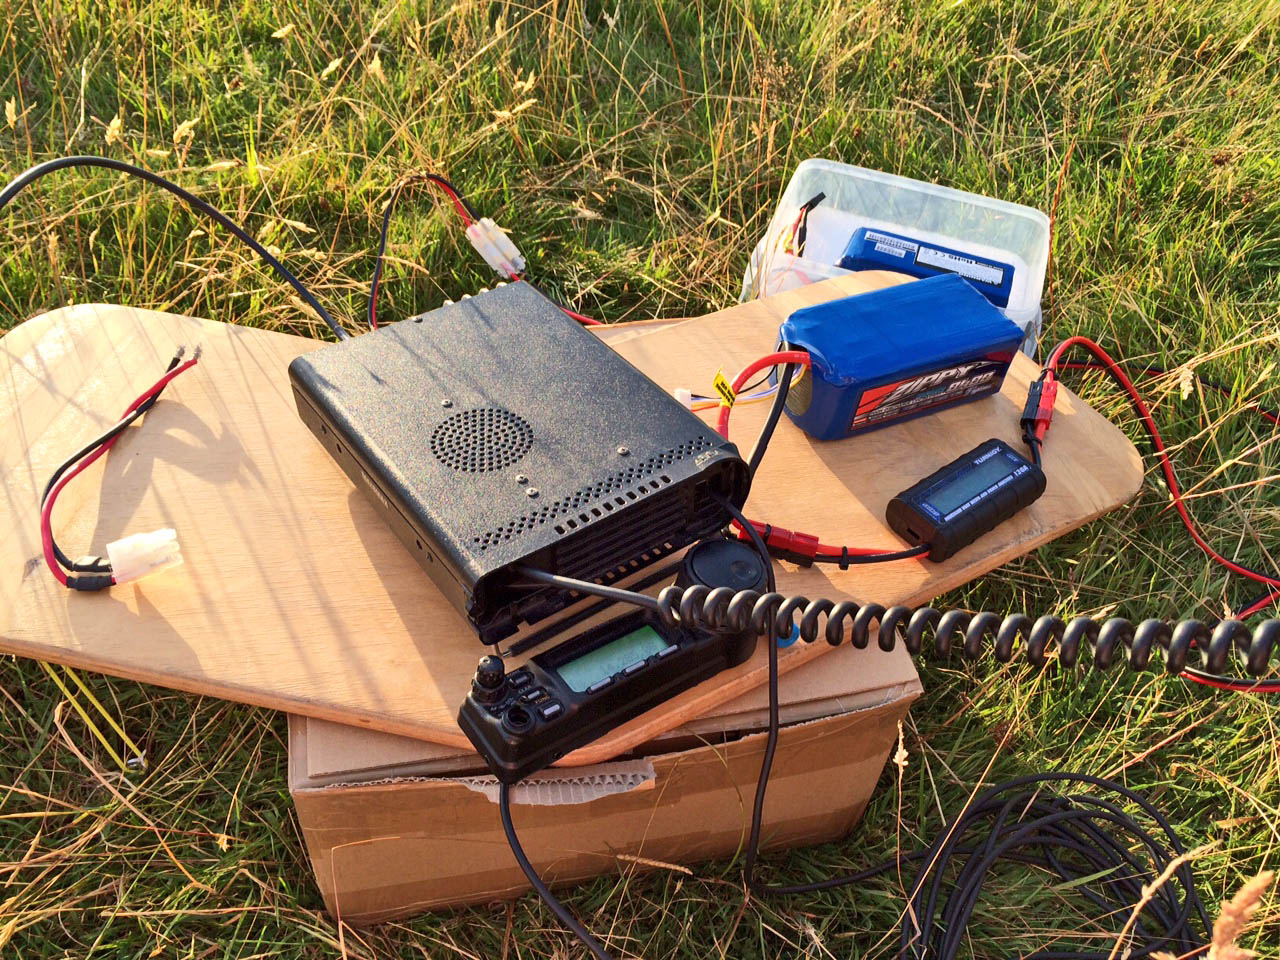
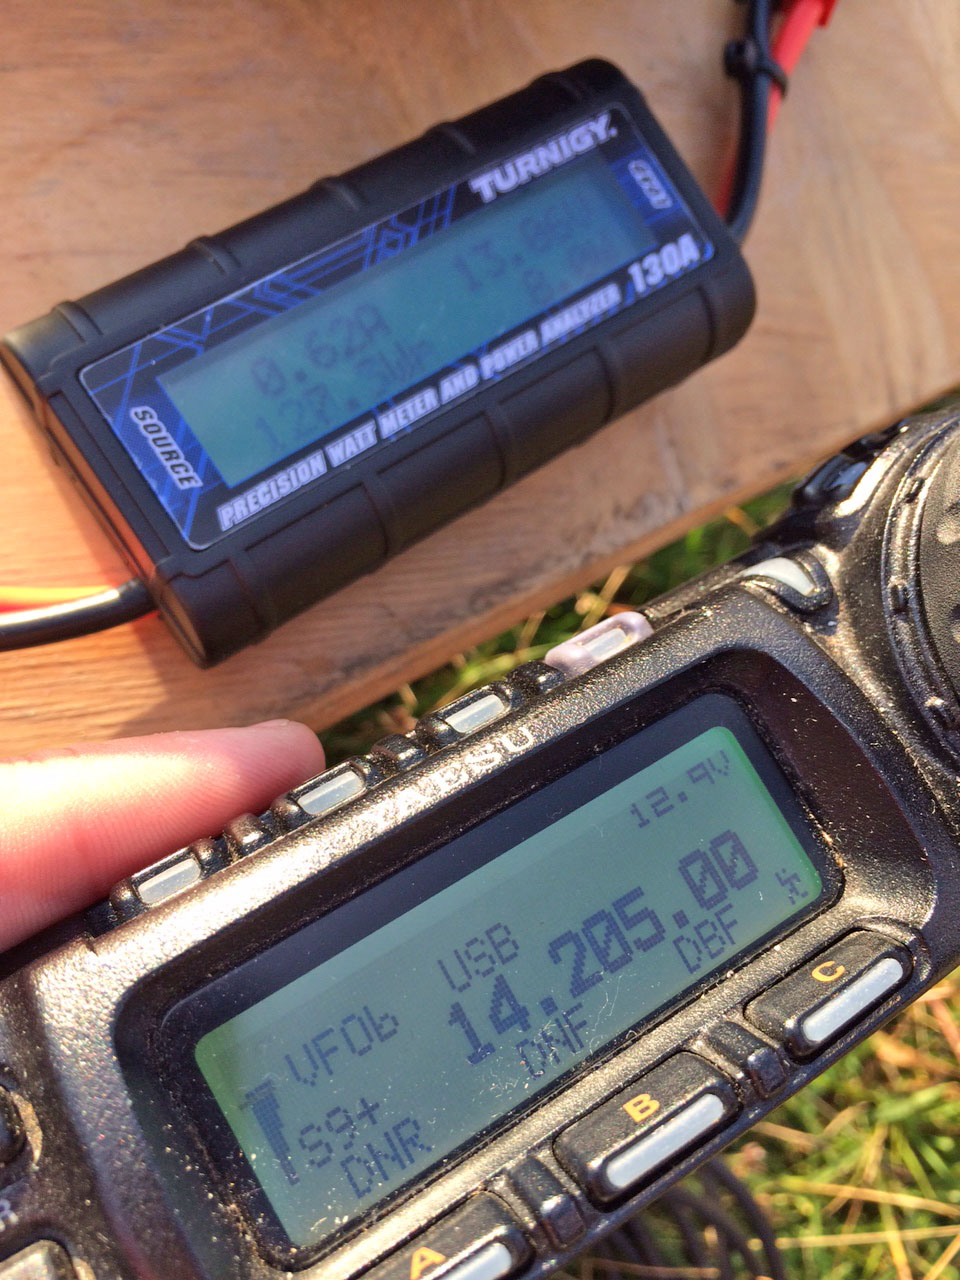
We took the opportunity to work some stations on 20m and test the battery supply. We started on 50W, then 75W, and in the end went for 100W. Why not…
We used about 1.1Ah in about just over an hour. We’d use more contesting or calling CQ more often, but we were scanning the band and calling into other stations.
Final round of antenna making.
Bullet connectors now soldered on at home I headed back out to add the 40m sections of the dipole. First I checked the match of the 30m dipole to check it wasn’t different from the previous install as this time I set the pole and antenna up on some grass near my home and wanted to see if there was much difference. All seemed fine. At least the dog walkers and cars driving by were amused. Or was it bemused…
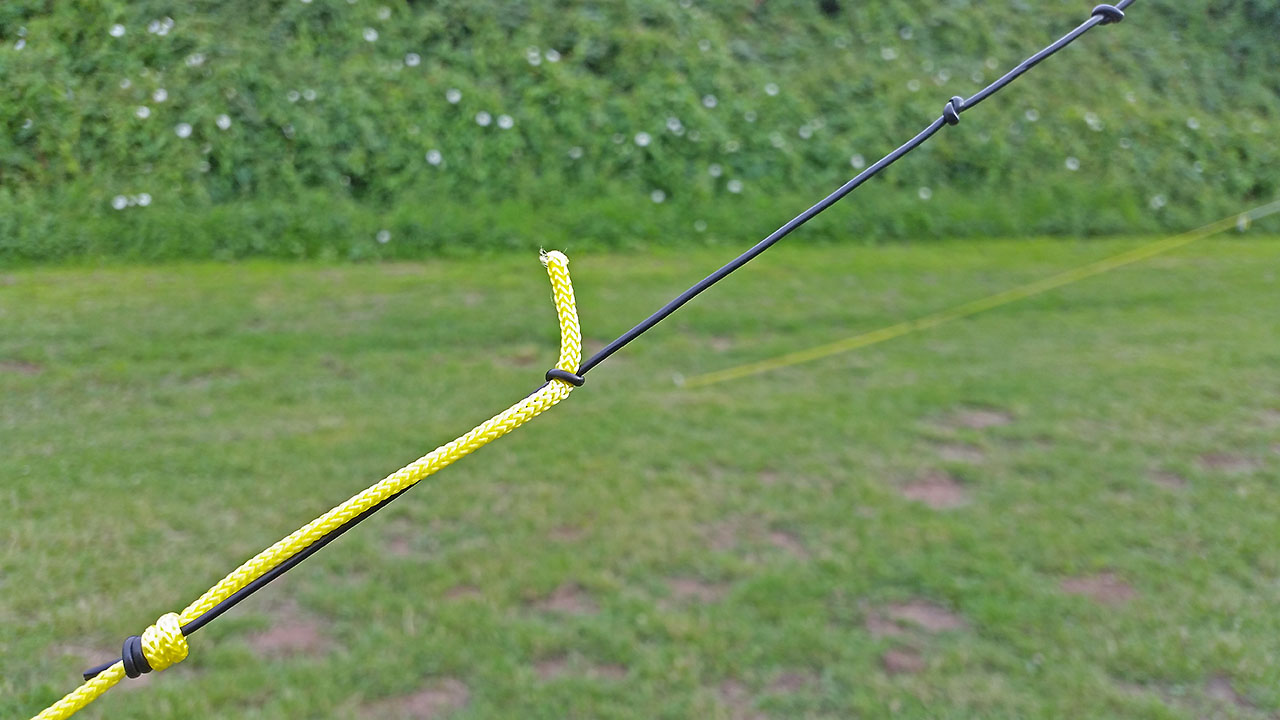
Anyway, tip of the day if you are using string for your links is to make sure you tie the knots with enough slack. I made one link string a little too short so it was same length as the link, which meant with stretch the connector may pull out.
One problem of a double fisherman’s knot tied in wire and thin nylon cord is it’s pretty much impossible to untie them. I couldn’t cut either as I’d have to start over, so I had to tie a couple of knots in the link string to make it shorter.
Once done I could trim the 40m wires to resonance. I thought I was near so I tied the final knot to join in the bottom guy string, leaving (I thought) plenty of trailing wire to trim.
Wrong. I trimmed as much of the wire as I dared but was resonant pretty much at 7.000MHz, and I will be using SSB. My only option now (as I was getting tired of it now anyway) was to shorten the wire by adding knots. That did do the trick.
Next stop, some summits.