The coronavirus outbreak of 2020 put a stop to all portable radio activities so like many people I was forced to adapt and overcome and set up something at home. For non rotating mast systems I strapped a mast to the YL’s parasol base:
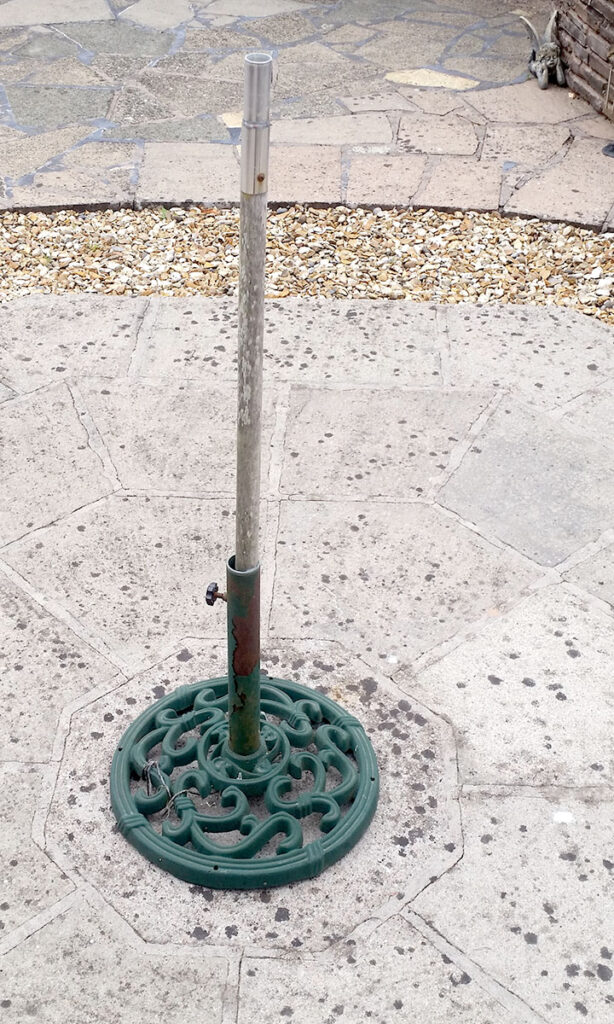
This worked for smaller dipoles but I wanted something a bit sturdier and the YL wanted her umbrella back! So I decided to make a new one. I thought about making something from scratch but after asking the local club members for ideas it was suggested to use a tamper that builders would bash sand down before laying slabs or bricks. A quick Google located one in stock in the local Toolstation:
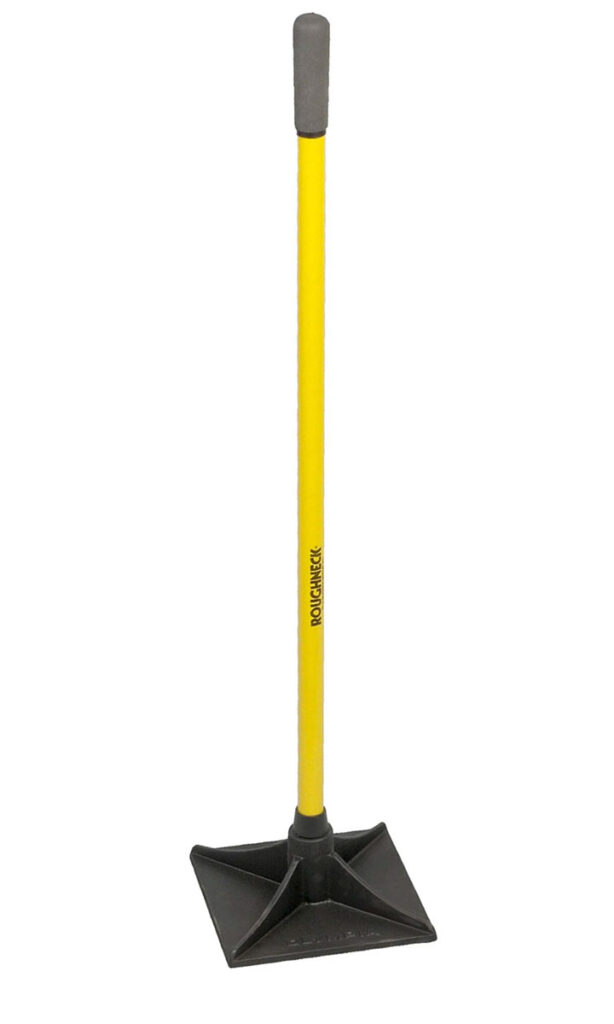 This is a cast iron 10″ base and a fibreglass handle. Cost me about £35 which is cheaper than some of the suitable umbrella bases I was looking at. I click and collected it. It didn’t seem that heavy at all to be honest but I’d already planned to fit it to a paving slab so wasn’t an issue. A quick session with the drills and the tamper was securely fixed to one of those heavy council style paving slabs:
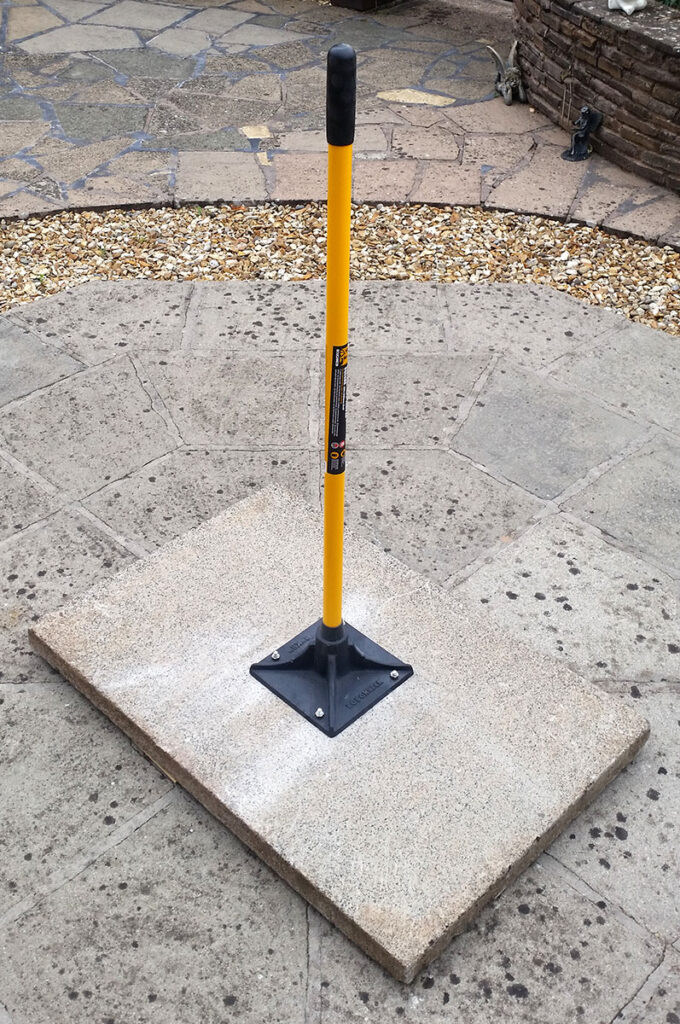
The fibreglass handle feels pretty strong with some give but also felt like it would snap before that slab budged! This would normally only be used as the support until guys are attached anyway.
Before fetching the tamper I liked this design as the 4 webs I thought would be good for locating the bottom of the pole for lashing with a bungee. But in the end I decided to design and 3D print a locating guide that would stop the pole from twisting in relation to the yellow handle. Quick bit of CAD:
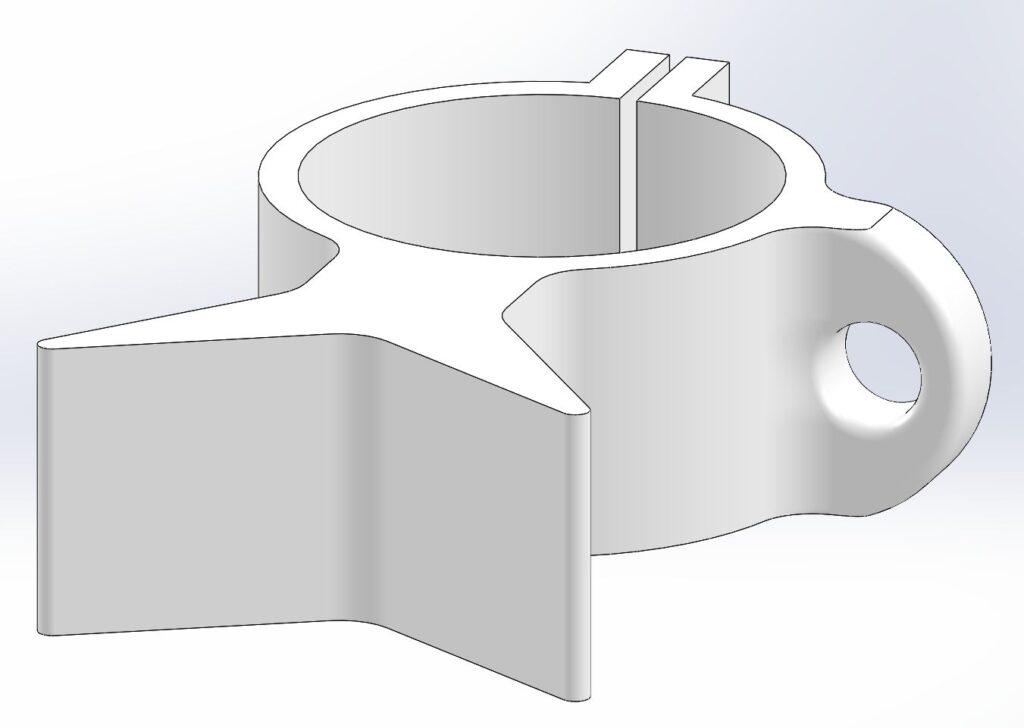 The hole on the side is to clip the first end of the karabiner bungee into while I lash it tight. Once a few turns of bungee are overlaid there is little stress on the plastic but it feels pretty strong anyway. This I printed in PLA which is easy to work with though ABS or polycarbonate would probably be better. There’s not a lot of stress on these parts so should be fine.
The biggest problem I had fitting these was getting the rubber handle off! it’s only glued on at the domed top but pesky to remove. Got there in the end and fitted the guides. they were a beautiful fit, close sliding fit. So close in fact the label halfway down stopped the slide so I had to open it up a bit. Couple of small M3 stainless screws and nylocs and job done. Two bungees and we’re ready to rock and roll:
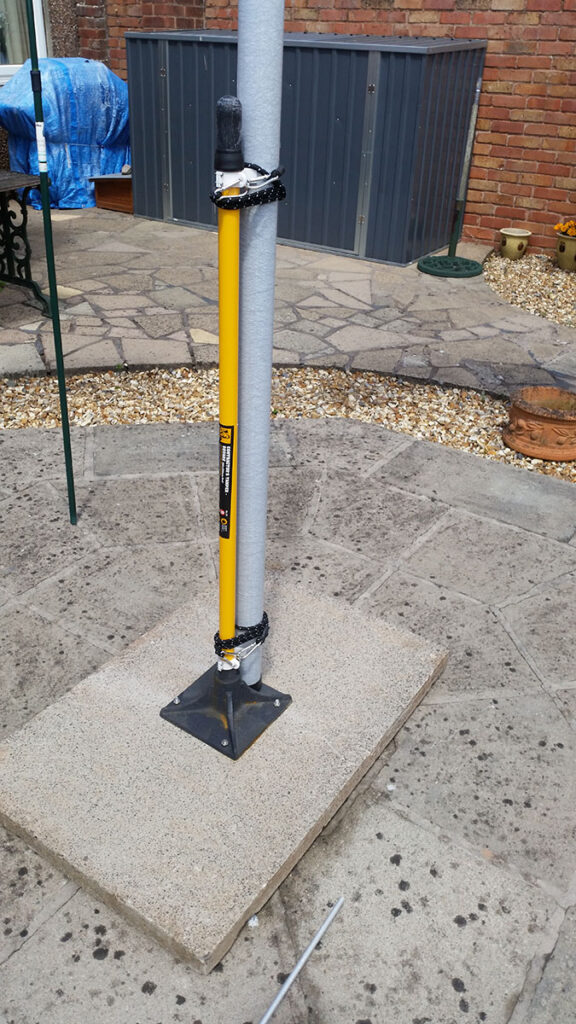
Close up of the top guide:
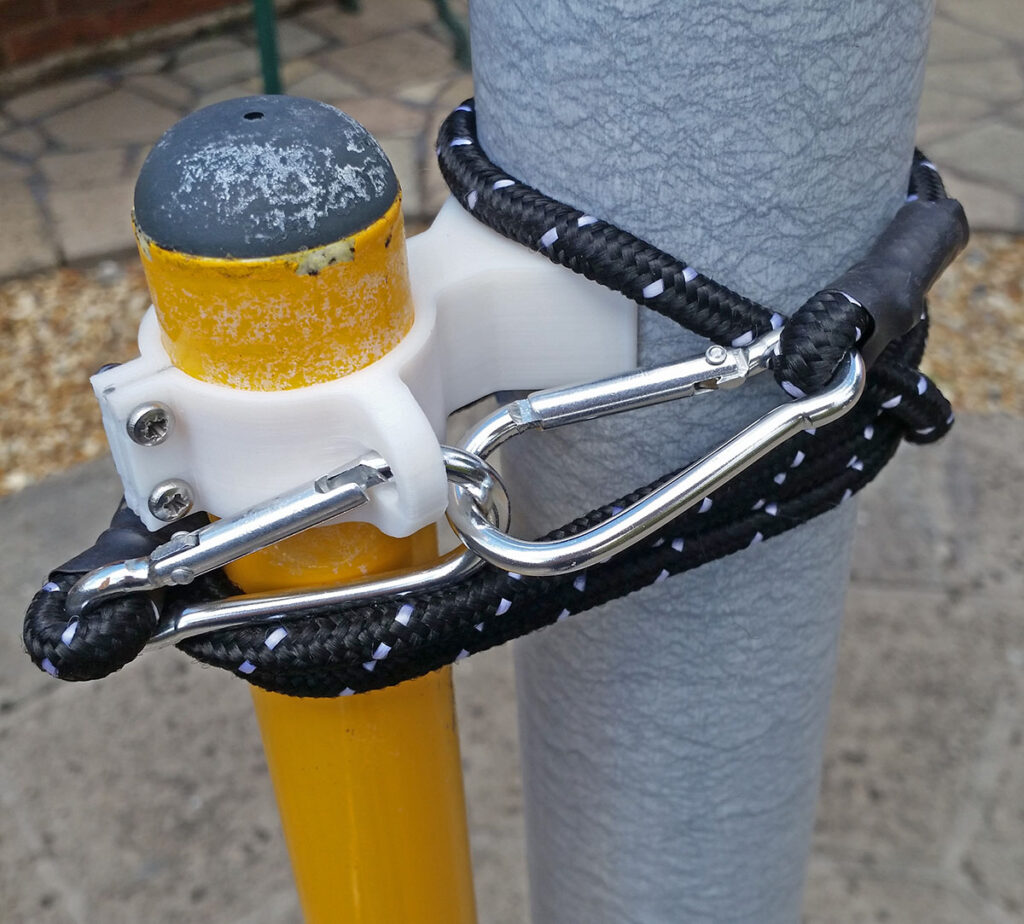
All fitted a treat.
You may be thinking all well and good if you have a 3D printer of course. You could do the same with bits of wood I’m sure but I do heartily recommend a 3D printer. They are amazingly useful and very affordable now, although the filament at the moment is doubled in price due to the high demand when the 3D printing community was mass producing PPE equipment for the NHS.